I always find myself reaching for homemade bread, and the aroma of freshly baked bread filling my kitchen, with its soft, tender crumb, is what makes this easy pullman loaf recipe a family favorite. This perfect, soft slice of sandwich bread transforms simple ingredients into an irresistibly fluffy, perfectly square loaf, ideal for everything from school lunches to gourmet grilled cheese. We’ll guide you through a straightforward, foolproof method that promises a homemade bread experience everyone will love, perfect for busy weeknights when quick, hearty snacks are on the menu. Get ready to enjoy the ultimate base for all your family’s meals!

Ingredients
Crafting a delicious pullman loaf starts with quality ingredients. Each component plays a key part in achieving that signature texture and flavor, especially with the unique additions of black garlic and sesame. Here’s what you’ll need for this hearty bread.
- 350 mL / 1.5 cups whole milk, lukewarm (38-43°C / 100-110°F): Activates the yeast and adds richness for a tender crumb. (You can use almond milk for a dairy-free swap, though the texture might vary slightly).
- 7 g / 2.25 teaspoons active dry yeast (one packet): The leavening agent that makes your bread rise beautifully. Ensure it’s fresh for the best results.
- 20 g / 1.5 tablespoons granulated sugar: Feeds the yeast, aids in browning, and enhances the bread’s flavor. (A tablespoon of honey can also work if you prefer a different sweetness).
- 500 g / 4 cups strong white flour (bread flour), plus extra for dusting: Provides the structure and chewiness essential for a robust loaf. Using bread flour creates a better rise and texture compared to all-purpose flour.
- 10 g / 1.5 teaspoons fine sea salt: Balances flavors and helps control yeast activity.
- 40 g / 3 tablespoons unsalted butter, softened: Adds tenderness, richness, and contributes to a soft interior.
- 40 g / 3 tablespoons black garlic, very finely minced: Offers a unique umami depth and a hint of sweetness, elevating this bread beyond the ordinary.
- 1 large egg: Used in the egg wash for a golden crust and helps sesame seeds adhere.
- 15 mL / 1 tablespoon whole milk, for egg wash: Thins the egg wash for easy brushing.
- 15 g / 1 tablespoon mixed black and white sesame seeds, for topping: Adds a delightful crunch and visual appeal to the crust.
Optional Add-ins & Smart Swaps
Customize your loaf to fit your family’s preferences. A whole wheat option can add nutrition, or simple swaps can accommodate dietary needs.
- Whole Wheat Option: For a heartier, more nutritious loaf, swap up to 50% of the strong white flour for whole wheat flour.
- Dairy-Free Swap: Use a plant-based milk (like almond or soy) and a dairy-free butter alternative to make this recipe accessible for everyone.
- Sweet Touch: A touch of honey or maple syrup can replace some granulated sugar for a different, subtle flavor profile in your dough.
Premium/Healthy Variations
Elevate your bread with mindful choices. These options can boost nutritional value and ensure a cleaner eating experience.
- Organic Ingredients: Opt for organic flour, milk, and butter for a cleaner loaf, minimizing exposure to pesticides.
- Black Garlic Benefits: The black garlic in this recipe isn’t just for flavor; it’s a premium ingredient known for its antioxidants. It makes this a truly special, healthy eating component.
- Gluten-Free Notes: While a traditional pullman loaf relies on gluten, you could experiment with a high-quality gluten-free all-purpose flour blend (this may require xanthan gum and additional liquid).
Seasonal or Freshness Notes
The quality of your ingredients directly impacts the final loaf. Paying attention to freshness ensures the best possible bake.
- Fresh Yeast: If using fresh yeast, use twice the amount of active dry yeast and proof carefully for optimal rise.
- Quality Flour: A good quality unbleached bread flour, like the strong white flour specified, offers a consistent, slightly chewier texture for your finished bread.
Step-by-Step Preparation Instructions
Follow these precise steps to bake a perfect, golden-crusted pullman loaf recipe every time. I find breaking it down makes the process enjoyable and stress-free!
- Activate the Yeast: In a large bowl, combine the lukewarm milk, active dry yeast, and granulated sugar. Stir gently, feeling the slight grittiness, and let sit for 5-10 minutes until it looks foamy, indicating the yeast is active and ready.
- Mix the Dough: Add the strong white flour, fine sea salt, and finely minced black garlic to the yeast mixture. Mix with a spoon or spatula until a shaggy dough forms, just barely coming together.
- Knead Until Smooth: Turn the dough out onto a lightly floured surface. Knead the dough for 5 minutes until it starts to come together. Then, add the softened unsalted butter and continue kneading for another 10-15 minutes until the dough feels smooth, elastic, and passes the windowpane test (a small piece of dough can be stretched thin enough to see light through it without tearing). If your dough feels too sticky during this stage, resist adding too much flour; a tiny bit of extra kneading will often bring it together.
- First Rise (Bulk Fermentation): Place the dough in a lightly oiled bowl, ensuring it’s coated. Cover with a clean kitchen towel or plastic wrap, and let rise in a warm place for 1.5 to 2 hours, or until it has visibly doubled in size.
- Shape the Loaf: Lightly grease a 9x4x4 inch (23x10x10 cm) pullman loaf pan. Gently punch down the risen dough to release the air and turn it out onto a lightly floured surface. Roll the dough into a rectangle approximately 23 cm (9 inches) wide and 30 cm (12 inches) long, ensuring even thickness.
- Second Rise (Proofing in Pan): Starting from one of the shorter ends, tightly roll the dough into a log. Pinch the seam closed firmly, ensuring it’s secure. Place the dough log seam-side down into the prepared pullman pan. In a small bowl, whisk together the large egg and 15 mL (1 tablespoon) milk for the egg wash. Brush the top surface of the dough with the egg wash, then evenly sprinkle the mixed black and white sesame seeds over the top for that signature crunch. Place the lid on the pullman pan and let the dough rise again in a warm place for 45-60 minutes, or until it nearly fills the pan (about 1 inch / 2.5 cm from the top).
- Bake to Golden Perfection: Preheat your oven to 190°C / 375°F during the last 15 minutes of this rise. Bake this pullman loaf with the lid on for 25 minutes. Carefully remove the lid, noting the golden-brown hue, and continue baking for another 15-20 minutes, or until the crust is deeply golden brown and an instant-read thermometer inserted into the center of the loaf reads 93-96°C (200-205°F).
- Cool Completely: Remove the pan from the oven. Immediately turn the loaf out onto a wire rack to cool completely, listening for the soft crackle of the crust. Cooling is crucial for the internal structure; do not slice until fully cooled, which may take 2-3 hours. This patience is rewarded with perfectly structured slices!
Inline Options for Special Diets
While this recipe is designed for hearty family meals, slight adjustments can cater to specific needs.
- Lower-Carb Option: For a slightly lower-carb alternative, consider reducing the granulated sugar by half. Note that using a portion of almond flour will significantly change the texture and is not recommended for this classic pullman loaf structure.
Brief Troubleshooting Tips
Even experienced bakers face challenges; here are quick fixes for common issues.
- Dough Not Rising: Ensure your yeast is fresh by checking the expiration date, and always use milk within the correct temperature range (38-43°C / 100-110°F). Too hot will kill the yeast; too cold won’t activate it, resulting in a flat loaf.
- Sticky Dough: During kneading, if the dough remains excessively sticky, add strong white flour one tablespoon at a time. The dough should be workable but still slightly tacky to the touch.
- Dense Loaf: Over-kneading can develop too much gluten too quickly, or under-proofing can leave the dough without enough air. Ensure you follow the rise times, and check for the ‘windowpane test’ to avoid a dense crumb in your pullman loaf.
Best Times to Enjoy and Storage Tips
Situations for Your Homemade Pullman Loaf
- Everyday Lunches: The perfect shape for classic sandwiches, from PB&J to deli meats.
- Family Dinners: Serve as a side with soup or stew, or toast for garlic bread.
- Weeknight Meals: Quick toast for avocado toast or open-faced melts, making dinner easy.
- Holidays & Gatherings: An elegant base for finger sandwiches or appetizers, impressing guests.
Serving Pairings
- Classic Sandwich Fillings: Turkey and cheese, tuna salad, or fresh veggies.
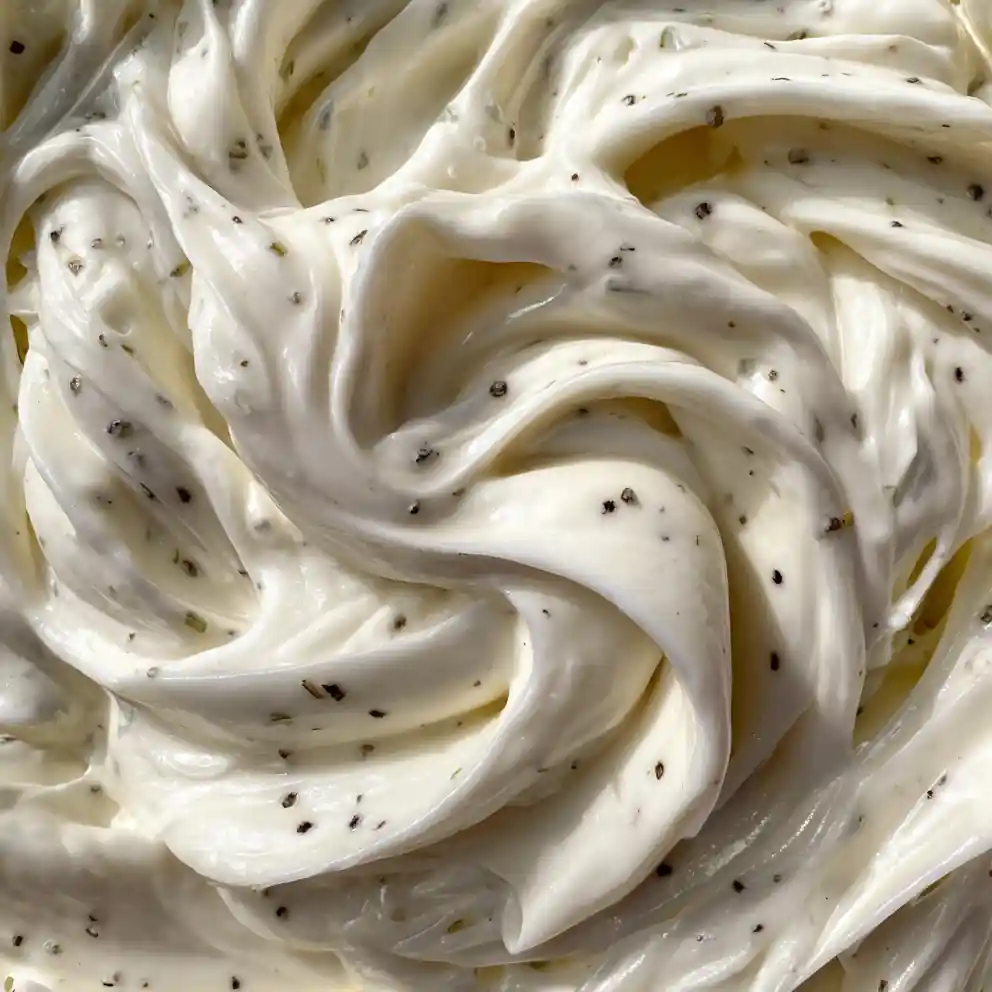
- Toppings: Simple butter, homemade jams, or creamy nut butters.
- Beverages: Milk, coffee, tea, or a refreshing fruit juice.
Storage and Reheating
Store your delicious, homemade pullman loaf properly to enjoy it longer. This is key for easy meal prep plans. For best flavor, store the loaf at room temperature for 3-4 days.
- Fridge: Store sliced pullman loaf in an airtight container or bag for up to 5-7 days.
- Freezer: For longer storage, slice the cooled loaf and freeze individual slices in a freezer-safe bag for up to 3 months. Toast slices directly from frozen in a toaster or oven at 350°F (175°C) for 5-8 minutes until warm and crisp.
Health, Nutrition & Lifestyle Benefits of Pullman Loaf
Baking this healthy pullman loaf recipe at home offers numerous benefits for your family’s lifestyle. You gain complete control over ingredients, ensuring a wholesome option.
- Control Your Ingredients: You decide what goes in your pullman loaf, avoiding preservatives and artificial additives found in store-bought bread for a cleaner eating choice.
- Build Energy: This bread is a good source of complex carbohydrates, providing sustained energy for busy families and active kids throughout their day.
- Easy Healthy Dinner Ideas: Use a slice as a base for nutrient-packed sandwiches for a quick meal, fitting seamlessly into easy dinner ideas.
- High-Protein Snacks: Pair slices with lean protein fillings like chicken or hummus for a satisfying, high-protein snack that keeps hunger at bay.
How This Recipe Matches Everyday Goals
Embracing this pullman loaf recipe means bringing more value and convenience to your kitchen. Making your own pullman loaf is a smart choice for any busy home.
- Budget-Friendly: Making your own pullman loaf is often more economical than buying specialty sandwich bread from the store.
- Time-Saving: While there’s passive rise time, the active prep is minimal, making it a great addition to your quick meal prep recipes.
- Wellness Boost: Enjoy the satisfaction of baking from scratch, knowing exactly what your family is eating and contributing to a healthier lifestyle.
- Versatile Base: This bread serves as a perfect blank canvas for endless sandwich creations, from simple toast to elaborate club sandwiches.
Pro Tips and Adjustments with Pullman Loaf
Technique Refinements for Better Flavor & Texture
Achieving the perfect pullman loaf involves a few key techniques. These steps ensure a consistent, delicious result every time.
- Kneading Check: Ensure your dough is properly kneaded by performing the windowpane test; stretch a small piece of dough, and if it’s thin enough to see through without tearing, it’s ready.
- Proofing Perfection: A slightly humid, warm environment helps dough rise best. I sometimes use a turned-off oven with a bowl of hot water on the bottom rack to create the ideal cozy space.
Seasoning and Spice Adjustments
You can easily adapt this pullman loaf to suit sweet or savory tastes. A little extra flavor can elevate your homemade bread.
- Sweet Loaf: Add a teaspoon of cinnamon or vanilla extract to the dough for a fragrant, sweet bread that’s lovely toasted.
- Savory Loaf: Incorporate dried herbs like oregano, thyme, or a pinch of garlic powder for a flavorful pullman loaf perfect with soups.
Allergy-Friendly or Kid-Friendly Modifications
Adjusting the recipe for dietary needs or little eaters is simple. Make sure your homemade pullman loaf is safe and appealing for everyone.
- Nut-Free Assurance: Keep your kitchen nut-free if serving children with allergies; check all ingredient labels carefully.
- Seed Topping: For a fun texture, sprinkle sesame or poppy seeds on top before baking (after removing the lid of the pullman pan).
- Smaller Slices: Cut thinner slices for little hands or smaller portions, making sandwiches more manageable for kids.
FAQs
Is pullman loaf good for weight loss?
While not inherently a weight-loss food due to its carb content, making your own pullman loaf recipe with whole wheat flour allows you to control ingredients, making it a healthier choice than many store-bought options. Portion control is always key!
Where to buy quality pullman loaf ingredients?
You can find quality ingredients for your pullman loaf at your local grocery store. For specialty flours like high-protein bread flour or fresh yeast, check natural food stores or online retailers for premium options.
What’s the difference between a pullman loaf and regular sandwich bread?
The main difference is the pan. A pullman loaf pan has a lid, creating a perfectly square, uniform loaf with a soft, thin crust, which is ideal for sandwiches. Regular sandwich bread has a rounded, rustic top.
Can I use pullman loaf in meal prep plans?
Absolutely! This pullman loaf recipe is excellent for meal prep. Bake, slice, and then freeze individual slices or small stacks in freezer-safe bags. They thaw quickly and are perfect for grab-and-go lunches throughout the week.
How do I prevent my pullman loaf from sinking?
To prevent sinking, ensure your dough isn’t over-proofed before baking. Also, check your oven temperature for consistency with an oven thermometer. Using the correct pullman pan size for the dough amount is also crucial to provide proper support.
Can I make a whole wheat pullman loaf?
Yes, you can! This pullman loaf recipe is adaptable. Start by substituting 25-50% of the all-purpose flour with whole wheat flour. You might need to add a tablespoon or two of extra liquid as whole wheat absorbs more water; adjust as needed until the dough feels right.
Can I use a regular loaf pan for this recipe?
You can, but it won’t be a true pullman loaf. It will still be delicious homemade sandwich bread, but it will have a domed top and a slightly different crust texture. The square shape is a hallmark of a pullman loaf recipe.
CONCLUSION
Baking your own pullman loaf from this simple recipe is a rewarding experience that brings fresh, wholesome bread to your family’s table, making healthy eating and quick meals a breeze. Enjoy the soft crumb and perfect slices for all your favorite family dinners.Save this recipe to your favorites, try it this weekend, and share the joy of homemade bread with friends on Pinterest!
Print
pullman loaf recipe
- Total Time: 275 minutes
- Yield: 1 loaf (14 slices) 1x
- Diet: Vegetarian
Description
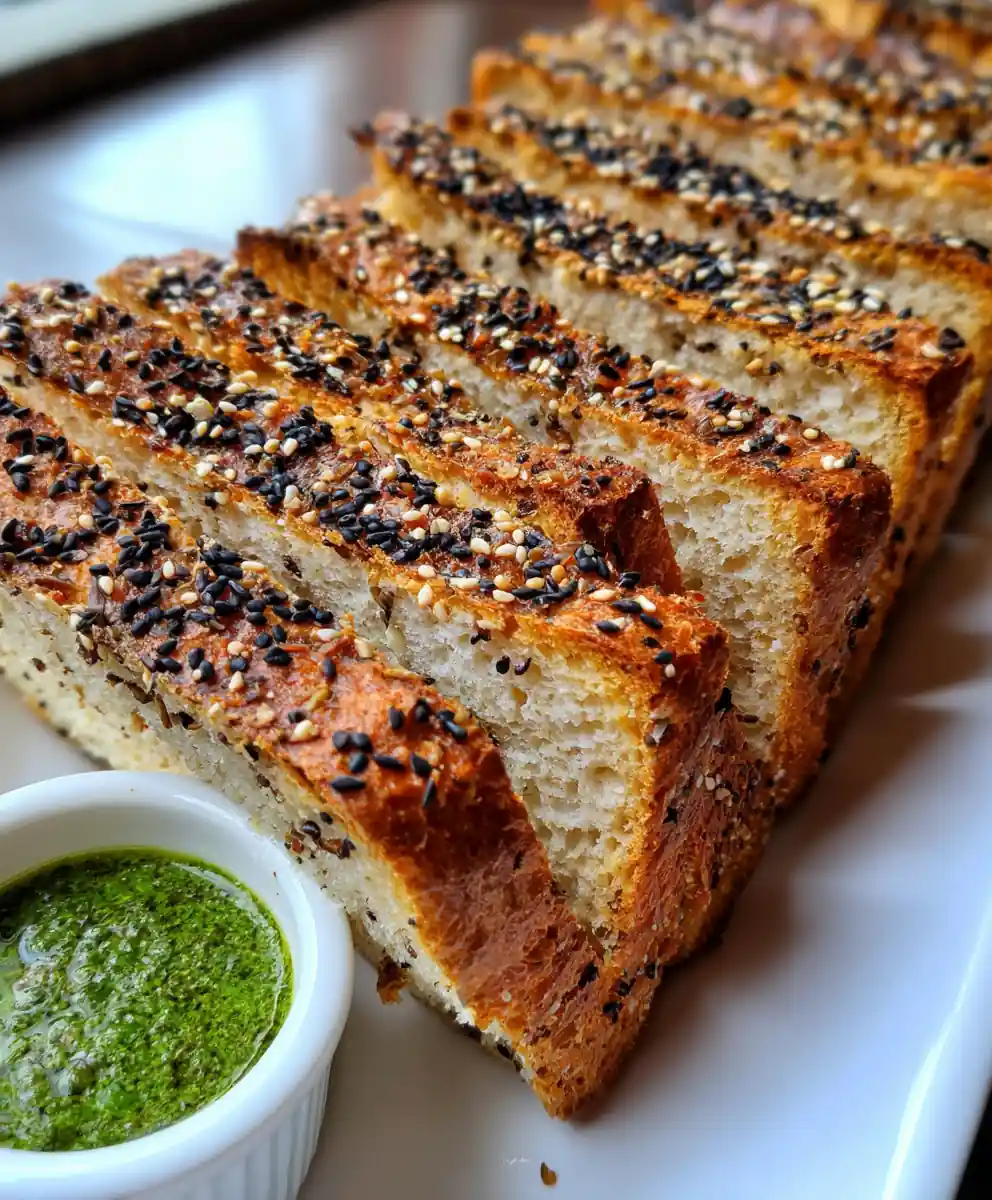
A soft, fluffy, square Pullman loaf recipe perfect for sandwiches, featuring a unique blend of black garlic and sesame for enhanced flavor. This foolproof method transforms simple ingredients into an irresistibly tender loaf.
Ingredients
- 1.5 cups whole milk, lukewarm (100–110 F)
- 2.25 teaspoons active dry yeast
- 1.5 tablespoons granulated sugar
- 4 cups strong white flour (bread flour), plus extra for dusting
- 1.5 teaspoons fine sea salt
- 3 tablespoons unsalted butter, softened
- 3 tablespoons black garlic, very finely minced
- 1 large egg (for egg wash)
- 1 tablespoon whole milk (for egg wash)
- 1 tablespoon mixed black and white sesame seeds, for topping
Instructions
- Activate Yeast: In a large bowl, combine the lukewarm milk, active dry yeast, and granulated sugar. Stir gently and let sit for 5-10 minutes until it looks foamy.
- Mix Dough: Add the strong white flour, fine sea salt, and finely minced black garlic to the yeast mixture. Mix with a spoon or spatula until a shaggy dough forms.
- Knead Until Smooth: Turn the dough out onto a lightly floured surface. Knead for 5 minutes until it starts to come together. Then, add the softened unsalted butter and continue kneading for another 10-15 minutes until the dough feels smooth, elastic, and passes the windowpane test.
- First Rise (Bulk Fermentation): Place the dough in a lightly oiled bowl, ensuring it is coated. Cover and let rise in a warm place for 1.5 to 2 hours, or until it has visibly doubled in size.
- Shape Loaf: Lightly grease a 9x4x4 inch (23x10x10 cm) pullman loaf pan. Gently punch down the risen dough to release the air and turn it out onto a lightly floured surface. Roll the dough into a rectangle approximately 9 inches (23 cm) wide and 12 inches (30 cm) long.
- Second Rise (Proofing in Pan): Starting from one of the shorter ends, tightly roll the dough into a log. Pinch the seam closed firmly. Place the dough log seam-side down into the prepared pullman pan. In a small bowl, whisk together the large egg and 1 tablespoon milk for the egg wash. Brush the top surface of the dough with the egg wash, then evenly sprinkle the mixed sesame seeds over the top. Place the lid on the pullman pan and let the dough rise again in a warm place for 45-60 minutes, or until it nearly fills the pan (about 1 inch from the top).
- Bake to Golden Perfection: Preheat your oven to 375 F (190 C) during the last 15 minutes of the second rise. Bake with the lid on for 25 minutes. Carefully remove the lid and continue baking for another 15-20 minutes, or until the crust is deeply golden brown and an instant-read thermometer inserted into the center of the loaf reads 200-205 F (93-96 C).
- Cool Completely: Remove the pan from the oven. Immediately turn the loaf out onto a wire rack to cool completely (2-3 hours). Do not slice until fully cooled for best internal structure.
Notes
For a dairy-free option, use plant-based milk and dairy-free butter. You can swap up to 50% of the strong white flour for whole wheat flour for a heartier loaf. Honey or maple syrup can replace some granulated sugar. Ensure your yeast is fresh and milk is 100-110 F (38-43 C) for proper rising. If dough is sticky during kneading, add flour one tablespoon at a time. Cooling completely (2-3 hours) on a wire rack is crucial before slicing.
- Prep Time: 50 minutes
- Cook Time: 45 minutes
- Category: Bread
- Method: Baking
- Cuisine: General
Nutrition
- Serving Size: 1 slice (70 g)
- Calories: 170 calories
- Sugar: 3 g
- Sodium: 240 mg
- Fat: 5 g
- Saturated Fat: 2.5 g
- Unsaturated Fat: 2 g
- Trans Fat: 0 g
- Carbohydrates: 28 g
- Fiber: 1 g
- Protein: 5 g
- Cholesterol: 20 mg
Keywords: pullman loaf, sandwich bread, black garlic, sesame, homemade bread, easy bread, baking, yeast bread, family favorite
FREE PRINTABLE RECIPE
Get the Printable Recipe PDF (Free)
Enter your email and we’ll send you the ingredients + step-by-step instructions as a clean PDF you can save to your phone.
- ✅ Printable PDF (ingredients + steps)
- ✅ Save it to your phone (no long scrolling)
- ✅ Includes cook time + servings
- ✅ Easy to follow
FAQ
Where’s the full recipe?
It’s delivered as a printable PDF so you can save it and cook without scrolling.
I didn’t get the email.
Check Spam/Promotions and search your inbox for your site name. Then click Confirm to receive the PDF.