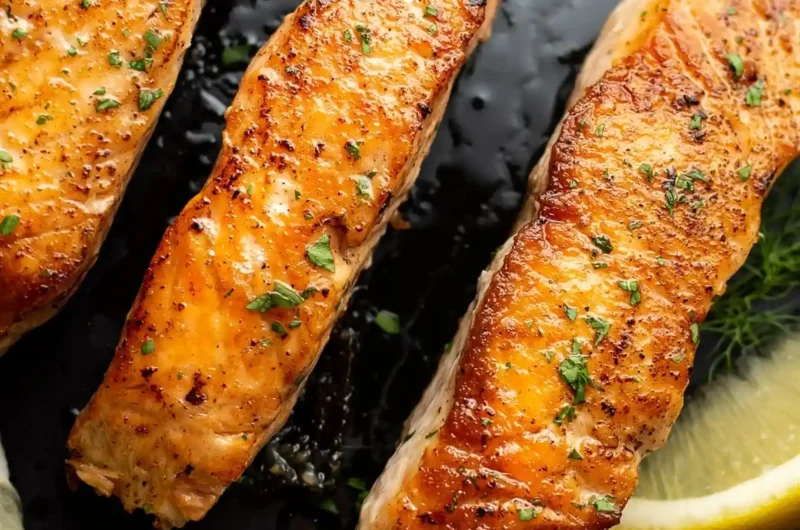
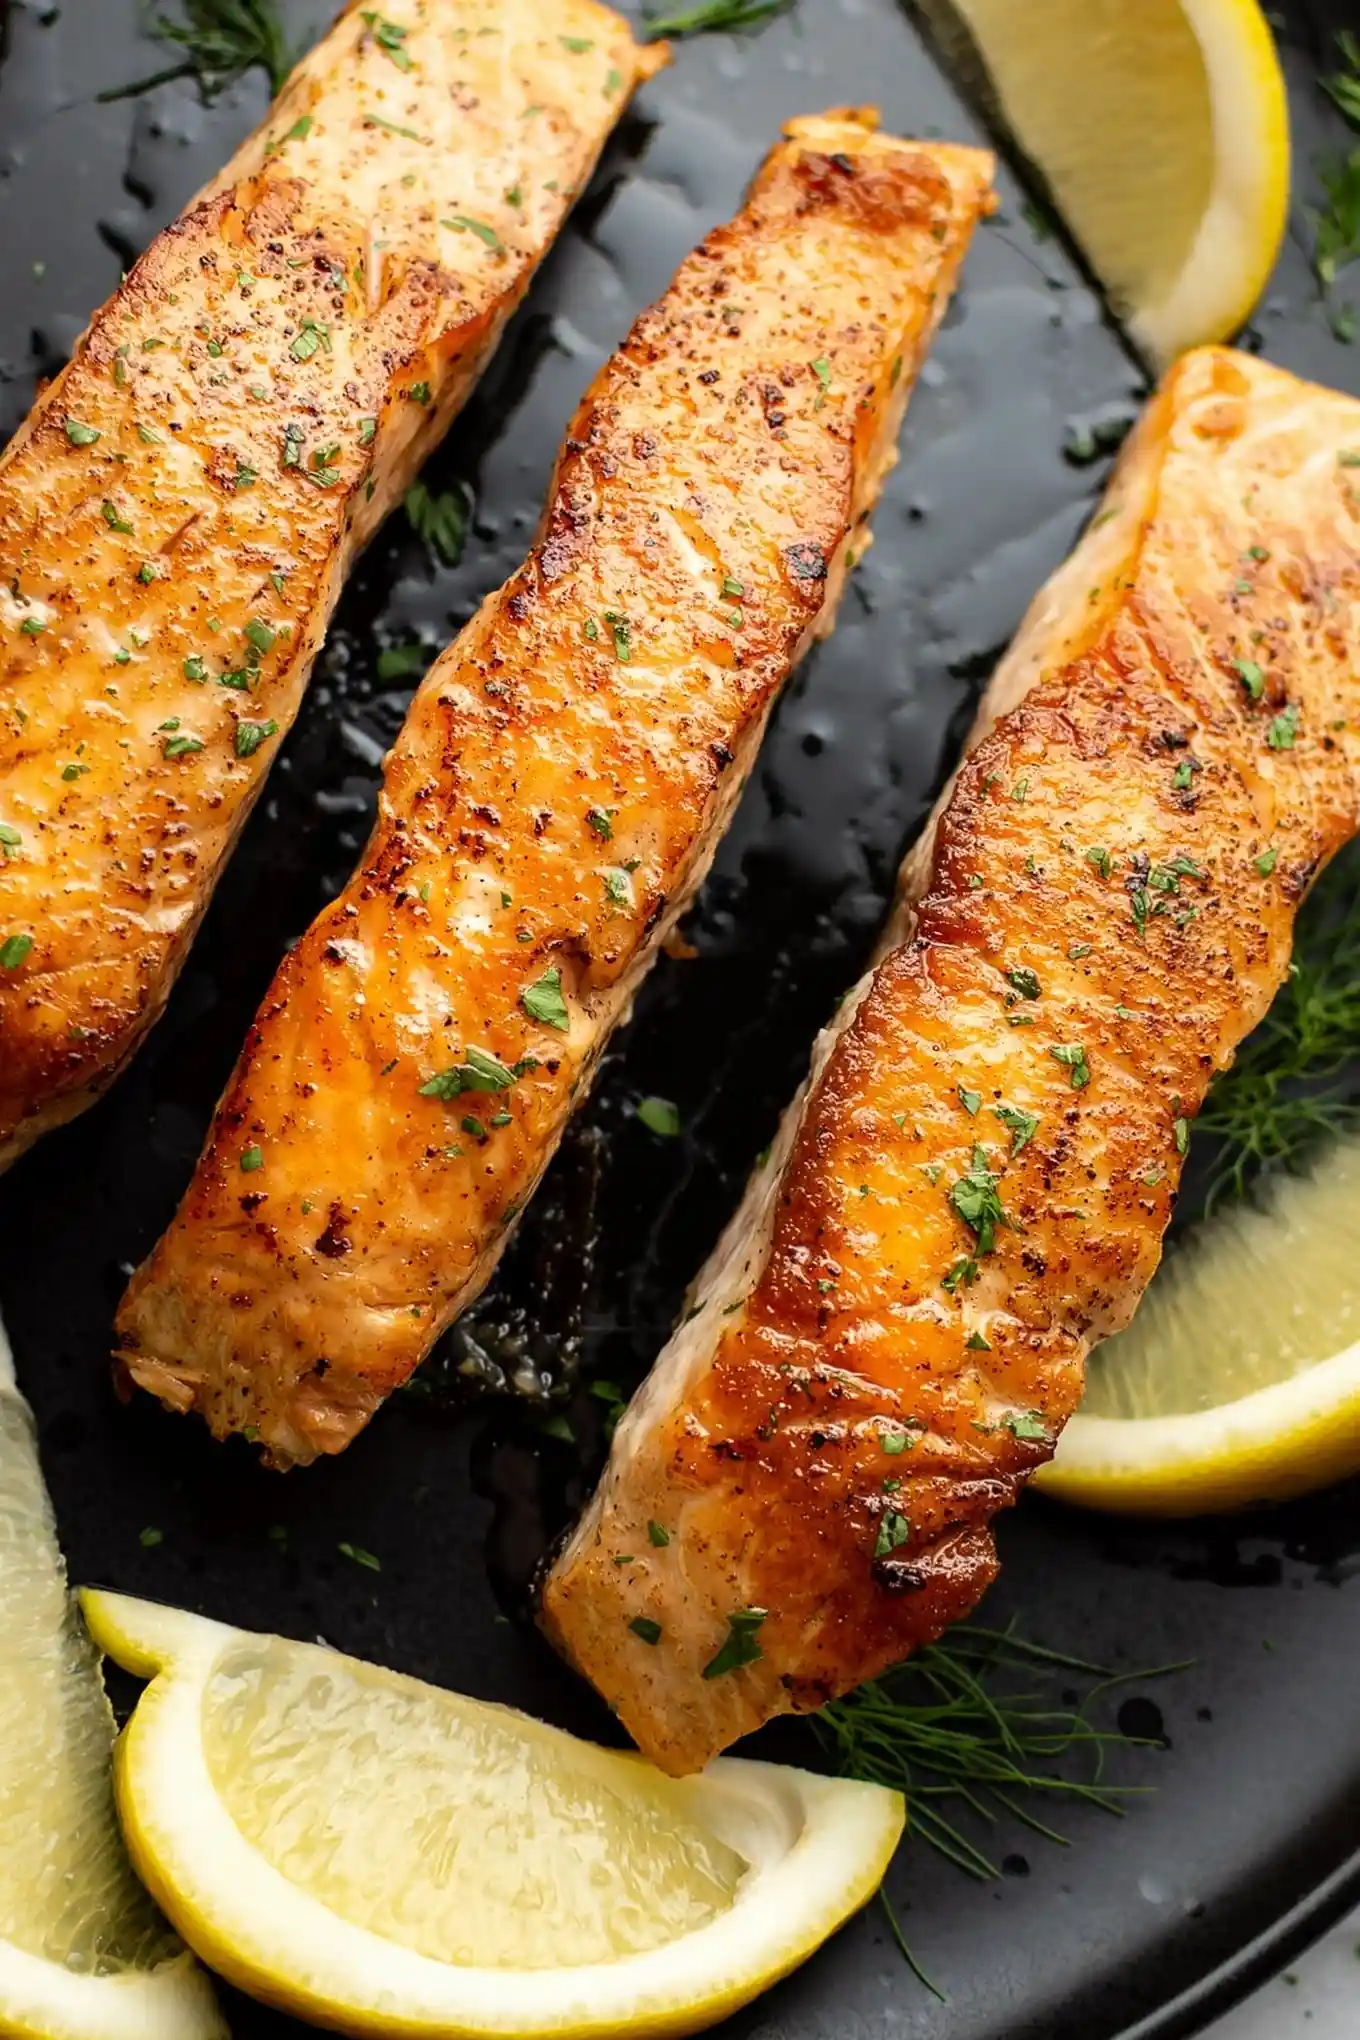
This method ensures a restaurant-quality sear with a moist, tender center. It is a versatile base for many different flavors and takes very little time to prepare.
List of ingredients
- 1 pound salmon (cut into 4 pieces) – prefer skin-on for moisture and texture.
- Salt & pepper (to taste) – used for generous seasoning.
- 1 tablespoon olive oil – provides a higher smoke point for searing.
- 1 tablespoon butter – adds richness and flavor to the crust.
step-by-step instructions
- Prepare the fish: Take the salmon out of the fridge 15-20 minutes before starting the recipe if you can. Cut the salmon into 4 equal pieces and pat it dry with paper towel. Season each piece generously with salt & pepper.
- Heat the pan: Add the olive oil and the butter to a skillet over medium-high heat. Let the skillet heat up for a few minutes.
- Sear the salmon: Cook the salmon (skin-side down) for 5 minutes, then reduce the heat to medium and flip it over and cook for another 2-4 minutes or until it’s cooked through (it’ll take a little longer if your salmon is more than 1″ thick, and less if thinner than 1″). Keep in mind the salmon will continue to cook a bit even after taking it out of the skillet, so don’t overdo it.
- Finish and serve: To serve, it’s delicious with fresh lemon juice squeezed over top. If you’re not a fan of the skin (it’s crispy and delicious if you eat it right away), it’s easy to peel off once it’s cooked.
Professional Preparation Secrets
Bringing Fish to Room Temperature
Taking the salmon out of the refrigerator for 15 to 30 minutes before cooking prevents the center from remaining raw while the outside overcooks. This allows for more even heat distribution throughout the fillet. It reduces the temperature shock when the fish hits the hot oil.
The Importance of Drying the Surface
Moisture on the surface of the fish creates steam, which prevents a golden-brown crust from forming. Use heavy-duty paper towels to pat every side of the fillets completely dry. A dry surface is the primary requirement for achieving a successful Maillard reaction.
Seasoning for Depth
Salmon has a mild flavor that benefits from generous seasoning. Apply salt and pepper immediately before placing the fish in the pan to prevent the salt from drawing out too much moisture. Ensure you cover all surfaces, including the sides of the fillets.
Optimizing Your Cookware and Tools
Using a Cast Iron Skillet
Cast iron is ideal for pan-searing because it retains heat exceptionally well. This prevents the pan temperature from dropping significantly when the cold fish is added. The heavy base ensures consistent contact between the salmon skin and the heat source.
Selecting the Right Tongs
Use wide metal tongs to flip the salmon fillets gently. This prevents the delicate flesh from tearing or breaking apart during the transition. Tongs allow you to apply precise pressure to ensure the skin remains in contact with the pan.
Managing Grease with a Splatter Guard
The combination of butter and olive oil can cause significant popping and splashing at medium-high heat. A fine-mesh splatter guard keeps your stovetop clean without trapping too much steam. This allows you to monitor the fish while minimizing cleanup time.
Mastering Cooking Times and Temperatures
Adjusting for Fillet Thickness
The standard timing is based on 1-inch thick fillets. If your salmon is thicker, increase the second-side cooking time by 1 to 2 minutes. For thinner fillets, reduce the flip-side time to avoid drying out the meat.
Recognizing Visual Cues for Doneness
Watch the side of the fillet as it cooks; the color will shift from a deep, translucent pink to a lighter, opaque pink. Once the opacity reaches about three-quarters of the way up the side, it is usually ready to flip. This visual indicator is often more reliable than a timer.
Accounting for Carry-Over Cooking
Salmon continues to cook for a few minutes after being removed from the heat source. Pull the fish off the pan when it is just slightly under your desired level of doneness. This prevents the proteins from tightening and becoming rubbery.
Pan Management Techniques
Preventing the Fish from Sticking
If the salmon does not release easily from the pan, do not force it. This usually means the crust has not fully formed yet. Give it another 30 to 60 seconds of searing, and it will naturally release once the proteins have browned.
Avoiding Overcrowding the Pan
Leaving space between the fillets is critical for a proper sear. If the pan is too full, the moisture released from the fish will trap steam and boil the meat instead of searing it. Cook in batches if you are preparing more than one pound of salmon.
Maintaining Fat Levels
As the fish cooks, it may absorb the butter and oil. If the pan looks dry or the salmon starts to stick, add a small knob of butter or a drizzle of oil. This maintains the heat transfer between the pan and the fish.
Serving and Pairing Recommendations
Enhancing Flavor with Acidic Finishes
Freshly squeezed lemon juice cuts through the richness of the salmon fats. Add the juice immediately before serving to keep the flavor bright. A wedge of lemon on the side allows each person to customize the acidity level.
Using Fresh Herb Garnishes
Chopped parsley adds a clean, peppery note that complements the buttery sear. Fresh dill is another excellent choice, offering a citrusy aroma that pairs traditionally with seafood. Sprinkle herbs over the fish while it is still hot.
Recommended Starch Pairings
For a hearty meal, serve the salmon alongside fluffy white rice, coconut lime rice, or garlic mashed potatoes. Pesto gnocchi provides a more indulgent, Italian-inspired alternative. These starches help balance the lean protein of the fish.
Vegetable Accompaniments
Roasted asparagus or glazed carrots provide a sweetness that contrasts the salty sear. A vegetable stir-fry is ideal for those wanting an Asian-inspired flavor profile. Steamed broccoli or sautéed spinach also work well for a lighter side.
Complementary Sauce Options
A creamy Tzatziki sauce adds a cool, cucumber-based contrast to the hot fish. For a bolder taste, try a Bang Bang sauce or a creamy horseradish sauce. Chimichurri or Gremolata can add a zesty, herbaceous punch to the dish.
Storage and Reheating Guidelines
Refrigeration Basics
Place leftover cooked salmon in an airtight container to prevent it from absorbing other fridge odors. It is best consumed within one to two days to maintain quality and flavor. Ensure the fish is cooled slightly before sealing the container.
Managing the Skin During Storage
Remove the crispy skin before storing the salmon in the refrigerator. The skin will lose its crunch and become rubbery when chilled. Removing it ensures the remaining flesh stays the primary focus during reheating.
Oven Reheating Method
Wrap the salmon loosely in aluminum foil to lock in moisture. Heat in an oven preheated to 275°F for 15 to 20 minutes. Use a thermometer to check that the thickest part reaches 145°F without overcooking the exterior.
Microwave Reheating Method
Set the microwave to medium power rather than high to avoid toughening the protein. Heat the salmon in 30-second intervals, checking the temperature between each pulse. This gradual heating prevents the fish from becoming rubbery.
Serving Salmon Cold
Cold cooked salmon is an excellent addition to a fresh garden salad. Flake the chilled fish with a fork and toss it with mixed greens, cucumbers, and a vinaigrette. This is a practical way to use leftovers for a healthy lunch.
Common Troubleshooting Cases
What to do if the salmon sticks?
Do not panic or scrape the fish forcefully. Simply wait a few more seconds for the sear to complete, which naturally releases the fish from the metal. If it still sticks, add a tiny bit more butter to the edge of the fillet.
Why is my salmon not searing?
This is usually caused by a pan that isn’t hot enough or fish that is too wet. Ensure the butter and oil are shimmering before adding the fillets. Always pat the salmon dry with a paper towel immediately before cooking.
How to handle skinless fillets?
Skinless fillets cook faster and are more prone to sticking. Reduce the initial searing time and be more attentive to the visual cues of doneness. You may need to add a bit more oil to compensate for the lack of skin protection.
Frequently Asked Questions
Can I use a non-stick pan?
Yes, you can use a non-stick pan, but you will not achieve the same level of crust as you would with cast iron or stainless steel. Non-stick pans cannot handle the same high temperatures required for a professional sear.
Which type of salmon is best?
Atlantic salmon is a great choice for this recipe due to its consistent thickness and fat content. King salmon is more buttery, while Sockeye is leaner and more intense in flavor. Any of these work well with the pan-searing method.
How do I know when it is perfectly cooked?
The fish is done when the internal temperature reaches 145°F or when the flesh flakes easily with a fork. The center should be slightly translucent if you prefer medium-rare, or fully opaque for medium-well.
Print
Simple Pan-Seared Salmon
- Total Time: 20 minutes
- Yield: 4 servings 1x
- Diet: General
Description
This simple pan seared salmon is perfectly crispy on the outside and tender on the inside every time! You only need 20 minutes to make this restaurant-worthy yet easy dish at home.
Ingredients
- 1 pound salmon (cut into 4 pieces)
- Salt & pepper (to taste)
- 1 tablespoon olive oil
- 1 tablespoon butter
Instructions
- Step 1: Take the salmon out of the fridge 15-20 minutes before starting the recipe if you can. Cut the salmon into 4 equal pieces and pat it dry with paper towel. Season each piece generously with salt & pepper.
- Step 2: Add the olive oil and the butter to a skillet over medium-high heat. Let the skillet heat up for a few minutes.
- Step 3: Cook the salmon (skin-side down) for 5 minutes, then reduce the heat to medium and flip it over and cook for another 2-4 minutes or until it’s cooked through.
- Step 4: To serve, it’s delicious with fresh lemon juice squeezed over top.
Notes
I used Atlantic salmon that was about 1″ thick for this recipe. If you’re wanting to cook more than a pound of salmon, I recommend cooking it in batches so it’s not crowded in the pan and it gets a nice sear.
- Prep Time: 5 minutes
- Cook Time: 15 minutes
- Category: Main Course
- Method: Pan Searing
- Cuisine: American
Nutrition
- Serving Size: 1 piece of salmon
- Calories: 217 kcal
- Sugar: 1 g
- Sodium: 75 mg
- Fat: 14 g
- Saturated Fat: 3 g
- Unsaturated Fat: 10 g
- Trans Fat: 1 g
- Carbohydrates: 1 g
- Fiber: 0 g
- Protein: 23 g
- Cholesterol: 70 mg
Keywords: pan seared salmon, crispy salmon, easy dinner, salmon fillet