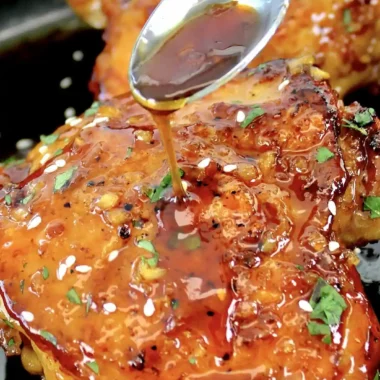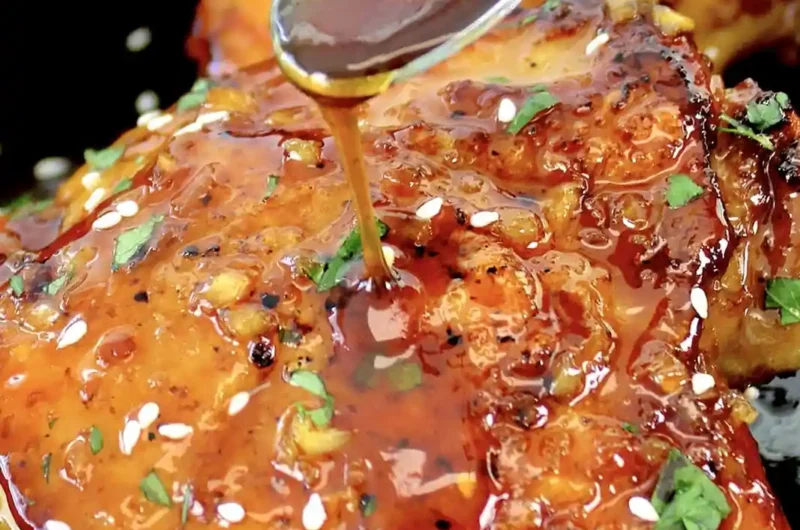
This low-carb version of a Chinese takeout classic provides a sticky, savory glaze without the high sugar content. It is an efficient weeknight meal that balances sweetness and saltiness using keto-friendly ingredients.
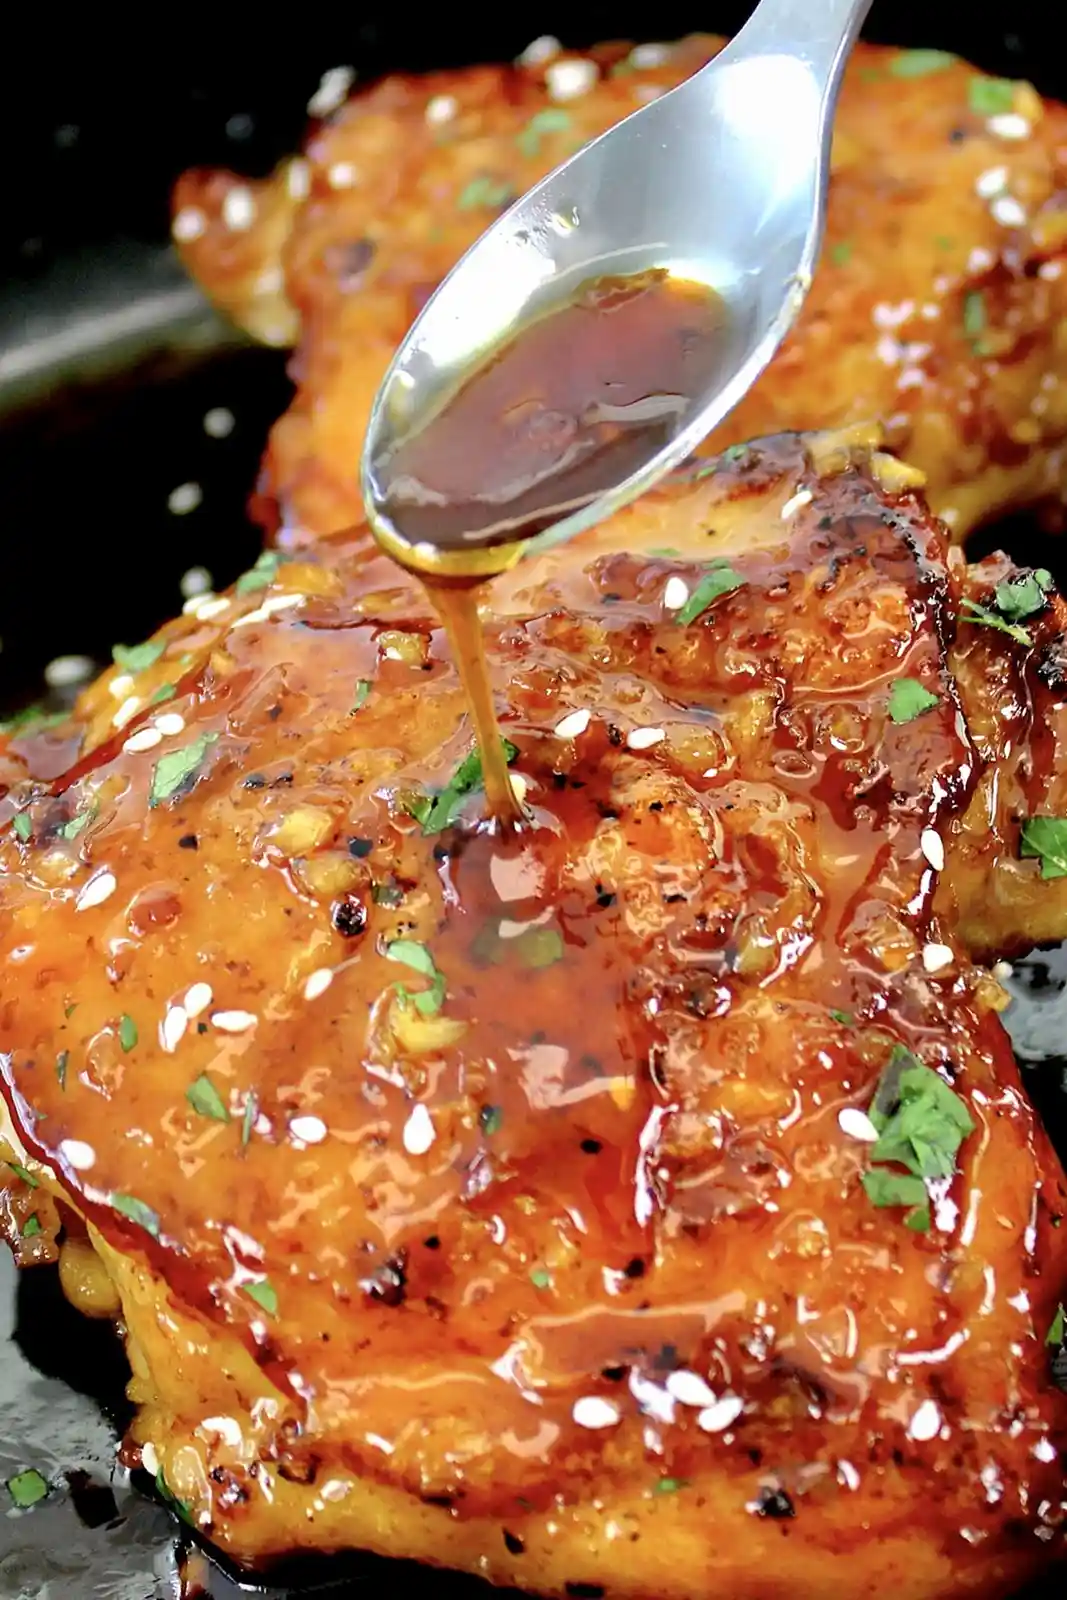
List of ingredients
- 6 chicken thighs (bone in, skin on) – ensures juiciness and flavor.
- 1/3 cup sugar-free Keto honey – provides the signature stickiness.
- 1/3 cup chicken broth – used for deglazing the pan.
- 5 cloves garlic (minced) – adds aromatic depth.
- 2 tablespoons butter – for searing and richness.
- 2 tablespoons olive oil – prevents butter from burning.
- 1 tablespoon liquid aminos – a salty, soy-free alternative.
- 1 tablespoon rice vinegar – adds a necessary tangy acidity.
- 1 teaspoon toasted sesame oil – provides a nutty finish.
- 1/2 teaspoon salt – basic seasoning.
- 1/4 teaspoon ground black pepper – basic seasoning.
- Optional sesame seeds – for visual garnish and texture.
step-by-step instructions
- Season: Add the salt and pepper on both sides of the chicken thighs.
- Sear: Heat a large skillet to medium heat and add in the butter and olive oil. Once the pan is hot, add in the chicken, skin side down.
- Brown: Cook for a 5-6 minutes or until there is a good sear on the skin, then flip them over and cook another 5-6 minutes.
- Deglaze: Remove the chicken from the pan and add in the garlic. Sauté for about 20 seconds, but don’t allow it to brown. Add in the chicken broth to deglaze the pan, scraping up the brown bits of flavor.
- Glaze: In a small mixing bowl, add the honey, liquid aminos, sesame oil and rice vinegar, then whisk until well combined. Add the chicken back into the pan, and pour the mixture over the chicken.
- Finish: Continue cooking the chicken until it reaches an internal temperature of 165°F, when checked with a meat thermometer. Be sure to baste the chicken a few times as it’s cooking. Serve with a garnish of (optional) sesame seeds.
Professional Searing Techniques
Achieving the Perfect Crispy Skin
Start with dry chicken skin by patting it with paper towels before seasoning. This removes surface moisture that otherwise creates steam, preventing the skin from browning and becoming crisp. Maintain a medium heat to ensure the fat renders slowly without burning the exterior.
Managing Pan Temperature
Use a combination of butter and olive oil to raise the smoke point of the cooking fat. If the pan is too hot, the butter will burn and create a bitter taste in the sauce. If it is too cold, the chicken will stick to the surface and the skin will be rubbery.
Correct Use of Meat Thermometers
Insert the probe into the thickest part of the thigh, avoiding the bone to get an accurate reading. The bone conducts heat differently than the meat, which can lead to false readings. Remove the chicken exactly at 165°F to prevent the meat from drying out.
Effective Deglazing Process
Pour the chicken broth into the hot pan immediately after removing the meat and sautéing the garlic. Use a wooden spoon or spatula to scrape the browned bits, known as fond, from the bottom. These concentrated proteins are essential for the depth of the final sauce.
Ingredient Substitutions and Alternatives
Finding a Suitable Keto Honey Replacement
Look for a syrup made from allulose or monk fruit that maintains a thick, viscous consistency. Avoid thin sugar-free syrups, as they will not cling to the chicken or thicken during the reduction process. A high-quality keto honey substitute should mimic the viscosity of real honey.
Replacing Liquid Aminos
If liquid aminos are unavailable, coconut aminos are a great alternative, though they are slightly sweeter. Traditional soy sauce can be used if you are not avoiding soy, but adjust the salt levels accordingly. Coconut aminos have a lower sodium content than both liquid aminos and soy sauce.
Alternative Vinegars for Tanginess
Apple cider vinegar is a functional substitute for rice vinegar if you need a similar acidic profile. While the flavor is slightly more pungent, it provides the necessary balance to the sweet glaze. Avoid using balsamic vinegar as it will change the color and flavor profile too significantly.
Substituting Fats for Searing
Avocado oil can replace olive oil for a higher smoke point if you prefer a hotter sear. Ghee is an excellent substitute for butter as it is clarified and less likely to burn. Ensure you keep the ratio of oil to butter consistent for the best searing results.
Low-Carb Side Dish Pairings
Steamed and Roasted Green Vegetables
Broccolini or steamed broccoli are ideal pairings as they soak up the extra honey garlic sauce. Roasted asparagus also works well, providing a charred flavor that complements the sweetness of the glaze. Keep the vegetables lightly seasoned to let the chicken be the primary flavor focus.
Keto-Friendly Rice Alternatives
Cauliflower rice is the most practical substitute for traditional white rice in this meal. Sauté it with a small amount of sesame oil and salt to mirror the Asian-inspired profile. Another option is shredded cabbage, which provides a nice crunch and absorbs the sauce effectively.
Cooling Salads for Balance
A creamy cucumber salad with rice vinegar and dill provides a refreshing contrast to the rich, sticky chicken. A low-carb coleslaw using a vinegar-based dressing instead of sugar can also cleanse the palate. These options add acidity and freshness to the plate.
Root Vegetable Alternatives
Turnips or radishes, when roasted, take on a flavor similar to potatoes and pair well with savory glazes. Mash cauliflower with a bit of butter and garlic for a creamy side that mimics mashed potatoes. These options keep the meal within low-carb parameters.
Storage and Reheating Guidelines
Refrigeration and Shelf Life
Store leftover chicken in an airtight glass container in the refrigerator for up to four days. Allow the chicken to cool slightly before sealing the container to prevent excess condensation. Keep the remaining sauce separate if you prefer to maintain a specific texture.
Freezing Instructions
You can freeze the cooked chicken for up to two months, but be aware that the skin will lose its crispness. Wrap the chicken tightly in foil and place it in a freezer-safe bag to prevent freezer burn. Thaw the meat in the refrigerator overnight before reheating.
Optimal Reheating Methods
To maintain the best texture, reheat the chicken in an oven or air fryer at 350°F until heated through. Avoid the microwave if possible, as it can make the skin rubbery and the meat tough. If using a microwave, cover the dish to retain moisture and heat in short intervals.
Handling Leftover Sauce
Leftover glaze can be stored in a small jar and used as a marinade for other proteins. If the sauce has thickened too much in the fridge, add a teaspoon of water or broth before reheating. Gently warm it in a small saucepan over low heat.
Advanced Meal Prep Advice
Preparing the Glaze in Advance
Whisk the honey, liquid aminos, sesame oil, and rice vinegar together up to 24 hours before cooking. Store the mixture in a sealed jar in the refrigerator. This allows the flavors to meld and saves time during the actual cooking process.
Pre-Seasoning the Meat
Season the chicken thighs with salt and pepper several hours before cooking or even the night before. This process, similar to dry brining, helps the salt penetrate deeper into the meat. This results in a more seasoned interior and a better sear on the skin.
Batch Cooking Strategies
Double the recipe to prepare meals for the entire week. Since the chicken is seared in a skillet, you may need to work in batches to avoid crowding the pan. Crowding the pan lowers the temperature and prevents the skin from getting crispy.
Organizing Your Mise en Place
Mince the garlic and measure all liquids into separate bowls before turning on the stove. Because the garlic sauté and deglazing process happens quickly, having everything ready prevents the garlic from burning. This organization ensures a smooth transition between cooking steps.
Troubleshooting Common Issues
Fixing a Thin or Watery Sauce
If the sauce does not thicken enough, allow it to simmer for an additional 2-3 minutes without the lid. The water content in the broth will evaporate, concentrating the sugars and fats. Avoid adding cornstarch, as it increases the carb count significantly.
Preventing Chicken from Sticking
Ensure the oil and butter are shimmering and hot before adding the chicken to the pan. Do not move the chicken frequently; let it develop a natural crust before attempting to flip it. The meat will release naturally from the pan once the sear is complete.
Managing Overcooked Meat
If the chicken exceeds 165°F, it may become dry, especially if using leaner cuts. To mitigate this, let the meat rest for 5 minutes before serving to allow juices to redistribute. Basting frequently with the sauce also helps keep the exterior moist.
Addressing Burnt Garlic
If the garlic browns too quickly, remove it from the pan immediately and start over with a fresh batch. Burnt garlic introduces a bitter flavor that cannot be removed once integrated into the sauce. Keep the heat at medium and stir constantly during the 20-second sauté.
Frequently Asked Questions
Can I use skinless chicken thighs?
Yes, you can use skinless thighs, but you will lose the crispy texture and some of the richness. You may need to slightly reduce the cooking time since there is no skin barrier. The sauce will still adhere well to the meat.
Is it possible to bake this recipe?
You can bake the chicken at 400°F for approximately 40 minutes. Baste the thighs with the sauce every 10 minutes to build up a sticky glaze. Note that oven-baked skin is generally less crispy than pan-seared skin.
Can I use a different oil for searing?
Any high-smoke point oil such as avocado oil or grapeseed oil will work well. Avoid using extra virgin olive oil alone for high-heat searing as it can smoke. The combination of butter and oil in the original recipe is designed for balanced flavor and heat stability.
How do I adjust the sweetness?
If the sauce is too sweet, add an extra teaspoon of rice vinegar or a pinch more salt. If you prefer a sweeter profile, slightly increase the amount of keto honey. Always taste the sauce after the deglazing step before adding the chicken back in.
Print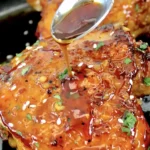
Low-Carb Honey Garlic Chicken Thighs
- Total Time: 25 minutes
- Yield: 6 servings 1x
- Diet: Keto
Description
These tender and juicy Honey Garlic Chicken thighs have the perfect balance of sweet and savory flavors.
Ingredients
- 6 chicken thighs (bone in, skin on)
- 1/3 cup sugar-free Keto honey
- 1/3 cup chicken broth
- 5 cloves garlic (minced)
- 2 tablespoons butter
- 2 tablespoons olive oil
- 1 tablespoon liquid aminos
- 1 tablespoon rice vinegar
- 1 teaspoon toasted sesame oil
- 1/2 teaspoon salt
- 1/4 teaspoon ground black pepper
- Optional sesame seeds
Instructions
- Step: Add the salt and pepper on both sides of the chicken thighs.
- Step: Heat a large skillet to medium heat and add in the butter and olive oil. Once the pan is hot, add in the chicken, skin side down.
- Step: Cook for a 5-6 minutes or until there is a good sear on the skin, then flip them over and cook another 5-6 minutes.
- Step: Remove the chicken from the pan and add in the garlic. Sauté for about 20 seconds, but don’t allow it to brown. Add in the chicken broth to deglaze the pan, scraping up the brown bits of flavor.
- Step: In a small mixing bowl, add the honey, liquid aminos, sesame oil and rice vinegar, then whisk until well combined. Add the chicken back into the pan, and pour the mixture over the chicken.
- Step: Continue cooking the chicken until it reaches an internal temperature of 165°F, when checked with a meat thermometer. Be sure to baste the chicken a few times as it’s cooking. Serve with a garnish of (optional) sesame seeds.
Notes
For the best crispy skin, pan frying is recommended. Alternatively, you can bake the thighs at 400°F for 40 minutes or until the internal temperature reaches 165°F, basting every 10 minutes.
- Prep Time: 5 minutes
- Cook Time: 20 minutes
- Category: Main Course
- Method: Pan-Searing
- Cuisine: Chinese
Nutrition
- Serving Size: 1 serving
- Calories: 354 kcal
- Sugar: 1 g
- Sodium: 480 mg
- Fat: 29 g
- Saturated Fat: 9 g
- Unsaturated Fat: 20 g
- Trans Fat: 0 g
- Carbohydrates: 2 g
- Fiber: 0 g
- Protein: 18 g
- Cholesterol: 115 mg
Keywords: keto honey garlic chicken, low carb, sugar-free, chicken thighs, Chinese cuisine