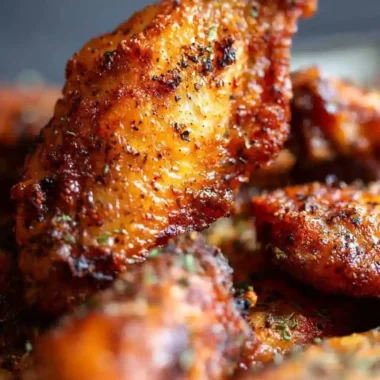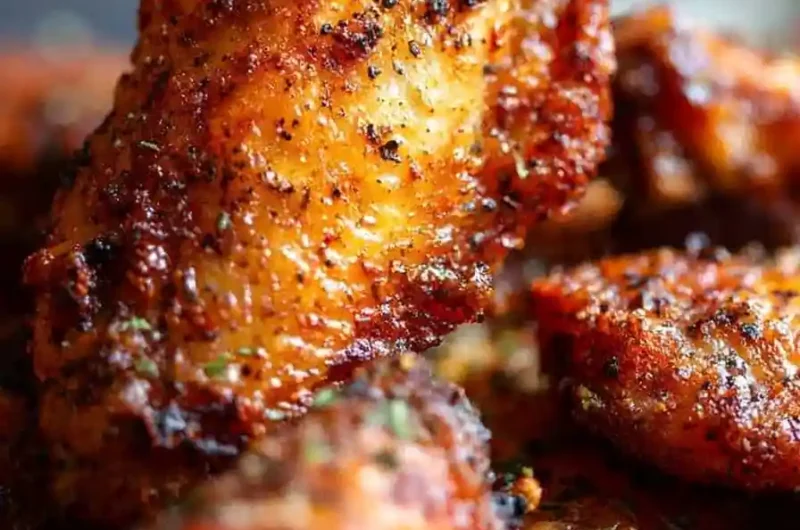
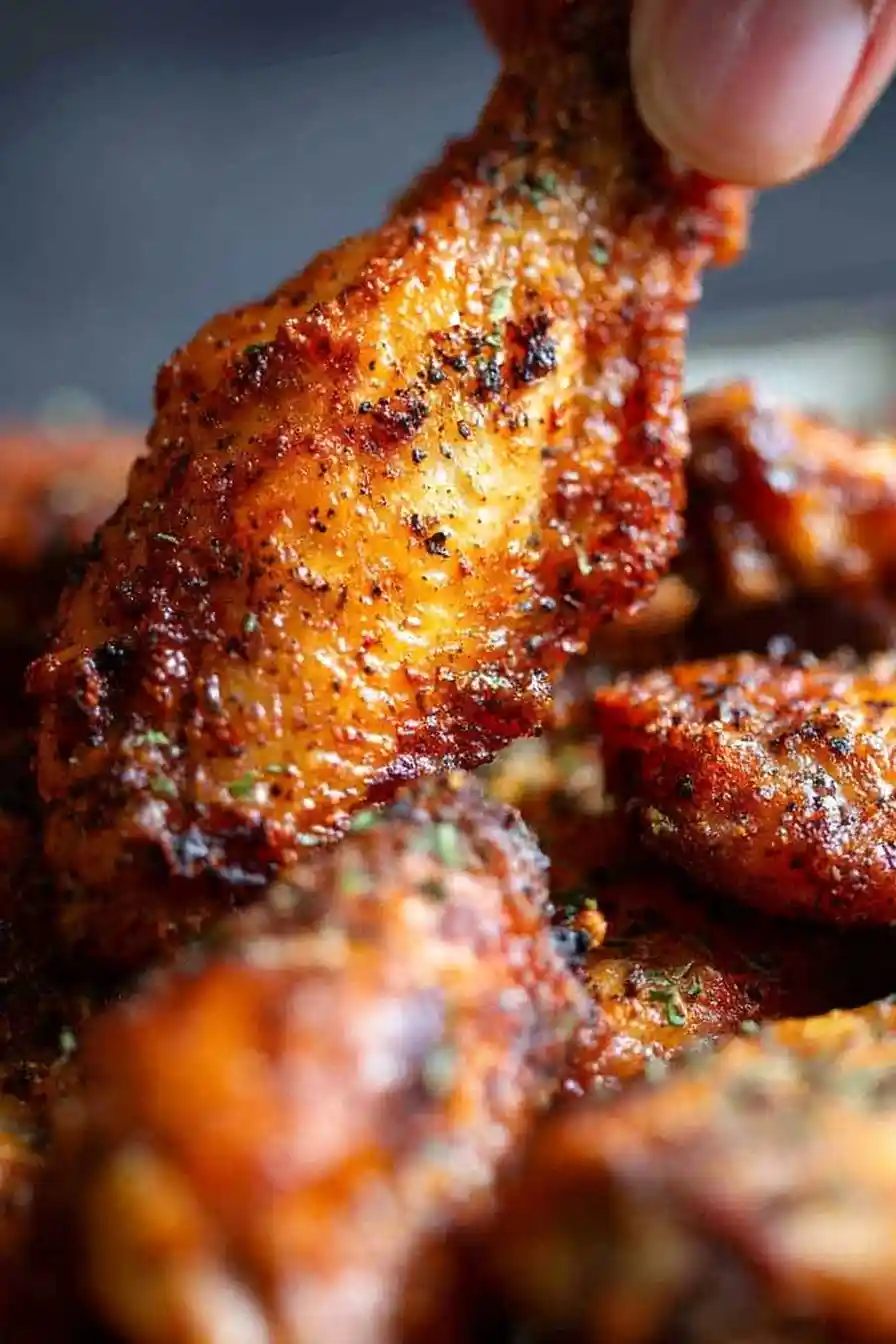
Achieve a deep-fried crunch without the mess of a fryer using this high-heat oven method. These wings are golden brown and perfectly textured, making them an ideal appetizer for any gathering.
List of ingredients
- 2½ pounds chicken wings – separated into flats and drumettes.
- 1 tbsp baking powder – ensure it is aluminum-free to avoid a metallic taste.
- 1 tsp kosher salt – used for seasoning and drawing out moisture.
- 1 tsp garlic powder – adds a savory, aromatic depth.
- ½ tsp black pepper – provides a subtle heat and spice.
step-by-step instructions
- Prepare Oven and Pan: Preheat your oven to 250°F. Line a rimmed baking sheet with aluminum foil or parchment paper and place a wire cooling rack on top for air circulation.
- Dry the Wings: Pat each chicken wing thoroughly with paper towels. Ensure all surface moisture is removed to allow the skin to crisp properly.
- Season the Meat: In a large mixing bowl, toss the dried wings with baking powder, salt, garlic powder, and black pepper until every piece is evenly coated.
- Initial Low-Heat Bake: Arrange the wings in a single layer on the wire rack, skin side up. Bake at 250°F for 30 minutes to render the fat.
- High-Heat Crisp: Increase the oven temperature to 425°F. Move the pan to the upper-middle rack and bake for an additional 40–45 minutes until golden and crisp.
- Rest and Finish: Remove from the oven and let the wings rest on the rack for 5 minutes. Serve as-is or toss them in your preferred sauce.
Techniques for Maximum Crispiness
The Role of Aluminum-Free Baking Powder
Baking powder raises the pH level of the chicken skin, which allows the proteins to break down and create tiny bubbles. These bubbles increase the surface area, leading to a blistered, crunchy texture similar to deep frying. Always choose aluminum-free versions to prevent a bitter, metallic aftertaste in the finished meat.
Eliminating Surface Moisture
Water is the enemy of a crisp crust because it creates steam during the baking process. By patting the wings dry with paper towels, you ensure that the heat immediately begins to sear the skin. For even better results, you can leave the wings uncovered in the refrigerator for several hours before cooking.
Optimizing Air Circulation with a Wire Rack
Placing the wings on a wire rack prevents them from sitting in their own rendered fat. This allows hot air to circulate around the entire wing, including the bottom, which ensures an even crisp. Without a rack, the underside of the wings often becomes soggy or steamed.
Avoiding Pan Overcrowding
If the wings are placed too close together, the moisture escaping from the meat will trap steam between the pieces. This creates a humid environment that prevents the skin from browning. Use two separate baking sheets if you are doubling the recipe to maintain proper spacing.
Flavor Profiles and Sauce Options
Classic Buffalo Glaze
Combine a half cup of cayenne-based hot sauce with two tablespoons of melted unsalted butter. Whisk until emulsified and toss with the wings immediately after they have rested for five minutes. This provides the traditional tangy and spicy flavor associated with pub-style wings.
Zesty Lemon Pepper Coating
Melt two tablespoons of butter and mix in one teaspoon of fresh lemon zest and a half teaspoon of coarsely ground black pepper. Toss the hot wings in this mixture for a bright, citrusy flavor profile. This option is excellent for those who prefer a lighter, less spicy appetizer.
Savory Garlic Parmesan Toss
Combine two tablespoons of melted butter, one teaspoon of garlic powder, and two tablespoons of finely grated microbial-rennet parmesan cheese. Coat the warm wings quickly to ensure the cheese adheres to the skin. The saltiness of the cheese complements the garlic and butter perfectly.
Honey Sriracha Balance
Mix equal parts honey and sriracha sauce in a small bowl and warm slightly until the honey is fluid. Drizzle the mixture over the wings or toss them in a bowl just before serving. This creates a sticky, sweet, and spicy glaze that appeals to a wide range of tastes.
Custom Dry Rub Alternatives
Instead of using only garlic powder, you can incorporate smoked paprika, onion powder, or a pinch of cayenne pepper into the initial seasoning. Apply the rub before the baking process to let the flavors penetrate the skin. This method is ideal for those who want a dry, crunchy exterior without any wet sauce.
Serving and Presentation Suggestions
Complementary Dipping Sauces
Serve the wings with a side of creamy blue cheese or ranch dressing to balance the heat of the spices. A side of honey mustard is also a great choice for those using a dry rub or lemon pepper seasoning. Provide small individual ramekins for dipping to keep the platter clean.
Fresh Vegetable Pairings
Include chilled celery sticks and carrot batons on the serving platter. The coolness and crunch of raw vegetables provide a refreshing contrast to the rich, salty flavor of the wings. This also adds color and nutritional balance to the meal.
Platter Arrangement
Arrange the wings in a circular pattern or piled high on a wooden board or large platter. Place the dipping sauces in the center and surround them with the vegetable sticks. Garnish the plate with chopped fresh parsley or sliced green onions for a professional look.
Storage and Preservation
Refrigerating Leftover Wings
Allow the wings to cool completely to room temperature before transferring them to an airtight container. Store them in the refrigerator for up to four days. Ensure they are not packed too tightly to avoid crushing any remaining crispiness.
Freezing Cooked Chicken Wings
Place cooled wings on a tray and freeze them individually for one hour before transferring them to a freezer-safe bag. This prevents them from clumping together in a single mass. They can be stored in the freezer for up to three months.
Optimal Reheating Methods
Oven Reheating for Best Texture
Preheat your oven to 375°F and place the leftover wings on a wire rack over a baking sheet. Heat them for 10 to 15 minutes, or until the skin becomes crisp again and the meat is hot throughout. This method is the most effective way to restore the original texture.
Using an Air Fryer for Speed
Place the wings in the air fryer basket at 375°F for about 4 to 6 minutes. The rapid air circulation quickly crisps the skin without overcooking the interior. This is a faster alternative to the oven while maintaining a high level of crunch.
Why to Avoid the Microwave
Avoid reheating wings in the microwave, as the process traps steam inside the meat and skin. This results in a rubbery texture and soggy skin that cannot be recovered. Microwaving effectively ruins the work put into the initial baking process.
Make-Ahead Strategies
Pre-Seasoning the Wings
You can toss the wings in the baking powder and spice mixture up to 24 hours in advance. Keep them in a sealed container or bowl in the refrigerator. This allows the salt to penetrate deeper into the meat, potentially enhancing the flavor.
Preparing Sauces in Advance
Most wing sauces can be made a day ahead and stored in the refrigerator. When you are ready to serve, simply reheat the sauce in a small saucepan or microwave until fluid. This saves time during the final assembly of the dish.
Troubleshooting Common Problems
Dealing with Soggy Skin
If the wings come out soggy, it is likely due to excess moisture or overcrowding on the pan. Ensure you are using a wire rack and that each wing has at least an inch of space around it. Double-check that you used baking powder and not baking soda.
Preventing Burnt Skin
If the skin browns too quickly during the 425°F stage, check the position of your rack. Moving the tray to a lower rack can prevent the tops from burning before the interior reaches 165°F. You can also tent the wings loosely with foil if they darken too rapidly.
Handling Uneven Cooking
Uneven cooking often happens when wings are of vastly different sizes. Separate the flats from the drumettes and arrange the larger drumettes in the center of the rack where heat is often most consistent. Rotate the pan halfway through the high-heat phase for uniform results.
Frequently Asked Questions
Can I use frozen wings?
Yes, but they must be completely thawed in the refrigerator before you start. Frozen wings release too much water during cooking, which will prevent the skin from ever becoming truly crispy. Never bake wings while they are still frozen.
Why use baking powder instead of baking soda?
Baking powder is the correct choice because it creates the necessary pH shift to blister the skin. Baking soda is far more alkaline and will create a chemical, soapy taste and cause the wings to brown too quickly or burn.
How do I know when the wings are fully cooked?
The most reliable method is using a meat thermometer to ensure the internal temperature has reached 165°F. Visually, the skin should be golden brown and pull away slightly from the bone at the joints.
Can I use boneless wings or tenders?
You can use them, but the results will be different because there is no skin to crisp. Boneless wings will cook much faster, so you should skip the low-temperature bake and only use the high-heat setting to avoid drying out the breast meat.
What if I do not have a wire rack?
If a rack is unavailable, line your baking sheet with parchment paper. You must flip the wings halfway through the 425°F baking stage to ensure the bottom side gets some exposure to the heat and doesn’t stay soggy.
Print
Perfectly Crispy Oven-Baked Chicken Wings
- Total Time: 1 hour 30 minutes
- Yield: 4 servings 1x
- Diet: General
Description
A straightforward method to achieve golden, crispy oven-baked chicken wings without deep frying, using a two-temperature bake technique for consistent results.
Ingredients
- 2½ pounds chicken wings
- 1 tbsp baking powder
- 1 tsp kosher salt
- 1 tsp garlic powder
- ½ tsp black pepper
Instructions
- Preheat: Preheat oven to 250°F. Line baking sheet with foil and place wire rack on top.
- Dry: Pat wings completely dry with paper towels.
- Season: Toss wings with baking powder, salt, garlic powder, and pepper.
- Bake Low: Arrange on rack and bake at 250°F for 30 minutes.
- Bake High: Increase oven to 425°F and bake for 40–45 minutes more.
- Rest: Let rest for 5 minutes, then serve as-is or toss with sauce.
Notes
Use aluminum-free baking powder to avoid a metallic aftertaste. Ensure wings are completely dry before seasoning for maximum crispiness. Avoid overcrowding the pan to ensure proper airflow.
- Prep Time: 15 minutes
- Cook Time: 1 hour 15 minutes
- Category: Main Course
- Method: Baking
- Cuisine: American
Nutrition
- Serving Size: 1 serving
- Calories: 300 kcal
- Sugar: 1 g
- Sodium: 600 mg
- Fat: 20 g
- Saturated Fat: 6 g
- Unsaturated Fat: 12 g
- Trans Fat: 0 g
- Carbohydrates: 5 g
- Fiber: 1 g
- Protein: 25 g
- Cholesterol: 90 mg
Keywords: crispy chicken wings, oven baked wings, healthy wings, easy appetizers, baking powder wings