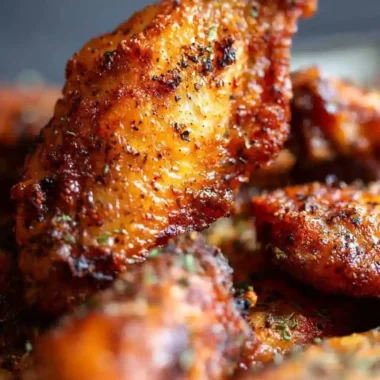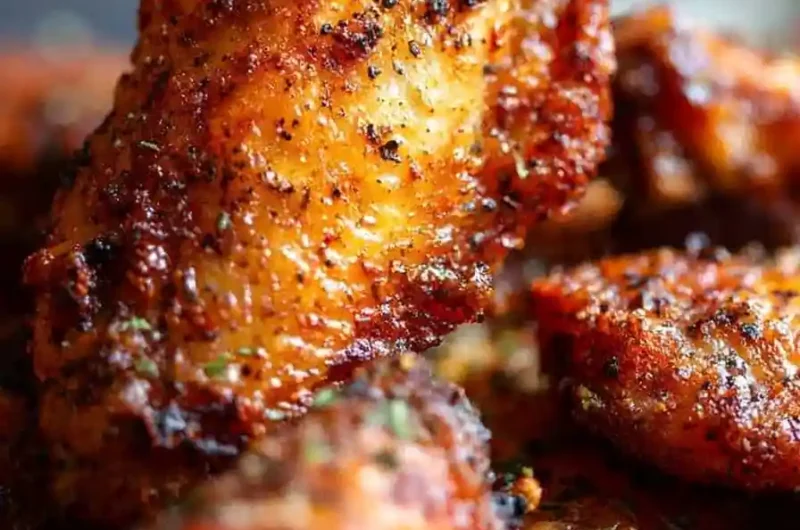
Achieving restaurant-quality crispy chicken wings at home is surprisingly simple when you leverage the power of your oven and a few smart techniques. By using a two-stage temperature method, you can effectively render the fat and create a golden, crunchy exterior that rivals deep-fried versions without the mess. This approach is perfect for busy weeknights or hosting, as it requires minimal active time and yields consistently impressive results every single time.
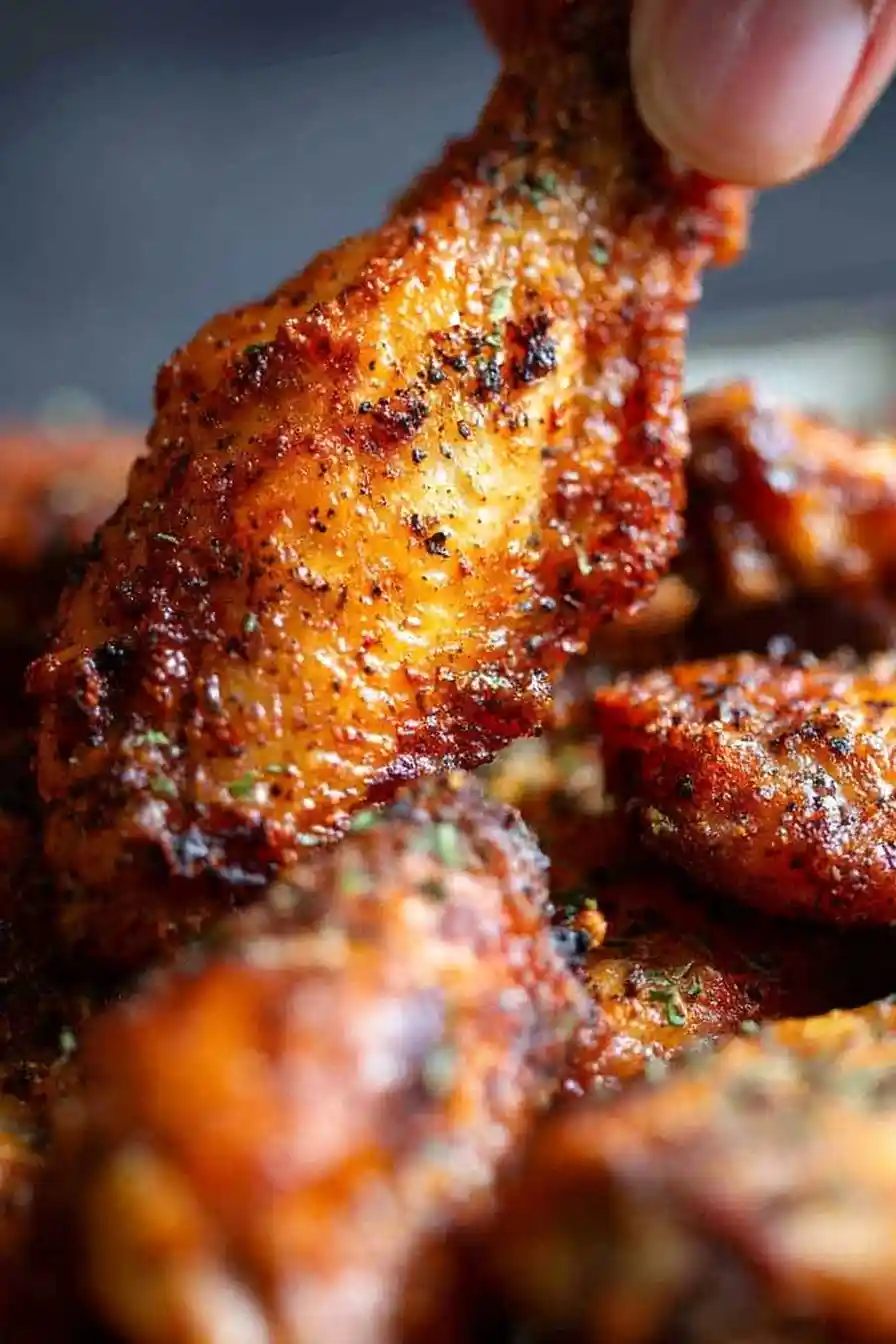
List of ingredients
- 2 1/2 pounds chicken wings, separated into flats and drumettes
- 1 tbsp aluminum-free baking powder
- 1 tsp kosher salt
- 1 tsp garlic powder
- 1/2 tsp black pepper
step-by-step instructions
- Step: Preheat your oven to 250°F. Line a rimmed baking sheet with foil or parchment paper, then place a wire rack on top.
- Step: Pat each wing dry thoroughly with paper towels until the skin feels tacky.
- Step: Place the wings in a large bowl and toss with the baking powder, salt, garlic powder, and black pepper until evenly coated.
- Step: Arrange the wings in a single layer on the wire rack and bake at 250°F for 30 minutes.
- Step: Increase the oven temperature to 425°F and continue baking for 40–45 minutes until the skin is golden brown and crisp.
- Step: Remove from the oven and let the wings rest for 5 minutes before serving.
Refining Your Technique
Achieving Maximum Surface Dryness
The secret to the crispiest skin involves more than just a paper towel. After drying the wings, placing them on a tray in the refrigerator for an hour uncovered allows the cool air to dehydrate the skin further. This extra step significantly improves the final crunch after the baking process.
The Role of Airflow in Oven Roasting
Using a wire rack is not merely an optional step; it is fundamental to how this recipe functions. When wings sit directly on a baking sheet, the bottom side sits in rendered fat and will remain soft. By elevating them, you expose all sides of the wing to the hot air, ensuring uniform crisping without the need to flip the wings during the cooking cycle.
Managing Oven Temperatures
Starting at a lower temperature is essential for slowly melting the subcutaneous fat found under the wing skin. If you were to start at 425°F immediately, the outer skin would burn before the fat had a chance to render out. This temperature transition acts as a two-phase process: rendering followed by browning.
Selecting High-Quality Components
Choosing the Right Chicken Wings
When selecting wings at the store, look for pieces that appear plump and have a consistent color. If you are buying whole wings, learn the anatomy of the wing to separate them easily at the joints. This creates two distinct pieces—the drumette and the flat—which cook much more evenly than a whole wing would.
Why Baking Powder is Mandatory
Baking powder is a mixture of baking soda and an acid, which reacts with the moisture on the skin to create tiny carbon dioxide bubbles. These bubbles create microscopic blisters on the surface of the chicken, which expand and harden during the high-heat phase. Do not swap this for baking soda, which will create an unpleasant, metallic, and soapy taste.
Practical Serving and Plating Strategies
Creating Balanced Flavor Profiles
Once the wings are perfectly crisp, they serve as a neutral canvas for various flavor profiles. Because the wings are not pre-marinated in liquids, they hold coatings beautifully without becoming gummy. Always add your sauces or glazes right before you are ready to plate to maintain that distinct structural crunch.
Pairing with Refreshing Sides
The richness of roasted chicken wings pairs best with acidic or cool, crisp side dishes. Consider serving them with fresh celery sticks, raw carrot strips, or a cooling dip made from yogurt and herbs. These sides help cleanse the palate between bites, making the overall experience much more enjoyable.
Storage and Handling
Optimal Storage for Leftovers
If you find yourself with extra wings, store them in an airtight container in the refrigerator for up to three days. It is vital that the wings have completely cooled to room temperature before being sealed to prevent excess condensation from softening the skin. If they are stored while hot, the humidity will turn the skin chewy and difficult to crisp again.
Restoring Texture During Reheating
To enjoy leftover wings, never use the microwave, as it will inevitably result in rubbery, limp skin. Instead, preheat your oven to 400°F and place the wings back on the wire rack for 8–10 minutes. This high-heat blast will re-crisp the skin effectively while warming the meat through without drying it out.
Frequently Asked Questions
Can I prepare the wings in advance?
You can season the wings and arrange them on the rack a few hours before you plan to bake them. Store them in the refrigerator until you are ready to turn the oven on. This helps the skin dry out, which actually leads to even crispier results.
What should I do if my oven runs hot?
If you have an oven that tends to cook quickly, keep a close watch on the wings once you increase the temperature to 425°F. You can rotate the baking sheet halfway through the high-heat portion if you notice one side of the oven is browning significantly faster than the other.
Is it necessary to use oil?
You do not need to add oil to this recipe. Chicken wings have a high fat content in their skin, and the low-temperature phase is specifically designed to render that fat out. Adding extra oil will only make the wings greasy rather than crispy.
What is the best way to tell if the chicken is done?
An instant-read meat thermometer is the most reliable way to ensure safety. Aim for an internal temperature of at least 165°F at the thickest part of the wing. Because the skin is exposed to such high heat, you will often find that the meat stays succulent and juicy while the exterior becomes dark and crunchy.
Can I increase the quantity for a larger crowd?
If you are doubling the batch, you must use two separate sheet pans. Do not attempt to crowd all the wings onto a single pan, as this will lead to steaming instead of roasting. If you use two pans, swap their positions in the oven halfway through the cooking time to ensure they brown at the same rate.
Why is my baking powder making the wings look pale?
If the wings appear pale after the 30-minute low-temperature cycle, do not worry; this is normal. The color only develops during the final high-temperature stage. Make sure your oven has reached the full 425°F before you start the second phase of cooking to ensure proper Maillard reaction and browning.
Print
Easy Crispy Oven Baked Chicken Wings in 30 Minutes
- Total Time: 90 minutes
- Yield: 4 servings 1x
- Diet: Low Carb
Description
Achieve restaurant-quality crispy chicken wings right in your own oven. This simple method uses baking powder and a dual-temperature roasting technique to ensure golden, crunchy skin and juicy meat without the need for deep frying.
Ingredients
- 2 1/2 pounds chicken wings, separated into flats and drumettes
- 1 tbsp aluminum-free baking powder
- 1 tsp kosher salt
- 1 tsp garlic powder
- 1/2 tsp black pepper
Instructions
- Step: Preheat your oven to 250°F. Line a rimmed baking sheet with foil or parchment paper, then place a wire rack on top.
- Step: Pat each wing dry thoroughly with paper towels until the skin feels tacky.
- Step: Place the wings in a large bowl and toss with the baking powder, salt, garlic powder, and black pepper until evenly coated.
- Step: Arrange the wings in a single layer on the wire rack and bake at 250°F for 30 minutes.
- Step: Increase the oven temperature to 425°F and continue baking for 40–45 minutes until the skin is golden brown and crisp.
- Step: Remove from the oven and let the wings rest for 5 minutes before serving.
Notes
Always use aluminum-free baking powder to avoid any metallic aftertaste. Ensure the wings are spaced out on the rack to allow proper airflow for maximum crispiness.
- Prep Time: 15 minutes
- Cook Time: 75 minutes
- Category: Appetizer
- Method: Oven baked
- Cuisine: American
Nutrition
- Serving Size: 1 serving
- Calories: 320 kcal
- Sugar: 0 g
- Sodium: 650 mg
- Fat: 22 g
- Saturated Fat: 6 g
- Unsaturated Fat: 14 g
- Trans Fat: 0 g
- Carbohydrates: 1 g
- Fiber: 0 g
- Protein: 28 g
- Cholesterol: 110 mg
Keywords: crispy chicken wings, oven baked wings, easy appetizer, party food, healthy chicken wings