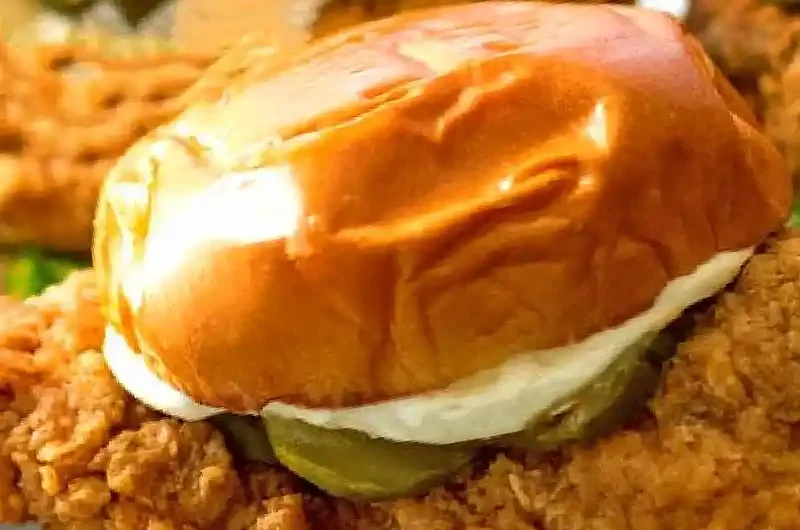
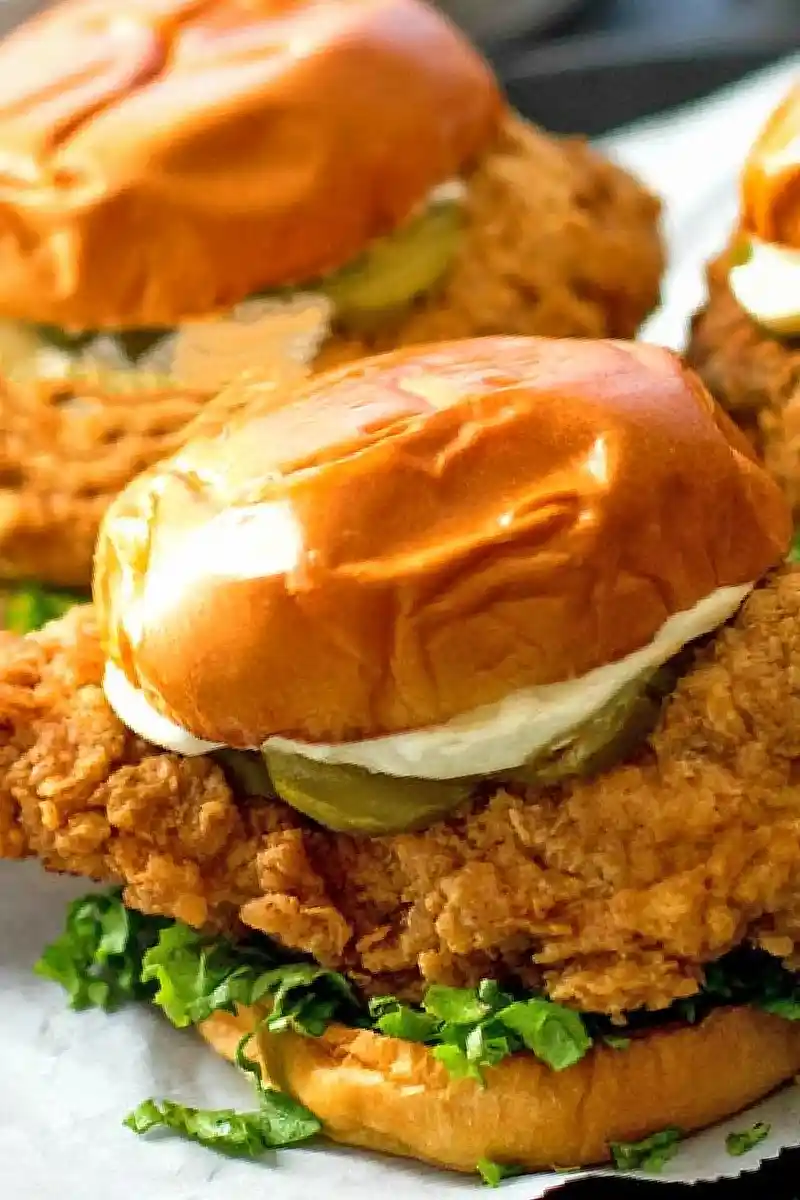
Creating a restaurant-quality crispy chicken sandwich at home is easier than you might think, especially when you use the right combination of seasonings and breading techniques. This recipe yields juicy, tender chicken with a golden, crunchy exterior that is perfect for a satisfying meal. By marinating the chicken in buttermilk, you ensure the meat stays incredibly succulent while the spice-infused crust provides a bold and flavorful finish.
List of ingredients
- 2 lb boneless skinless chicken breasts
- 2 cups buttermilk
- 1 Tbsp hot sauce
- 2 cups all purpose flour
- 3/4 cup corn starch
- 2 tsp seasoned salt
- 1 tsp baking powder
- 1 tsp black pepper
- 1 tsp onion powder
- 1 tsp granulated garlic
- 1 tsp ground mustard
- 1 tsp smoked paprika
- 1 tsp dried dill
- 1/2 tsp ground cumin
- 1/4 tsp ground cayenne (optional)
- 3 large eggs
- 3 Tbsp cold water
- 6-8 cups canola oil
- 4 lightly toasted brioche buns
- Assorted condiments: pickles, mayonnaise, lettuce
step-by-step instructions
- Step: Place chicken breasts between 2 large sheets of plastic wrap. Pound thickest side with the flat side of a meat mallet just until chicken is uniform in thickness, not too thin.
- Step: Place chicken into a large plastic storage bag or a shallow storage container. Whisk together buttermilk and hot sauce, pour over chicken. Seal bag and chill for 4 hours or overnight to marinate.
- Step: In a large dutch oven heat oil to 350°F. Have nearby a baking pan fitted with an oven safe rack.
- Step: Remove chicken pieces from marinade, allowing excess to drip off. Discard marinade. Season the chicken pieces lightly with salt.
- Step: In a shallow dish whisk together flour, cornstarch and baking powder. Add seasoned salt, pepper, onion powder, granulated garlic, mustard, paprika, dill, cumin and cayenne, if using. Whisk until seasonings are evenly distributed. In a separate shallow bowl whisk together eggs with cold water.
- Step: Dip chicken pieces in flour mixture, then into egg and back into flour mixture. Press coating firmly onto the chicken pieces.
- Step: Fry pieces in batches for 6 minutes per side or until cooked through. Carefully remove to prepared pan. Season lightly with additional salt and keep warm.
- Step: Serve on toasted brioche buns with pickles, mayonnaise, lettuce or any of your favorite toppings.
Refining Your Frying Technique
Maintaining Consistent Oil Temperature
Keeping the oil temperature steady at 350°F is critical for achieving a crisp crust without burning the exterior or leaving the chicken greasy. If the oil drops below 325°F, the breading will absorb too much fat; if it rises above 375°F, the outside will darken too quickly before the center is finished cooking. Use a reliable digital or clip-on analog thermometer to check the temperature before each batch goes into the pot.
Avoiding Overcrowding the Pot
Adding too many pieces of chicken at once will cause the oil temperature to plummet, leading to a heavy, oily crust instead of a crispy one. Stick to frying one or two pieces at a time depending on the size of your Dutch oven, which ensures the recovery time for the oil temperature stays within an acceptable range. Work in efficient batches and use a spider strainer to remove any rogue crispy bits between rounds so they do not burn and flavor the rest of your oil.
Customizing Your Breading Profile
Adjusting the Heat Levels
The spice blend used here provides a balanced Southern-inspired flavor, but you can easily pivot based on your preferences. For those who enjoy extra intensity, you can increase the amount of cayenne pepper or add a dash of chipotle powder for a smoky, lingering heat. If you are serving individuals who are sensitive to spice, simply remove the cayenne and hot sauce entirely to let the savory garlic and onion notes shine on their own.
Achieving an Extra Thick Crust
If you prefer a substantial, craggy crust similar to those found in boutique chicken shops, utilize a double-dredging technique. After the initial flour-egg-flour sequence, dip the chicken back into the egg wash and then into the flour one more time, pressing down firmly to ensure the extra layers adhere well. Be mindful that this thicker crust may require a minute or two of extra frying time to ensure the center of the breast is perfectly cooked through.
Optimizing Sandwich Assembly
Choosing the Perfect Bun
The choice of bun significantly impacts the final bite of your sandwich, and brioche is typically the gold standard due to its high butter and egg content. The richness of the bread provides a necessary contrast to the savory, fried chicken, but you must lightly toast it with a small amount of butter to prevent it from becoming soggy when it meets the hot chicken or condiments. A quick toast in a warm pan provides a structural barrier that keeps your sandwich crisp until the last bite.
Layering for Balance
Layering your condiments properly can enhance both the flavor and the texture of the sandwich, preventing the bun from absorbing too much juice from the chicken. Apply a thin layer of mayonnaise to both sides of the toasted bun, which creates a protective moisture barrier for the bread. Place your crisp lettuce on the bottom bun to provide a cool crunch, add the hot chicken on top, and finish with thinly sliced pickles to provide the necessary acid to cut through the richness of the fried coating.
Managing Leftovers and Reheating
Proper Refrigeration
If you have leftover fried chicken, place it in an airtight container as soon as it has cooled down to room temperature to prevent it from drying out. It will typically stay fresh in the refrigerator for up to three days, though the breading will naturally soften over time due to the moisture in the meat. Always keep your toasted buns separate from the chicken until you are ready to assemble a fresh sandwich for eating.
Restoring the Original Crunch
To reheat the chicken effectively without drying it out, avoid the microwave, which will only make the breading soft and chewy. Instead, place the chicken on a wire rack set over a baking sheet and heat it in an oven or toaster oven preheated to 375°F for about 10 to 12 minutes. This high heat encourages the breading to crisp up again while the residual warmth helps bring the interior of the chicken back to a succulent temperature.
Common Kitchen Questions
Why did the breading fall off the chicken during frying?
The most common cause for breading detachment is failing to let the chicken rest after the initial dredging, or having too much moisture on the chicken surface before the first coating. Ensure you pat the chicken dry before dipping it into the buttermilk, and after the final breading, let it sit on a rack for five to ten minutes; this gives the flour a chance to hydrate and form a proper bond with the egg wash. Also, be very gentle when placing the chicken into the oil to avoid disturbing the coating before it sets.
Can I prepare the chicken ahead of time?
Yes, the marinating step is actually better when done ahead of time, as the buttermilk has more time to tenderize the meat fibers. You can marinate the chicken for up to 24 hours in the refrigerator, which creates a very tender result. However, for the best textural results, perform the dredging and frying process immediately before you plan to serve the meal to ensure the crust remains at its peak level of crispness.
What is the benefit of using corn starch?
Corn starch is a vital ingredient in this recipe because it has a lower protein content than wheat flour, which prevents the development of gluten in the coating. When combined with all-purpose flour, it effectively creates a lighter, airier structure that crisps up beautifully in hot oil. This combination is a classic secret in many fried food recipes to ensure that the exterior remains light and delicate rather than dense or bread-like.
Print
Classic Homemade Crispy Chicken Sandwich
- Total Time: PT272M
- Yield: 4 sandwiches 1x
- Diet: Non-Vegetarian
Description
Skip the drive-through and make your own crispy, flavorful chicken sandwich at home. This recipe uses a special blend of seasonings and a cornstarch-enhanced breading for a superior, restaurant-quality crunch.
Ingredients
- 2 lb boneless skinless chicken breasts
- 2 cups buttermilk
- 1 Tbsp hot sauce
- 2 cups all purpose flour
- 3/4 cup corn starch
- 2 tsp seasoned salt
- 1 tsp baking powder
- 1 tsp black pepper
- 1 tsp onion powder
- 1 tsp granulated garlic
- 1 tsp ground mustard
- 1 tsp smoked paprika
- 1 tsp dried dill
- 1/2 tsp ground cumin
- 1/4 tsp ground cayenne (optional)
- 3 large eggs
- 3 Tbsp cold water
- 6–8 cups canola oil
- 4 lightly toasted brioche buns
- Assorted condiments: pickles, mayonnaise, lettuce
Instructions
- Step: Place chicken breasts between 2 large sheets of plastic wrap. Pound thickest side with the flat side of a meat mallet just until chicken is uniform in thickness, not too thin.
- Step: Place chicken into a large plastic storage bag or a shallow storage container. Whisk together buttermilk and hot sauce, pour over chicken. Seal bag and chill for 4 hours or overnight to marinate.
- Step: In a large dutch oven heat oil to 350°F. Have nearby a baking pan fitted with an oven safe rack.
- Step: Remove chicken pieces from marinade, allowing excess to drip off. Discard marinade. Season the chicken pieces lightly with salt.
- Step: In a shallow dish whisk together flour, cornstarch and baking powder. Add seasoned salt, pepper, onion powder, granulated garlic, mustard, paprika, dill, cumin and cayenne, if using. Whisk until seasonings are evenly distributed. In a separate shallow bowl whisk together eggs with cold water.
- Step: Dip chicken pieces in flour mixture, then into egg and back into flour mixture. Press coating firmly onto the chicken pieces.
- Step: Fry pieces in batches for 6 minutes per side or until cooked through. Carefully remove to prepared pan. Season lightly with additional salt and keep warm.
- Step: Serve on toasted brioche buns with pickles, mayonnaise, lettuce or any of your favorite toppings.
Notes
For a thicker coating, follow the recipe by coating each piece in flour, then egg wash and into flour. Repeat back into the egg wash and flour for a double dip, pressing firmly onto the chicken pieces.
- Prep Time: PT20M
- Cook Time: PT12M
- Category: Main Course
- Method: Deep Frying
- Cuisine: American
Nutrition
- Serving Size: 1 sandwich
- Calories: 860 kcal
- Sugar: 6 g
- Sodium: 1698 mg
- Fat: 38 g
- Saturated Fat: 7 g
- Unsaturated Fat: 31 g
- Trans Fat: 1 g
- Carbohydrates: 78 g
- Fiber: 3 g
- Protein: 64 g
- Cholesterol: 298 mg
Keywords: crispy-chicken-sandwich, crispy-fried-chicken, fried-chicken-recipes