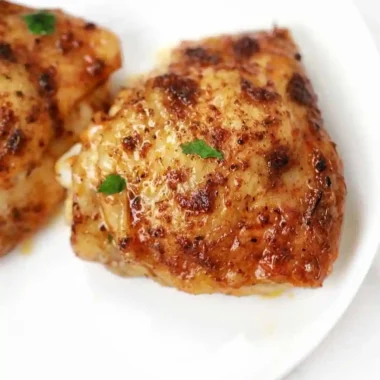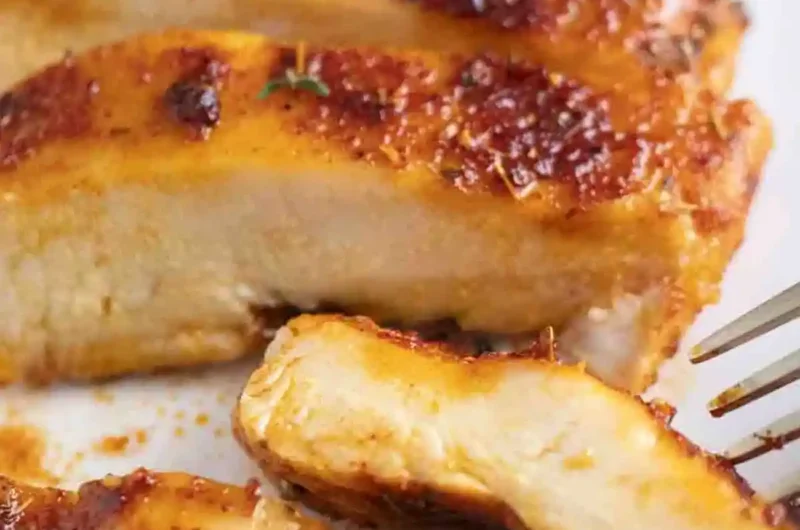
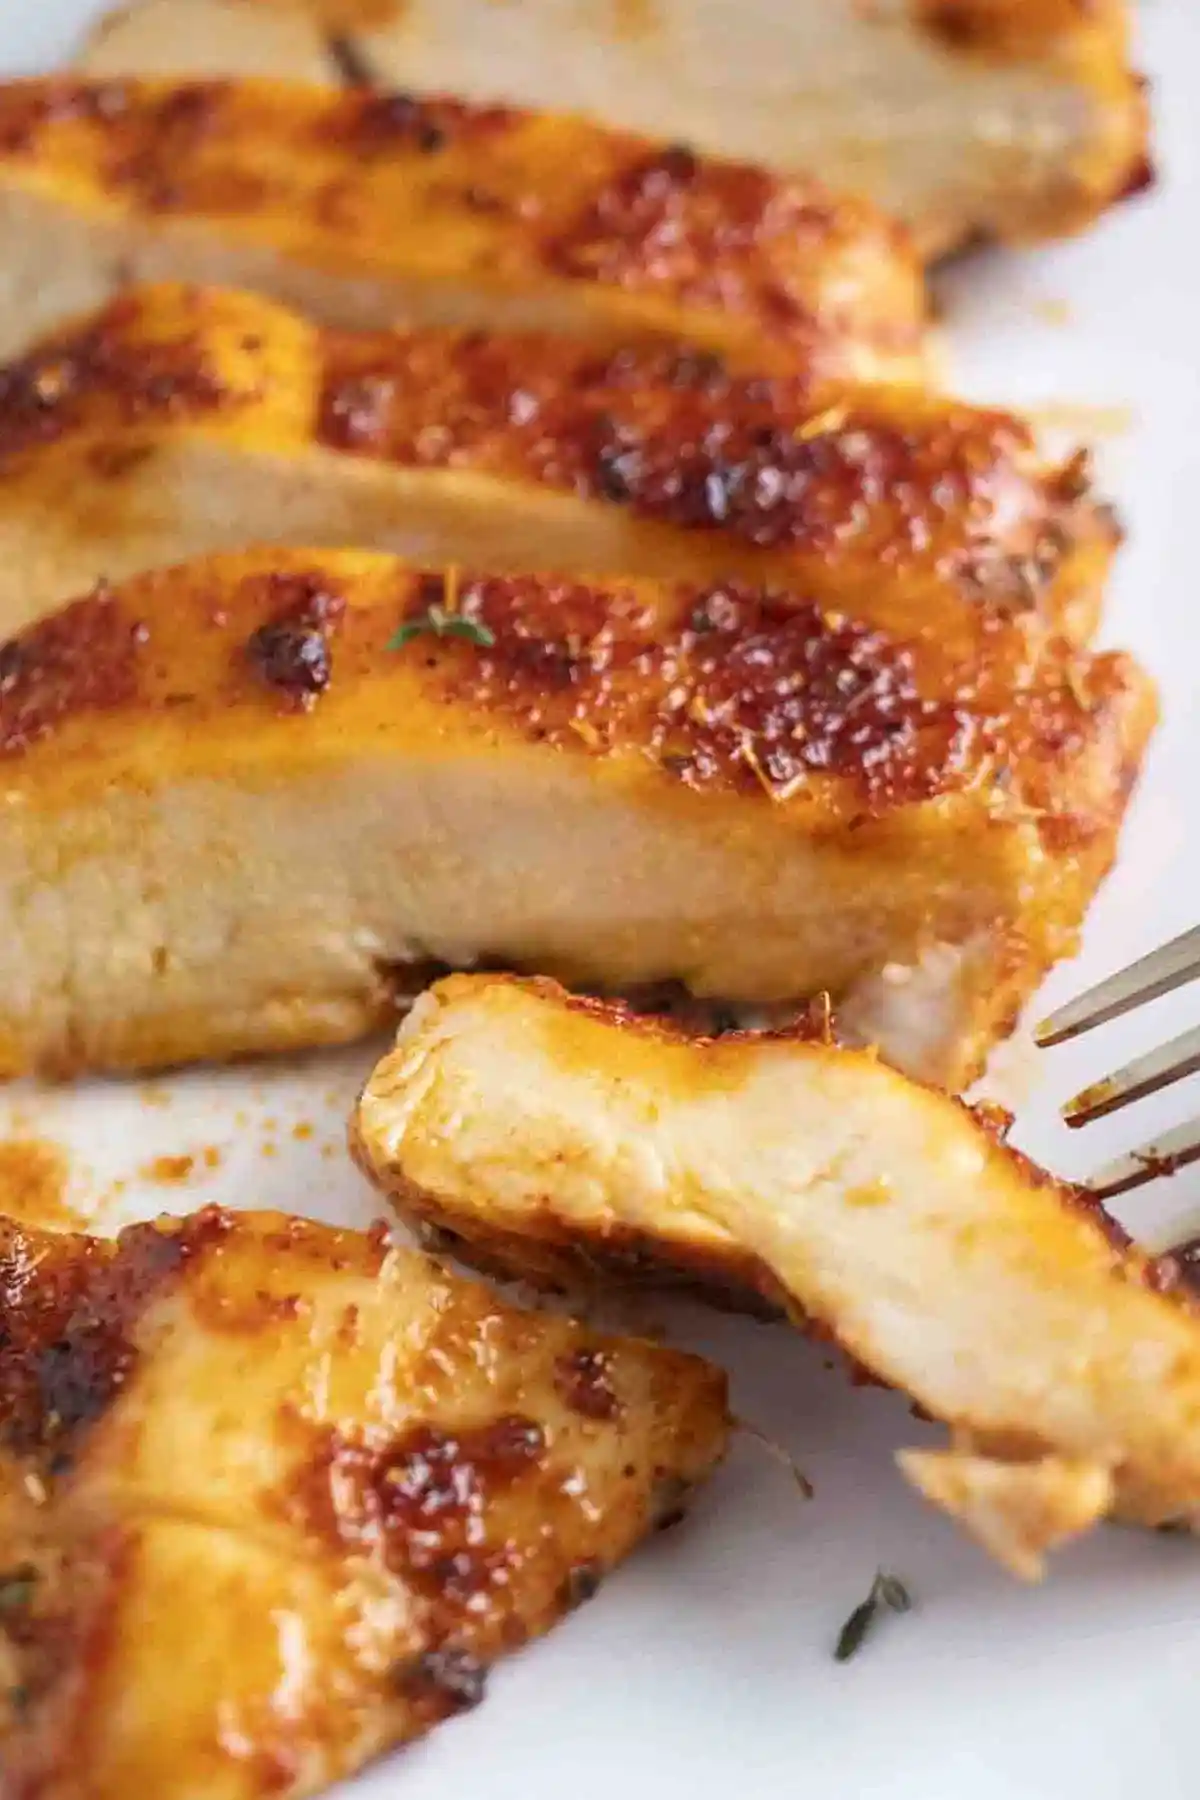
Achieving perfectly succulent chicken breast at home can often feel like a challenge, but the secret lies in proper preparation and the efficient circulation of air in your kitchen appliance. This method combines a simple brine with consistent heat, ensuring that your protein remains tender and flavorful every single time you cook it. Follow these steps to elevate your standard weeknight meal into something truly restaurant-quality.
List of ingredients
- 2 Boneless Chicken Breast (6-8 Ounces Each)
- 20 Oz Tap Water
- 1 Oz Kosher Salt
- 1 Tbsp Light Brown Sugar
- 1 Tsp Smoked Paprika
- 1 Tsp Dried Oregano
- 1/2 Tsp Garlic Powder
- 1/2 Tsp Kosher Salt
- 1/4 Tsp Onion Powder
- 1/4 Tsp Freshly Ground Black Pepper
- Olive oil (for brushing)
step-by-step instructions
- Step: Put the chicken breast in a ziplock bag and place it on a cutting board. Using a meat mallet, lightly pound the meat into an even thickness and set aside.
- Step: For the Wet Brine, put the salt and half the water in a small saucepan. Heat until the salt has dissolved. Then, add the remaining water to help cool it down.
- Step: Pour the cooled brine into the ziplock bag with the chicken making sure it’s completely submerged. Then refrigerate for at least 30 minutes or up to a day.
- Step: In a small bowl, add the brown sugar, paprika, oregano, garlic powder, salt, onion powder, and black pepper. Mix until completely combined and set aside.
- Step: Preheat the Air Fryer to 360 degrees.
- Step: Remove the chicken from the brine and pat dry with a paper towel. Lightly brush the chicken with olive oil and season with this blend or use your favorite blend.
- Step: Place the chicken in the air fryer basket and cook for 6 minutes.
- Step: Carefully flip the chicken and cook for an additional 4-7 minutes or until the chicken has reached 165 degrees.
- Step: Remove the chicken and allow it to rest for 5 minutes. Enjoy!
Flavor Enhancements and Variations
Customizing Your Herb Selection
While the combination of oregano and paprika provides a classic savory profile, you can easily adapt the rub to match other culinary themes. Consider using dried thyme or rosemary for a more traditional Mediterranean flair, or add a pinch of chili flakes if you prefer a subtle kick. Experimenting with different dried herbs allows you to keep this preparation method fresh and exciting for frequent family meals.
Adding Acidic Elements for Brightness
If you find yourself craving a zestier profile, you can incorporate a small amount of citrus zest into your dry spice blend. Lemon or lime zest complements the garlic and onion powders exceptionally well, cutting through the savory notes with a bright, aromatic punch. Always add the zest just before applying the rub to the chicken to ensure the aromatic oils are most potent during the cooking process.
Practical Serving Suggestions
Creating Balanced Dinner Plates
Pairing this juicy chicken with roasted vegetables, such as asparagus or broccoli, creates a well-rounded meal that highlights the simplicity of the preparation. Because the chicken is cooked with a balanced, slightly sweet rub, it works beautifully alongside grain bowls featuring quinoa or brown rice. You can also slice the finished breast to top a hearty garden salad, providing a boost of protein that keeps you satiated throughout the day.
Developing Accompanied Sauces
Since the chicken is cooked with a dry rub, it is a perfect candidate for serving with a side of dipping sauce or a light glaze. A simple Greek yogurt-based sauce with fresh cucumber and dill provides a cooling contrast to the smoked paprika in the rub. Alternatively, a quick pan-reduction made from broth and a touch of honey can be drizzled over the sliced meat just before serving to add an extra layer of moisture and richness.
Storage and Reheating Protocols
Maintaining Freshness in Storage
If you have leftover chicken, allow it to reach room temperature before placing it in an airtight glass or plastic container. Properly stored in the coldest part of your refrigerator, it will retain its quality for up to three days. Keeping the pieces whole until you are ready to use them again helps prevent the interior fibers from drying out prematurely.
Restoring Texture During Reheating
To reheat without sacrificing the quality you achieved in the air fryer, use a skillet on the stovetop over medium heat with a splash of water or broth. Cover the skillet with a lid for the first minute to create a gentle steam, which helps warm the center without toughening the exterior. Once warmed through, removing the lid for the final thirty seconds helps crisp up the outer layer slightly, mimicking the original cooking finish.
Common Troubleshooting and Questions
Why did my chicken breast turn out dry?
The most common cause of dry chicken is overcooking, which is why monitoring the internal temperature with a thermometer is critical. If your breast was particularly thick in one area and thin in another, the thin portion likely dried out while waiting for the center to reach 165 degrees. Consistent pounding of the meat solves this issue by ensuring all parts of the chicken reach the safe cooking threshold at the same time.
Can I omit the brown sugar in the seasoning?
You can certainly skip the sugar if you prefer a strictly savory dish, though it does help with caramelization during the air frying process. If you choose to omit it, consider adding a pinch of dried mustard powder or a touch more smoked paprika to maintain the depth of the flavor profile. Without the sugar, the crust may appear slightly less browned, but the internal juiciness provided by the brine will remain unaffected.
Is the brining process strictly necessary?
While you can season and cook chicken without brining, this step is what separates a standard meal from a truly succulent one. The salt-water solution creates a chemical change in the meat proteins that allows them to hold onto moisture much more effectively during the high-heat cooking phase. For the most consistently juicy results, especially with lean chicken breasts, we highly recommend keeping the brining step in your routine.
How do I know if my chicken is fully cooked without a thermometer?
Relying on physical cues like color or juice clarity is often unreliable, as the meat can look cooked while still being under-temperature or, conversely, be overcooked and dry. A digital instant-read thermometer is an inexpensive tool that provides the only accurate way to determine when your chicken is ready. Aiming for an internal temperature of 165 degrees Fahrenheit is the standard for safety and quality, ensuring the best possible texture every single time.
Print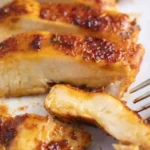
Juicy Air Fryer Chicken Breast Recipe
- Total Time: PT43M
- Yield: 2 servings 1x
- Diet: High Protein
Description
This is the juiciest air fryer chicken breast recipe you’ll ever have. Learn how to tenderize, brine, season, and air fry it to perfection.
Ingredients
- 2 Boneless Chicken Breast (6–8 Ounces Each)
- 20 Oz Tap Water
- 1 Oz Kosher Salt
- 1 Tbsp Light Brown Sugar
- 1 Tsp Smoked Paprika
- 1 Tsp Dried Oregano
- 1/2 Tsp Garlic Powder
- 1/2 Tsp Kosher Salt
- 1/4 Tsp Onion Powder
- 1/4 Tsp Freshly Ground Black Pepper
- Olive oil (for brushing)
Instructions
- Step: Put the chicken breast in a ziplock bag and place it on a cutting board. Using a meat mallet, lightly pound the meat into an even thickness and set aside.
- Step: For the Wet Brine, put the salt and half the water in a small saucepan. Heat until the salt has dissolved. Then, add the remaining water to help cool it down.
- Step: Pour the cooled brine into the ziplock bag with the chicken making sure it’s completely submerged. Then refrigerate for at least 30 minutes or up to a day.
- Step: In a small bowl, add the brown sugar, paprika, oregano, garlic powder, salt, onion powder, and black pepper. Mix until completely combined and set aside.
- Step: Preheat the Air Fryer to 360 degrees.
- Step: Remove the chicken from the brine and pat dry with a paper towel. Lightly brush the chicken with olive oil and season with this blend or use your favorite blend.
- Step: Place the chicken in the air fryer basket and cook for 6 minutes.
- Step: Carefully flip the chicken and cook for an additional 4-7 minutes or until the chicken has reached 165 degrees.
- Step: Remove the chicken and allow it to rest for 5 minutes. Enjoy!
Notes
Pounding the meat ensures even cooking and prevents drying. Use a rolling pin or heavy skillet if a meat mallet is unavailable. Ensure the brine is completely cool before adding chicken.
- Prep Time: PT30M
- Cook Time: PT13M
- Category: Main Course
- Method: Air Frying
- Cuisine: American
Nutrition
- Serving Size: 1 breast
- Calories: 161 kcal
- Sugar: 6 g
- Sodium: 6224 mg
- Fat: 3 g
- Saturated Fat: 1 g
- Unsaturated Fat: 2 g
- Trans Fat: 0 g
- Carbohydrates: 8 g
- Fiber: 1 g
- Protein: 24 g
- Cholesterol: 72 mg
Keywords: chicken breast, air fryer, juicy chicken, main course, healthy