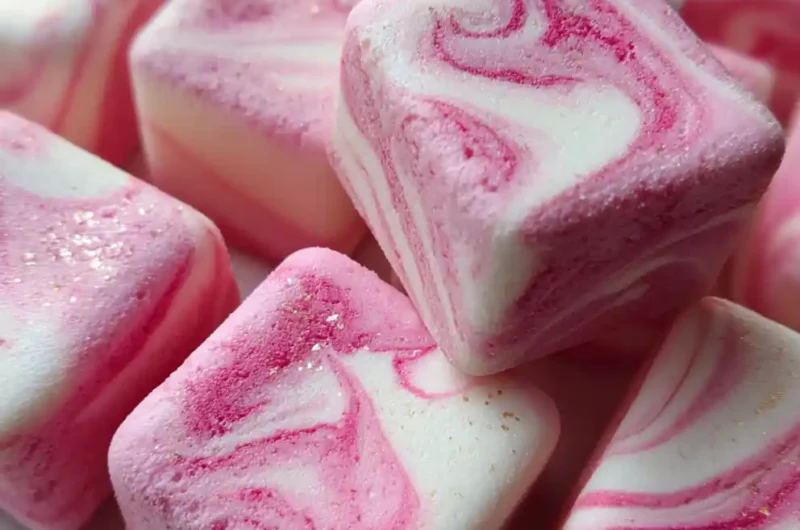
I remember the soft, sweet magic of those little mints melting in my mouth at every family gathering. Their delicate chewiness and cool peppermint flavor are simply irresistible. This easy cream cheese mints recipe brings that beloved treat right to your kitchen, perfect for busy parents wanting a simple, family-friendly dessert. It’s a wonderful way to add a homemade touch to spring celebrations or just brighten an afternoon, and I love how quickly they come together. We’ll guide you through making beautiful, flavorful Swirled Pink Pillow Mints that are as delightful to look at as they are to eat.
What You’ll Need (Ingredients & Why They Matter)
- Softened Cream Cheese: 8 oz (226g) full-fat cream cheese (or Neufchâtel for a slightly lighter option if that’s what’s on hand). It’s the creamy base for that signature melt-in-your-mouth texture.
- Powdered Sugar (Confectioners’ Sugar): 3-4 cups (360-480g). This sweetens and thickens the mints, ensuring a smooth, lump-free consistency.
- Peppermint Extract: 1/2 tsp (2.5ml). The essential flavor that gives these mints their cool, refreshing taste. Start with a little and add more to your preference.
- Food Coloring: A few drops of pink gel food coloring (gel colors are best for vibrant shades without adding excess liquid; I prefer Wilton’s for rich hues). For that adorable Swirled Pink Pillow Mints look.
- Salt: A tiny pinch (1/8 tsp). Balances the sweetness and enhances all the flavors.
Flavor & Texture Boosts
- Vanilla Extract: A tiny splash (1/4 tsp) can round out the flavor beautifully, adding depth.
- Almond Extract: For a delightful, subtle twist on traditional mint, try 1/4 tsp.
- Shredded Coconut or Chopped Nuts: Roll the finished cream cheese mints in these for added texture and a new flavor dimension.
- Sprinkles: To make them extra festive for parties or holidays, sprinkle them on before chilling.
How to Make Swirled Pink Pillow Mints Step by Step
- Prep Your Workspace: Lightly dust a clean counter or a large cutting board with powdered sugar. Have parchment paper ready to line a sheet pan for the finished cream cheese mints.
- Cream the Base: In a large mixing bowl, beat the softened cream cheese with an electric mixer on medium speed for about 1-2 minutes until it looks smooth and creamy, with no lumps.
- Add Sweetness & Flavor: Gradually beat in the powdered sugar, a pinch of salt, and peppermint extract on low speed for 3-5 minutes until everything is well combined and a thick, pliable dough forms. If the dough seems too sticky to handle, add 1-2 more tablespoons of powdered sugar until it feels firm enough.
- Divide & Color: Divide the dough into two equal parts. Leave one plain, and gently mix a few drops of pink gel food coloring into the other until you reach your desired vibrant shade. My kids love helping with this step, especially when making these vibrant cream cheese mints, turning it into a fun family activity.
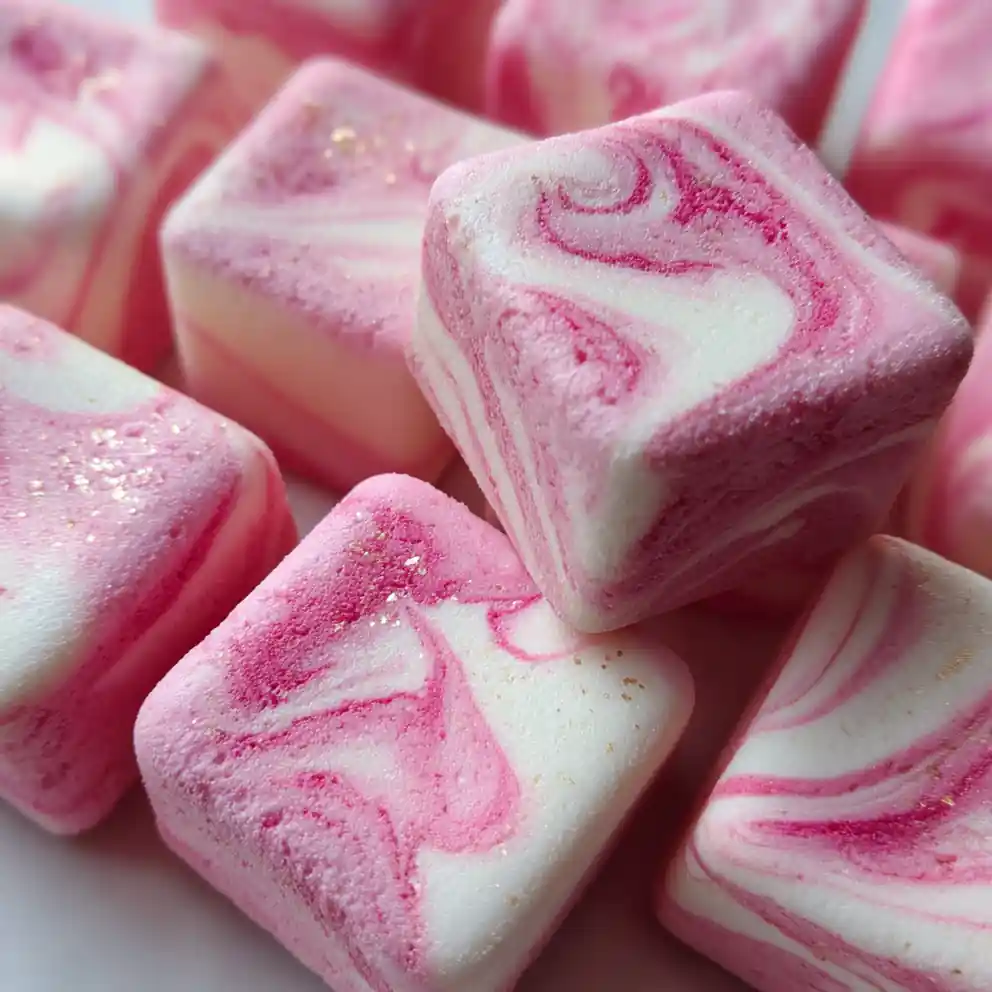
- Create the Swirl: Roll each colored dough into a log, about 1-inch thick and 8-inches long. Place them side-by-side and gently twist them together 2-3 times. Knead lightly for just a few seconds until a beautiful marbled effect appears, ensuring you avoid overmixing or the colors will blend entirely.
- Shape Your Mints:
Shaping Options
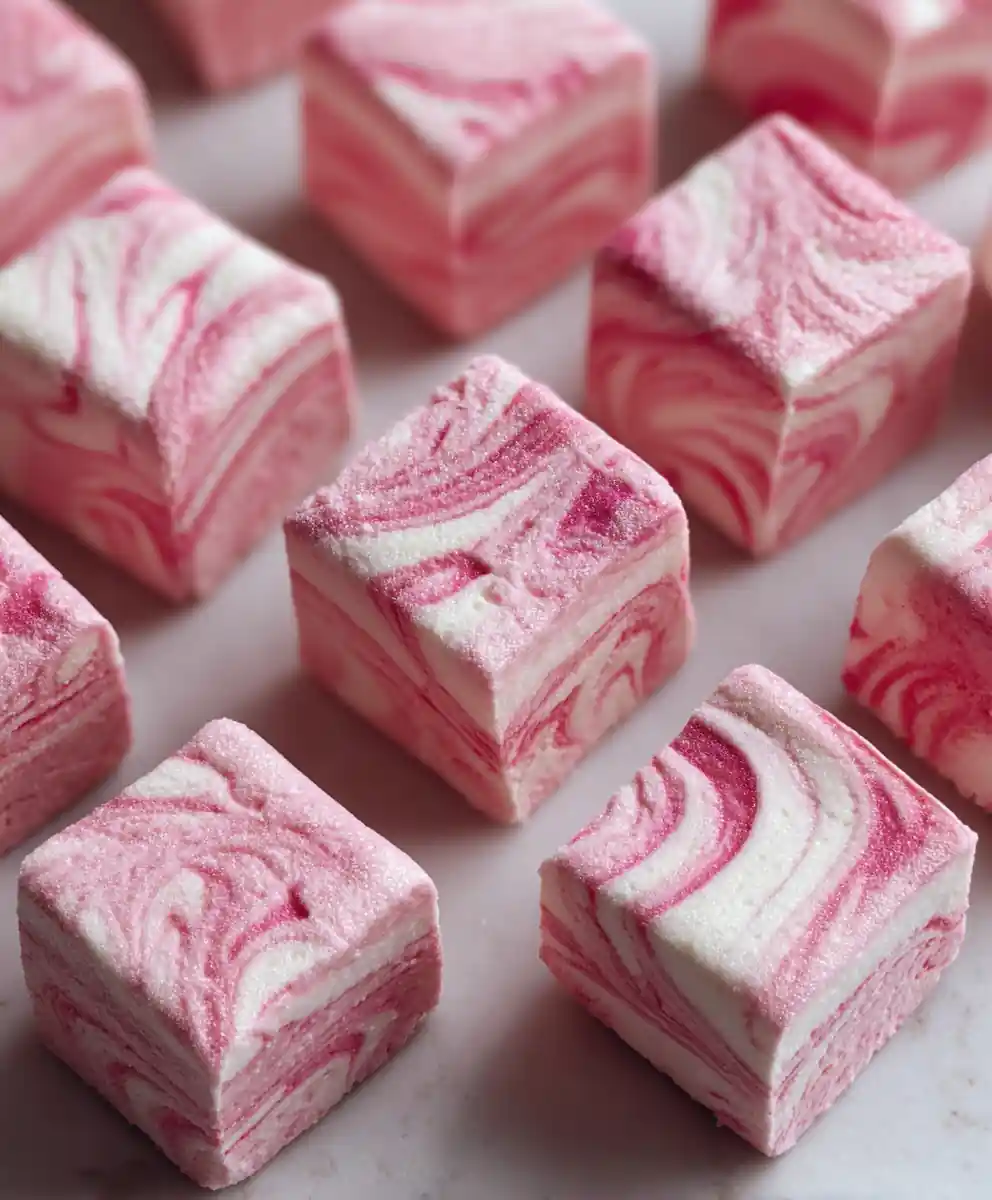
- Roll and Cut Method: Roll the marbled dough into a long rope about 1/2-inch thick on your dusted surface. Use a sharp knife or kitchen shears to cut 1/2-inch pieces.
- Small Ball Method: Pinch off small, pea-sized pieces of dough and roll them into tiny balls between your palms. Use a fork to gently press and flatten them onto the parchment paper, creating a classic pillow mint shape.
- Troubleshooting: If the dough sticks to your hands or fork, dust them lightly with more powdered sugar.
- Chill & Set: Place the shaped cream cheese mints on parchment-lined trays or a 9×13 dish, ensuring they don’t touch. Refrigerate for at least 30 minutes, or until they feel firm to the touch.
- Serve & Store: Once firm, these delightful Swirled Pink Pillow Mints are ready to enjoy! Store any leftovers in an airtight container in the fridge for up to 2-3 weeks.
Best Ways to Enjoy Your Swirled Pink Pillow Mints
Daily Delights
These beautiful cream cheese mints are perfect as a little treat after dinner or with your afternoon tea. They’re also fantastic for lunchboxes, making a special, family-friendly surprise that holds up well. I often keep a small batch in the fridge for a quick, homemade snack when a sweet craving hits. This makes healthy eating a little more fun and accessible.
Festive & Fun
Swirled Pink Pillow Mints make delightful party favors; just wrap a few in cellophane bags. They add vibrant color to holiday dessert platters and are always a huge hit on kids’ treat tables. It’s an easy way to elevate any special occasion.
- Enjoy with a warm cup of coffee or herbal tea.
- Serve alongside fresh berries or a light fruit salad.
- A small glass of milk makes these cream cheese mints extra comforting.
Nutrition & Everyday Wellness with Your Swirled Pink Pillow Mints
Making your own cream cheese mints recipe means you control the ingredients, avoiding artificial preservatives. While a sweet treat, enjoying these in moderation can be part of a balanced, healthy eating plan. They’re naturally gluten-free, offering a wonderful option for those with dietary restrictions. Getting kids involved in making these simple treats is a great way to bond and introduce them to kitchen skills and family meal prep ideas, promoting a wholesome lifestyle.
How This Recipe Solves Common Needs
This Swirled Pink Pillow Mints recipe offers effortless party prep, creating an impressive treat without baking. Made with common pantry staples, it’s a budget-friendly way to make charming, homemade gifts or desserts. You can easily adjust colors and flavors, customizing them for any holiday or personal preference, allowing for mindful choices even within sweet treats.
Expert Pointers and Smart Variations
Always chill your cream cheese mints thoroughly before handling or storing to prevent stickiness and help them hold their delicate shape. Experiment with different extracts like orange or lemon for unique batches and quick meals. For family-friendly fun, let the kids help with rolling the dough into ropes or pressing the mints with a fork; I’ve found this makes them more invested in trying new flavors. If you need allergy-friendly tweaks, ensure extracts are certified gluten-free, and this recipe is naturally nut-free unless you choose to add nuts.
Common Questions About Swirled Pink Pillow Mints
“Can I freeze cream cheese mints for later?”
Yes, you absolutely can! Freeze them in a single layer on a parchment-lined tray until solid, then transfer to an airtight container. They’ll keep well for up to a month. Thaw them in the refrigerator before serving for best results.
“What’s the healthiest way to make cream cheese mints?”
While a treat, you can focus on portion control and using quality, organic ingredients. You may reduce the powdered sugar slightly, but know it will impact the final texture of your Swirled Pink Pillow Mints. These are best enjoyed as an occasional delightful indulgence.
“Which ingredients are best for meal prepping cream cheese mints?”
For meal prepping these delightful mints, using full-fat cream cheese provides the best texture and helps them hold their shape longer. High-quality peppermint extract ensures vibrant flavor that lasts. Store them in an airtight container in the fridge for easy, ready-to-enjoy treats.
“How long do homemade cream cheese mints last?”
Stored properly in an airtight container in the refrigerator, your homemade cream cheese mints will stay fresh and delicious for up to 2-3 weeks. This makes them a great make-ahead option for any event.
“Can I make Swirled Pink Pillow Mints without food coloring?”
Absolutely! The food coloring is purely for visual appeal. They’ll still be wonderfully delicious and charming in their natural pale, creamy color. This is a great option if you prefer to avoid artificial colors for dietary reasons.
“What’s the best way to get a vibrant pink swirl?”
I find using gel food coloring works best because it’s highly concentrated and won’t thin your dough. Add sparingly and gently fold or knead the dough to create beautiful streaks without fully blending the colors. This ensures that iconic swirled look.
This easy cream cheese mints recipe is your secret weapon for creating beautiful, delicious Swirled Pink Pillow Mints that truly impress. I love having these on hand for a sweet treat. Pin this recipe for your next celebration or easy dessert idea!
Print
cream cheese mints recipe Swirled Pink Pillow Mints
- Total Time: 60 minutes
- Yield: Approximately 80 small mints (32 servings) 1x
- Diet: General
Description
This easy cream cheese mints recipe brings a beloved, melt-in-your-mouth treat right to your kitchen, perfect for spring celebrations or an afternoon pick-me-up. Learn to make beautiful, flavorful Swirled Pink Pillow Mints that are delightful to look at and eat.
Ingredients
- 8 oz (226g) full-fat cream cheese, softened
- 3–4 cups (360-480g) powdered sugar
- 0.5 tsp (2.5ml) peppermint extract
- A few drops pink gel food coloring
- 0.125 tsp salt
- 0.25 tsp vanilla extract, optional
- 0.25 tsp almond extract, optional
- Shredded coconut or chopped nuts, optional (for rolling)
- Sprinkles, optional (for decoration)
Instructions
- Prep Workspace: Lightly dust a clean counter or large cutting board with powdered sugar, and have parchment paper ready to line a sheet pan.
- Cream Cream Cheese: In a large mixing bowl, beat the softened cream cheese with an electric mixer on medium speed for 1-2 minutes until smooth and creamy.
- Add Sweetener and Flavor: Gradually beat in the powdered sugar, salt, and peppermint extract on low speed for 3-5 minutes until well combined and a thick, pliable dough forms. (If sticky, add 1-2 more tablespoons of powdered sugar).
- Divide and Color Dough: Divide the dough into two equal parts. Leave one plain, and gently mix a few drops of pink gel food coloring into the other until your desired vibrant shade is reached.
- Create Swirl Effect: Roll each colored dough into a 1-inch thick, 8-inch long log. Place logs side-by-side and gently twist them 2-3 times. Knead lightly for a few seconds until a marbled effect appears, avoiding overmixing.
- Shape Mints: Roll the marbled dough into a 0.5-inch thick rope and cut into 0.5-inch pieces, OR pinch pea-sized pieces, roll into balls, and flatten with a fork. (Dust hands or fork with powdered sugar if dough sticks).
- Chill and Set: Place the shaped mints on parchment-lined trays (ensuring they do not touch) and refrigerate for at least 30 minutes, or until firm to the touch.
- Serve and Store: Once firm, serve the mints. Store any leftovers in an airtight container in the fridge for up to 2-3 weeks.
Notes
Store any leftover cream cheese mints in an airtight container in the fridge for up to 2-3 weeks. For extra flavor and texture, roll finished mints in shredded coconut or chopped nuts, or add sprinkles for festive occasions.
- Prep Time: 30 minutes
- Cook Time: 0 minutes
- Category: Dessert
- Method: No-Bake, Chilling
- Cuisine: American
Nutrition
- Serving Size: 2 mints (approx. 20 g)
- Calories: 75 calories
- Sugar: 13 g
- Sodium: 15 mg
- Fat: 3 g
- Saturated Fat: 1.5 g
- Unsaturated Fat: 1.5 g
- Trans Fat: 0 g
- Carbohydrates: 13 g
- Fiber: 0 g
- Protein: 1 g
- Cholesterol: 8 mg
Keywords: cream cheese mints, pillow mints, pink mints, swirled mints, easy dessert, no-bake, family-friendly, peppermint, homemade
FREE PRINTABLE RECIPE
Get the Printable Recipe PDF (Free)
Enter your email and we’ll send you the ingredients + step-by-step instructions as a clean PDF you can save to your phone.
- ✅ Printable PDF (ingredients + steps)
- ✅ Save it to your phone (no long scrolling)
- ✅ Includes cook time + servings
- ✅ Easy to follow
FAQ
Where’s the full recipe?
It’s delivered as a printable PDF so you can save it and cook without scrolling.
I didn’t get the email.
Check Spam/Promotions and search your inbox for your site name. Then click Confirm to receive the PDF.