
FREE PRINTABLE RECIPE
Get the Printable Recipe PDF (Free)
Enter your email and we’ll send you the ingredients + step-by-step instructions as a clean PDF you can save to your phone.
- ✅ Printable PDF (ingredients + steps)
- ✅ Save it to your phone (no long scrolling)
- ✅ Includes cook time + servings
- ✅ Easy to follow
FAQ
Where’s the full recipe?
It’s delivered as a printable PDF so you can save it and cook without scrolling.
I didn’t get the email.
Check Spam/Promotions and search your inbox for your site name. Then click Confirm to receive the PDF.
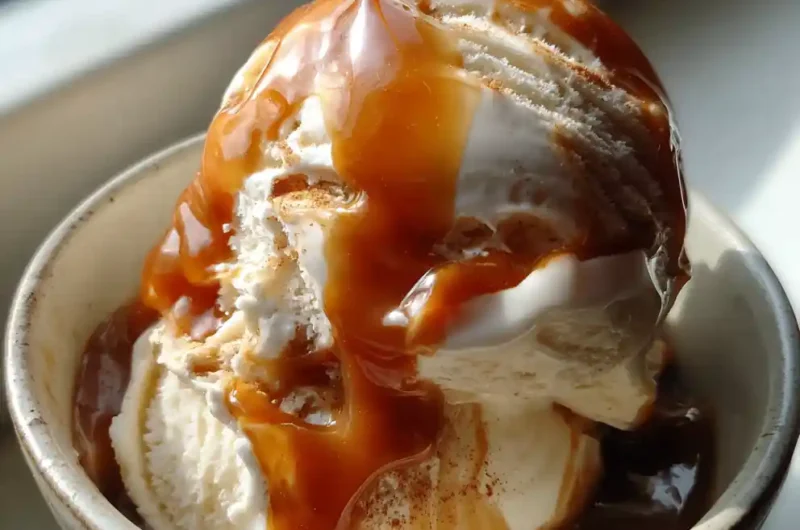
homemade ice cream recipe
- Total Time: 380 minutes
- Yield: 8 servings 1x
- Diet: General
Description
This easy homemade no-churn ice cream recipe delivers rich, dreamy desserts without special equipment. It’s perfect for family celebrations or a simple weeknight treat, offering endless flavor possibilities.
Ingredients
- 2 cups heavy cream, 35% fat, cold
- 14 ounce can sweetened condensed milk
- 1 teaspoon vanilla extract
- 0.25 cup unsweetened cocoa powder, optional
- 0.5 cup fruit puree, optional
- 1 cup cookie crumbles or chopped nuts, optional
Instructions
- Chill Mixing Bowl: Place a large mixing bowl and whisk attachment into the freezer for at least 15 minutes.
- Whip Heavy Cream: Pour 2 cups of very cold heavy cream into the chilled bowl. Beat on high speed until stiff peaks form, about 3-5 minutes.
- Fold in Sweeteners: Gently fold in one 14-ounce can of sweetened condensed milk and 1 teaspoon vanilla extract until just combined.
- Add Mix-ins: Carefully fold in up to 1 cup of desired mix-ins (e.g., chocolate chips, crushed cookies).
- Freeze Ice Cream: Pour the mixture into a freezer-safe container (e.g., a 9×5 inch loaf pan). Cover tightly and freeze for at least 6-8 hours or overnight until firm.
Notes
To avoid iciness, ensure cream is very cold and whipped to stiff peaks; too much liquid from mix-ins can also be a cause. For softer scoop, allow ice cream to sit on counter for 5-10 minutes before serving. Dairy-free alternative: use full-fat coconut cream. Low-carb alternative: use sugar-free condensed milk substitute. Using organic dairy and premium vanilla extract can enhance flavor.
- Prep Time: 20 minutes
- Cook Time: 0 minutes
- Category: Dessert
- Method: Freezing
- Cuisine: American
Nutrition
- Serving Size: 0.5 cup (100 g)
- Calories: 260 calories
- Sugar: 28 g
- Sodium: 20 mg
- Fat: 23 g
- Saturated Fat: 14 g
- Unsaturated Fat: 9 g
- Trans Fat: 0 g
- Carbohydrates: 28 g
- Fiber: 0 g
- Protein: 5 g
- Cholesterol: 38 mg
Keywords: easy dessert, homemade ice cream, no-churn, vanilla, creamy, family-friendly, sweet treat, customizable, freezing