FREE PRINTABLE RECIPE
Get the Printable Recipe PDF (Free)
Enter your email and we’ll send you the ingredients + step-by-step instructions as a clean PDF you can save to your phone.
- ✅ Printable PDF (ingredients + steps)
- ✅ Save it to your phone (no long scrolling)
- ✅ Includes cook time + servings
- ✅ Easy to follow
FAQ
Where’s the full recipe?
It’s delivered as a printable PDF so you can save it and cook without scrolling.
I didn’t get the email.
Check Spam/Promotions and search your inbox for your site name. Then click Confirm to receive the PDF.

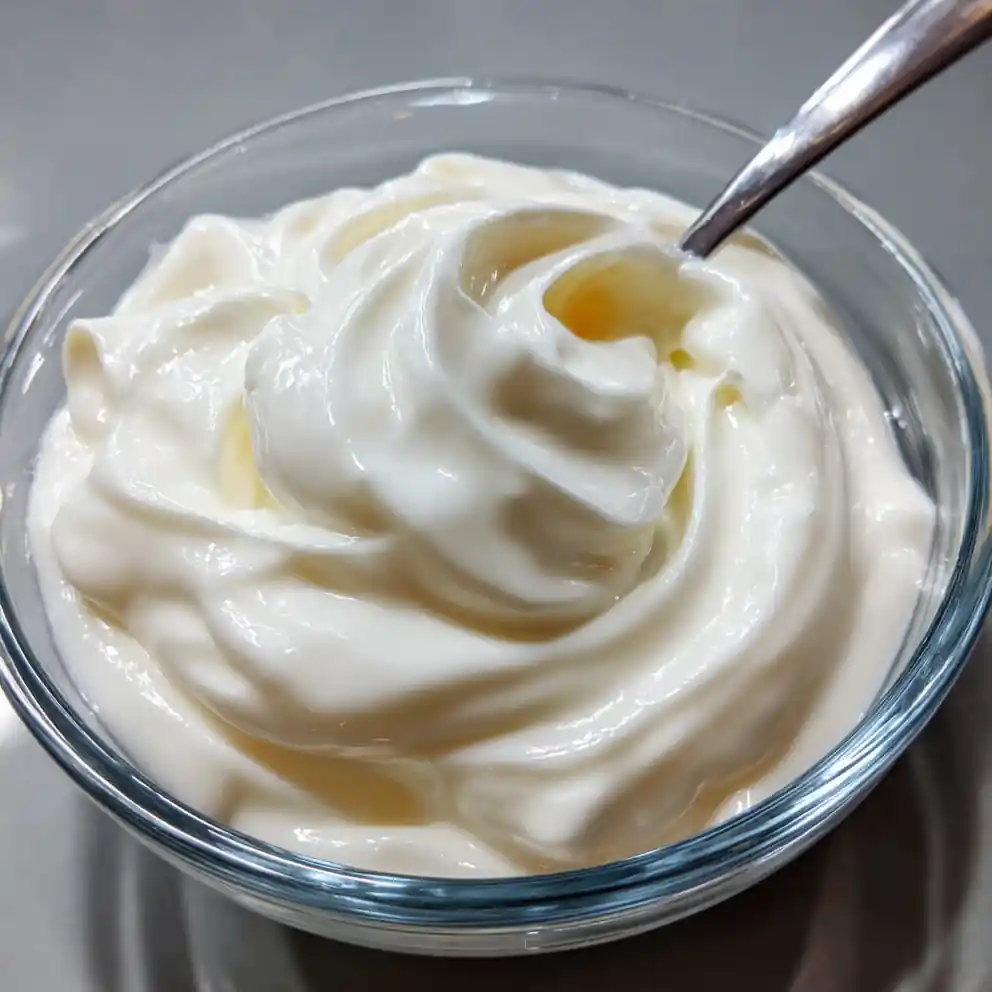
Instant Pot Yogurt Recipe Thick And Tangy
- Total Time: 1305 minutes
- Yield: 8 servings 1x
- Diet: Vegetarian, High-Protein
Description
This Instant Pot yogurt recipe makes incredibly thick and tangy homemade yogurt, surpassing store-bought versions. It’s a quick, wholesome, and high-protein option perfect for breakfast, snacks, or family-friendly desserts, supporting gut health with beneficial probiotics.
Ingredients
- 8 cups whole or 2% milk, pasteurized
- 2 tablespoons plain yogurt with live active cultures, or 1 packet yogurt starter
- 2–4 tablespoons dry milk powder, optional
- 1 teaspoon vanilla extract, optional (add after chilling)
- 1–2 tablespoons honey or maple syrup, optional (add after chilling)
Instructions
- Sterilize Pot: Add 1 cup water to the Instant Pot inner pot, secure the lid, and set to ‘Steam’ for 1 minute on high pressure. Quick release the pressure once done.
- Heat Milk: Drain the water, then add the 8 cups of milk to the inner pot. Secure the lid and select the ‘Yogurt’ setting, pressing ‘Adjust’ until ‘Boil’ appears. Heat the milk to 180-200F (93-96C).
- Cool Milk: Bring the milk down to 105-115F (40-46C) by letting it sit on the counter for about 1 hour or by placing the inner pot in an ice bath for a quicker cool.
- Whisk in Starter: Once the milk is at the correct temperature, ladle about 0.5 cup of warm milk into a small bowl with your yogurt starter. Whisk until smooth, then gently whisk this mixture back into the main pot of cooled milk.
- Incubate Yogurt: Cover the Instant Pot with its lid, select the ‘Yogurt’ setting again, adjust to ‘Normal’, and set the timer for 8-10 hours for a thick and tangy result.
- Chill Yogurt: After incubation, refrigerate the inner pot (or transfer to containers) for at least 4 hours, preferably overnight, to allow the yogurt to firm up beautifully.
Notes
To avoid common mistakes, do not add starter to milk hotter than 115F (46C) as it will kill the cultures. Ensure all Instant Pot utensils and the inner pot are thoroughly sanitized before beginning to prevent unwanted bacterial growth. If using ultra-pasteurized (UHT) milk, you can skip the initial ‘Boil’ step and heat directly to 105-115F.
- Prep Time: 25 minutes
- Cook Time: 560 minutes
- Category: Dairy
- Method: Instant Pot
- Cuisine: General
Nutrition
- Serving Size: 1 cup (240 g)
- Calories: 170 calories
- Sugar: 13 g
- Sodium: 130 mg
- Fat: 9 g
- Saturated Fat: 5.5 g
- Unsaturated Fat: 3 g
- Trans Fat: 0 g
- Carbohydrates: 14 g
- Fiber: 0 g
- Protein: 10 g
- Cholesterol: 30 mg
Keywords: Instant Pot, yogurt, homemade, thick, tangy, high-protein, probiotics, dairy, easy