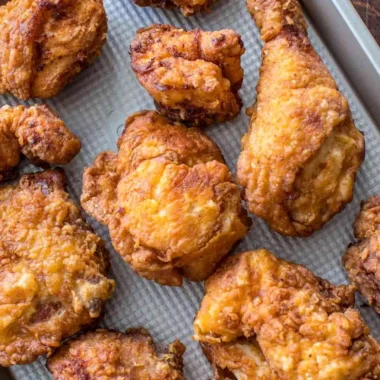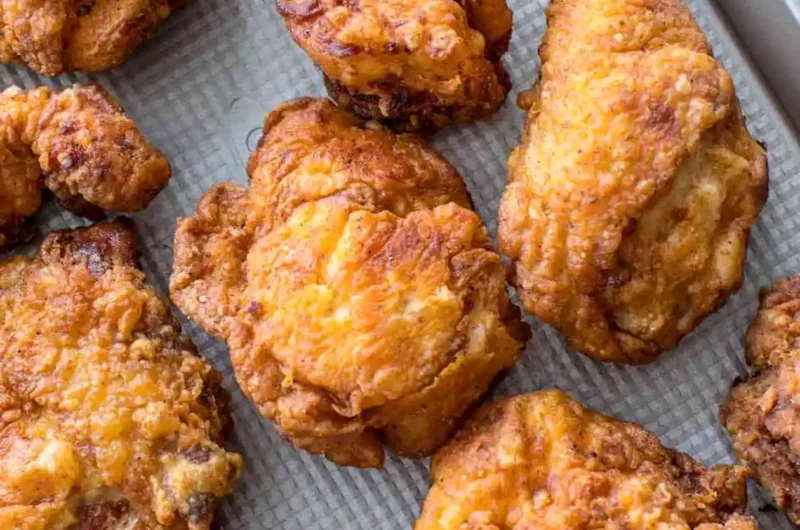
Achieving the perfect balance of a shatteringly crisp exterior and succulent, juicy meat is the gold standard for home cooking. This method utilizes a specialized brine and a carefully seasoned dredge to ensure every bite delivers maximum flavor and texture. Follow these techniques to elevate your kitchen game and produce restaurant-quality fried chicken right at home.
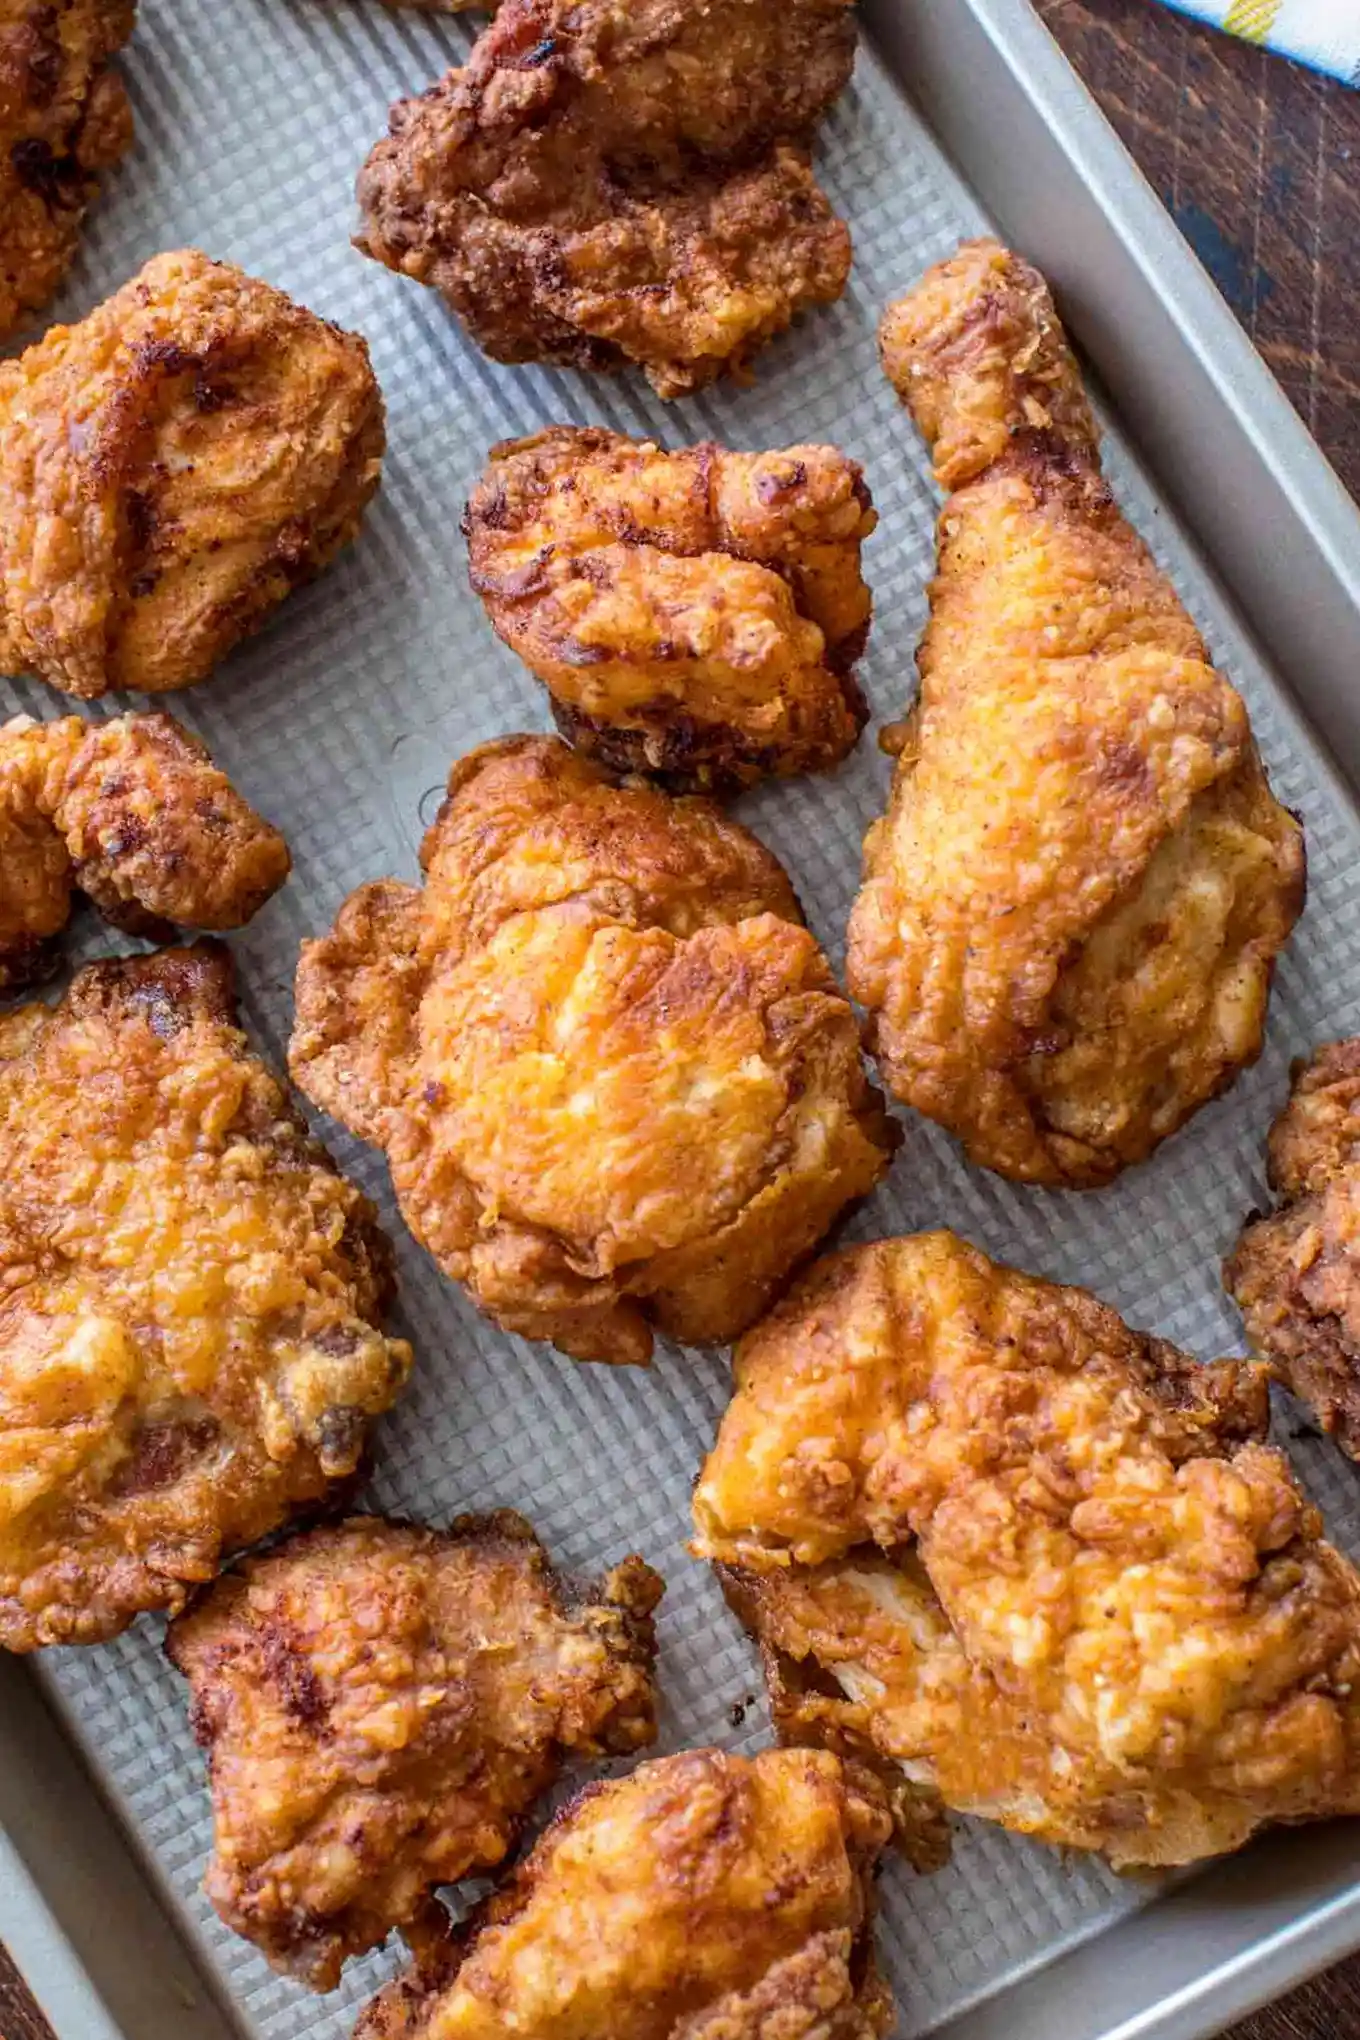
List of ingredients
- 4 lbs whole chicken (cut into pieces)
- vegetable oil for frying
- 2 cups buttermilk
- 2 cups pickle juice
- 1/4 cup hot sauce (optional)
- 2 cups all-purpose flour
- 1 tablespoon salt
- 1 teaspoon ground black pepper
- 1 tablespoon smoked paprika
- 1 tablespoon garlic powder
step-by-step instructions
- Step: Cut the chicken into 8-10 pieces and discard the backbone.
- Step: In a large bowl, whisk together the buttermilk, pickle juice, and hot sauce. Add chicken pieces, cover, and marinate for 30 minutes or up to 24 hours in the refrigerator.
- Step: In a medium, shallow bowl, combine the flour, salt, pepper, garlic powder, and paprika.
- Step: Prepare a wire rack over a baking sheet. Remove chicken from the marinade, shake off excess, and dredge thoroughly in the flour mixture. Place on the rack and let rest for 20-30 minutes.
- Step: Fill a deep frying pan halfway with oil and heat to 365 degrees F.
- Step: Fry chicken in batches, ensuring not to overcrowd the pan, for at least 10 minutes or until golden brown and crispy.
- Step: Remove chicken and place on a clean wire rack over paper towels to drain.
Refining Your Frying Technique
Maintaining Consistent Oil Temperature
The success of this dish relies heavily on the stability of your oil heat. Use a reliable clip-on kitchen thermometer to monitor the oil continuously, as the temperature will naturally dip once cold meat is introduced to the pan. If the oil drops below 360 degrees, the crust may become overly greasy; if it climbs above 380 degrees, the exterior may darken before the interior is fully cooked.
The Science of Proper Dredging
Never rush the resting phase after applying the flour mixture. This brief pause allows the flour to hydrate slightly from the moisture on the chicken’s surface, creating a cohesive bond that prevents the crust from detaching when the piece hits the hot oil. Ensure that every crevice of the meat is coated with the flour blend for uniform texture.
Strategic Batch Management
Avoid the temptation to overcrowd the frying vessel, even if it means cooking for longer. Overcrowding drops the oil temperature rapidly and leads to steam buildup, which essentially boils the chicken skin rather than frying it. Stick to three or four pieces at a time to ensure each piece has enough space to circulate and crisp up perfectly.
Customizing Your Flavor Profile
Elevating the Crust with Cornstarch
For those who prefer an exceptionally crunchy finish, replacing a portion of the flour with cornstarch is highly effective. Try swapping one-quarter cup of the flour for cornstarch to disrupt the formation of long gluten strands, which results in a lighter, crunchier outer layer. This modification also helps the coating remain crisp for a longer period after leaving the heat.
Adding Botanical and Spicy Nuances
The seasoning blend can be easily adapted to suit personal preferences without compromising the integrity of the crust. A tablespoon of dried oregano or thyme can provide earthy, herbal notes, while a pinch of cayenne or a touch of Cajun seasoning introduces a more pronounced heat. Always taste a small portion of your flour mix before coating the chicken to ensure the seasoning balance is correct.
Honey Mustard Glaze Variations
If you prefer a moist, slightly sweet finish, consider adding honey and Dijon mustard to the marinade. Adding two tablespoons of each ingredient to the brine infusion before marinating allows the subtle sugars to penetrate the chicken, creating a beautiful golden color during the frying process. This slight sweetness pairs exceptionally well with the tanginess provided by the pickle juice.
Serving and Accompaniment Ideas
Selecting the Best Side Dishes
The richness of fried chicken calls for sides that offer either cooling creaminess or bright, sharp acidity. Classic choices like a vinegar-based slaw provide a necessary counterpoint to the fried coating, while potato salads or macaroni and cheese satisfy the demand for traditional comfort food. For lighter options, consider roasted root vegetables or a crisp green salad tossed in a lemon vinaigrette to cut through the richness of the fried meat.
Enhancing the Meal with Dipping Sauces
While the chicken is flavorful enough to stand alone, providing a variety of sauces enhances the dining experience. A homemade buttermilk ranch dip or a smoky barbecue sauce with a touch of molasses offers deep, savory profiles. You may also experiment with a mild honey drizzle or a spicy herb-infused dip to contrast with the savory notes of the garlic and paprika in the coating.
Practical Storage and Reheating Methods
Managing Leftovers for Future Meals
If you find yourself with extra pieces, store them in a way that minimizes moisture collection. Once the chicken has cooled completely, move it to an airtight container, placing a piece of parchment paper between layers to keep them separated. Refrigerated chicken should be consumed within four days to ensure optimal texture, though the crust will naturally lose some of its initial rigidity.
Restoring Crispness Upon Reheating
Microwaves are generally unsuitable for reheating fried chicken as they create soft, soggy results. To recapture that fresh-from-the-fryer crunch, place your chicken pieces on a wire rack set inside a baking sheet and heat in a preheated oven at 375 degrees Fahrenheit for approximately 10 to 12 minutes. An air fryer is also an excellent tool for this, requiring only five minutes at 380 degrees Fahrenheit to return the crust to a crisp state.
Freezing Prepared Fried Chicken
Cooked fried chicken freezes remarkably well for long-term storage, lasting up to three months in an airtight freezer bag. Ensure you remove as much air as possible to prevent freezer burn, which can degrade the quality of the breading. When you are ready to eat, allow the chicken to thaw in the refrigerator overnight before reheating in the oven as directed above.
Frequently Asked Questions
Why does my chicken sometimes develop a bitter aftertaste?
A bitter flavor in fried food is usually indicative of burnt cooking oil or the use of an oil with an inappropriate smoke point. Always ensure you are using neutral oils like canola or vegetable oil and verify that the oil is fresh. If you notice the oil smoking or turning dark while cooking, discard it and start with a clean batch to ensure the chicken remains savory and delicious.
Can I prepare the dredging stage ahead of time?
While you can prepare the seasoned flour mixture days in advance, the chicken itself should be dredged immediately before frying. Allowing the breaded chicken to sit for longer than the recommended 30 minutes can cause the flour to become overly wet and gummy, which will ruin the crispiness of the final product. Keep the dredging as the final step before the heat is applied.
What is the most accurate way to verify doneness?
An instant-read meat thermometer is the most reliable tool for ensuring the chicken is safe to eat while remaining juicy. Aim to remove the pieces from the oil once the internal temperature reaches 155 degrees Fahrenheit at the thickest part of the meat. As the chicken rests on the cooling rack, the carry-over heat will safely bring the temperature up to the required 165 degrees Fahrenheit.
Print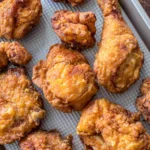
Classic Homemade Fried Chicken
- Total Time: 60 minutes
- Yield: 3 servings 1x
- Diet: Non-Vegetarian
Description
Homemade fried chicken is the ultimate comfort food with a golden, crunchy crust and an unmistakably flavorful, juicy, and tender inside.
Ingredients
- 4 lbs whole chicken (cut into pieces)
- vegetable oil for frying
- 2 cups buttermilk
- 2 cups pickle juice
- 1/4 cup hot sauce (optional)
- 2 cups all-purpose flour
- 1 tablespoon salt
- 1 teaspoon ground black pepper
- 1 tablespoon smoked paprika
- 1 tablespoon garlic powder
Instructions
- Step: Cut the chicken into 8-10 pieces and discard the backbone.
- Step: In a large bowl, whisk together the buttermilk, pickle juice, and hot sauce. Add chicken pieces, cover, and marinate for 30 minutes or up to 24 hours in the refrigerator.
- Step: In a medium, shallow bowl, combine the flour, salt, pepper, garlic powder, and paprika.
- Step: Prepare a wire rack over a baking sheet. Remove chicken from the marinade, shake off excess, and dredge thoroughly in the flour mixture. Place on the rack and let rest for 20-30 minutes.
- Step: Fill a deep frying pan halfway with oil and heat to 365 degrees F.
- Step: Fry chicken in batches, ensuring not to overcrowd the pan, for at least 10 minutes or until golden brown and crispy.
- Step: Remove chicken and place on a clean wire rack over paper towels to drain.
Notes
Ensure oil temperature remains steady between batches. Resting the chicken after dredging helps the coating adhere properly. Use a wire rack over paper towels to keep the crust crispy while draining.
- Prep Time: 40 minutes
- Cook Time: 20 minutes
- Category: Main Course
- Method: Deep Frying
- Cuisine: American
Nutrition
- Serving Size: 1 piece
- Calories: 990 kcal
- Sugar: 8 g
- Sodium: 5596 mg
- Fat: 50 g
- Saturated Fat: 15 g
- Unsaturated Fat: 30 g
- Trans Fat: 0 g
- Carbohydrates: 86 g
- Fiber: 3 g
- Protein: 68 g
- Cholesterol: 235 mg
Keywords: fried chicken, homemade fried chicken, crispy chicken