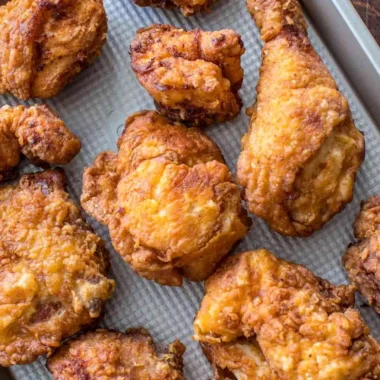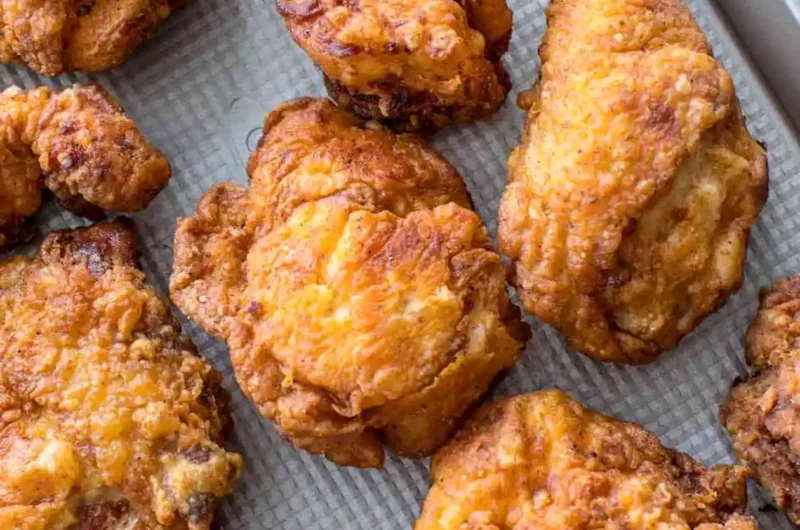
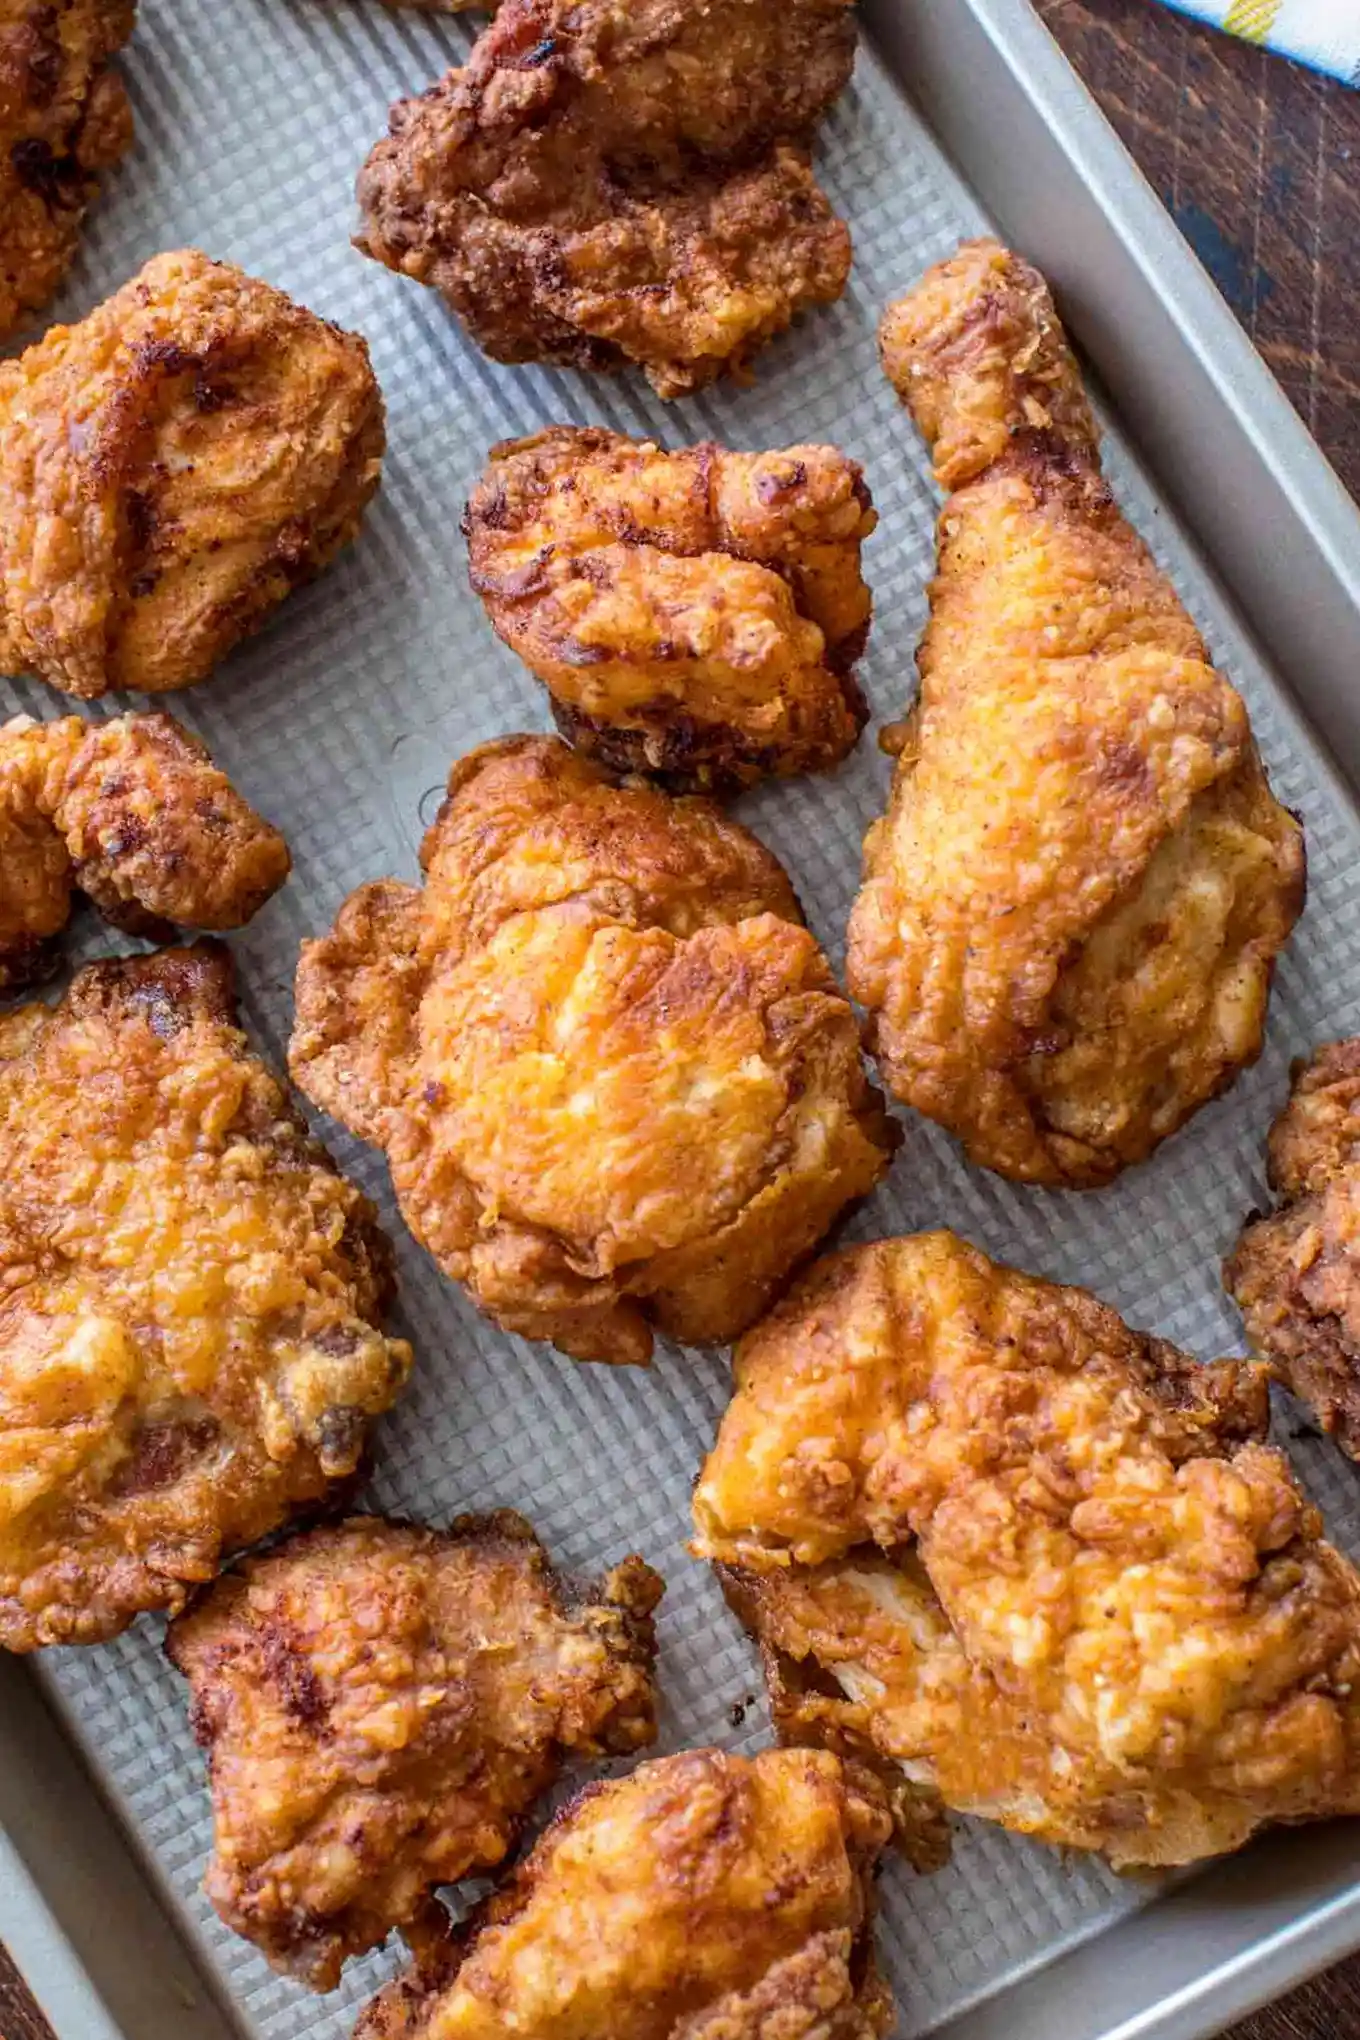
Achieve a perfectly golden, crunchy crust and juicy meat with this classic homemade fried chicken. This method utilizes a specialized brine to ensure the chicken remains tender and flavorful throughout the frying process.
List of ingredients
- 4 lbs whole chicken (cut into pieces) – use organic for best quality.
- Vegetable oil – used for deep frying.
- 2 cups buttermilk – tenderizes the meat through acidity.
- 2 cups pickle juice – provides a tangy flavor and extra moisture.
- 1/4 cup hot sauce (optional) – adds a mild spicy kick.
- 2 cups all-purpose flour – creates the base for the crispy crust.
- 1 tablespoon salt – enhances all other seasonings.
- 1 teaspoon ground black pepper – adds a subtle warmth.
- 1 tablespoon smoked paprika – provides a mild smoky flavor and color.
- 1 tablespoon garlic powder – adds savory depth without adding moisture.
step-by-step instructions
- Prepare the chicken: Cut the whole chicken into 8-10 smaller pieces and discard the backbone.
- Mix the brine: In a large bowl, stir together the pickle juice, buttermilk, and optional hot sauce.
- Marinate: Add the chicken pieces to the brine mixture. Let them soak for 30 minutes, or for deeper flavor, refrigerate for up to 24 hours.
- Season the flour: In a medium, shallow bowl, combine the all-purpose flour, salt, pepper, garlic powder, and smoked paprika.
- Set up the workstation: Place a wire rack onto a baking sheet and keep it nearby for the coated chicken.
- Coat the chicken: Remove one piece of chicken from the brine, dredge it thoroughly in the flour mixture, and place it on the wire rack.
- Alternative coating method: To speed up the process, toss the chicken pieces in the flour mixture within a large baking dish before transferring them to the rack.
- Rest the chicken: Allow the floured chicken to sit on the rack for 20-30 minutes to help the coating adhere.
- Heat the oil: Fill a deep frying pan halfway with vegetable oil and heat it to 365 degrees Fahrenheit.
- Fry in batches: Carefully fry the chicken pieces in small batches to avoid overcrowding the pan. Cook for 10 or more minutes until they reach a golden brown color.
- Drain and cool: Remove the chicken and place it on a cooling rack lined with paper towels to remove excess oil.
- Serve: Plate the chicken with your favorite dipping sauce and serve immediately.
Guidelines for Cutting a Whole Chicken
Dividing the Breast Meat
Place the chicken breast side up and pull the leg away from the body. Slice through the skin and bend the leg back until the joint pops, then cut through the joint to detach the leg. Split the breast bone by slicing it in half, or cut into quarters by slicing diagonally through the bone.
Separating Thighs and Drumsticks
Once the legs are detached from the body, locate the joint between the thigh and the drumstick. Cut carefully through this joint to separate the two pieces. Avoid cutting into the marrow to keep the presentation clean.
Removing the Wings
Turn the chicken on its side and pull the wing away from the breast. Cut directly through the joint to remove the wing completely. Repeat this process for the other side of the bird.
Utilizing the Remaining Frame
Do not discard the backbone and neck after cutting the chicken. Store these pieces in the freezer for up to six months to use as a base for homemade chicken stock.
Advanced Frying Techniques
Maintaining Precise Oil Temperature
Use a clip-on thermometer to keep the oil consistently at 365 degrees Fahrenheit. If the oil temperature drops too low, the chicken will absorb more fat and become greasy rather than crispy.
Preventing Pan Overcrowding
Fry only three or four pieces of chicken at a time to ensure there is plenty of room for the oil to circulate. Overcrowding the pan lowers the oil temperature rapidly and leads to steaming instead of frying.
Using a Cast-Iron Skillet
A cast-iron skillet is ideal for frying because it retains heat better than stainless steel or aluminum. This consistent heat helps create a more uniform and crunchier exterior coating.
Testing Oil with a Wooden Spoon
If you do not have a thermometer, dip the tip of a wooden spoon into the oil. When small, steady bubbles form around the wood, the oil has reached the appropriate temperature for frying.
Customizing the Flour Coating
Adding Cornstarch for Extra Crunch
Mix 1/4 cup of cornstarch into the all-purpose flour to create a lighter, crispier crust. Cornstarch prevents the coating from becoming too thick or chewy during the frying process.
Creating a Cajun Style Crust
Substitute a portion of the salt and paprika with a tablespoon of spicy Cajun seasoning. This adds a complex blend of herbs and heat that complements the buttermilk brine.
Incorporating Ranch Flavoring
Add one tablespoon of ranch seasoning powder or a small amount of ranch dressing to the flour mixture. This provides a tangy, creamy flavor profile to the exterior of the chicken.
Adjusting the Spice Level
For a milder version, omit the hot sauce from the brine and reduce the paprika. For a spicier version, add cayenne pepper to the flour mixture for an extra kick of heat.
Secrets of the Brining Process
The Role of Buttermilk Acidity
The lactic acid in buttermilk breaks down the protein fibers in the chicken meat. This process tenderizes the meat and ensures it remains moist even after deep frying.
Benefits of Using Pickle Juice
Pickle juice acts as a powerful brine that infuses the meat with tanginess and salt. This helps the chicken retain its natural juices, preventing it from drying out in the high heat of the oil.
Optimizing Marination Time
A minimum of 30 minutes is required for the brine to penetrate the surface of the meat. For the most tender results, refrigerate the chicken in the brine for 12 to 24 hours.
Ensuring Even Brine Coverage
Stir the chicken pieces occasionally while they are in the bowl to ensure every surface is coated. Using a large bowl allows the pieces to float freely in the liquid for uniform marination.
Serving and Side Dish Recommendations
Pairing with Creamy Coleslaw
The acidity and crunch of a homemade coleslaw balance the richness of the fried chicken. A vinegar-based or creamy mayo-based slaw provides a refreshing contrast to the salty crust.
Serving with Classic Potato Salad
Potato salad is a traditional companion that complements the savory notes of the chicken. Use boiled red potatoes with a mustard-mayo dressing for a classic American side dish.
Adding Macaroni and Cheese
A baked macaroni and cheese casserole adds a creamy, cheesy element to the meal. This pairing is particularly popular for family dinners or comfort food spreads.
Choosing the Right Dipping Sauces
Serve the chicken with honey mustard, barbecue sauce, or a spicy garlic aioli. These sauces add moisture and a concentrated burst of flavor to each bite.
Storage and Preservation Methods
Safe Refrigeration Guidelines
Store leftover fried chicken in a shallow, airtight container or wrap it tightly in heavy-duty aluminum foil. Keep it refrigerated for no more than 3 to 4 days to maintain food safety.
Freezing for Long Term Use
Place cooled chicken pieces in a freezer-safe container or vacuum-seal them. They can be stored in the freezer for up to three months without significant loss of quality.
Proper Thawing Process
To maintain the best texture, thaw frozen chicken pieces slowly in the refrigerator overnight. Avoid thawing at room temperature to prevent the growth of bacteria.
Preventing Moisture Buildup
When storing in the fridge, place a piece of paper towel at the bottom of the container. This helps absorb any condensation that could make the crust soggy.
Reheating for Maximum Crispness
Oven Reheating Method
Preheat your oven to 375 degrees Fahrenheit and place the chicken on a wire rack over a baking sheet. Heat for approximately 10 minutes to restore the crunch of the coating.
Air Fryer Reheating
Set the air fryer to 380 degrees Fahrenheit and heat the chicken for 5 minutes. This is the most efficient way to achieve a restaurant-quality crisp without adding more oil.
Microwave Reheating Limitations
A microwave can heat the chicken quickly, but it often results in a soft or rubbery crust. Use this method only when speed is more important than texture.
Avoiding Double Frying
Do not fry the chicken a second time to reheat it, as this will overcook the meat. The oven or air fryer provides sufficient heat to crisp the skin without drying out the interior.
Troubleshooting Common Issues
Solving a Bitter Taste in the Chicken
A bitter flavor is usually caused by using oil with a low smoke point or reusing old oil. Always use fresh vegetable, canola, or peanut oil for the best flavor profile.
Preventing the Coating from Peeling
Avoid frying the chicken immediately after dredging it in flour. Let the coated pieces rest on a wire rack for at least 20 minutes to allow the flour to bond with the brine.
Fixing Sogginess After Frying
Never place hot fried chicken directly onto paper towels on a flat surface. Instead, use a wire rack placed over paper towels to allow air to circulate around the bottom of the meat.
Managing Uneven Cooking
Bring the marinated chicken to room temperature for 15-20 minutes before frying. This ensures that the heat penetrates the center of the meat at the same rate as the exterior.
Frequently Asked Questions
How can I make the chicken extra crispy?
Use the double-dip method by coating the chicken in flour, dipping it back into the buttermilk, and coating it in flour a second time. Additionally, using a cast-iron skillet helps maintain a higher temperature for a harder crust.
Why isn’t my chicken getting crispy?
This usually happens if the oil is not hot enough or if the pan is overcrowded. Ensure your oil is between 360 and 375 degrees Fahrenheit and give each piece plenty of space to fry.
What is the best oil for frying chicken?
Neutral oils with high smoke points are best, such as vegetable, canola, or peanut oil. Avoid extra-virgin olive oil or butter, as they will burn at high temperatures and create a bitter taste.
How do I know when the chicken is fully cooked?
Use a meat thermometer to check the internal temperature of the thickest part of the meat. Remove the chicken when it reaches 155 degrees Fahrenheit, as carry-over cooking will bring it to the safe 165 degrees Fahrenheit during resting.
Print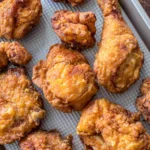
Crispy Homemade Fried Chicken with Buttermilk Brine
- Total Time: 60 minutes
- Yield: 3 servings 1x
- Diet: General
Description
Homemade fried chicken is the ultimate comfort food with a golden, crunchy crust and an unmistakably flavorful, juicy, and tender inside.
Ingredients
- 4 lbs whole chicken, cut into pieces
- vegetable oil for frying
- 2 cups buttermilk
- 2 cups pickle juice
- 1/4 cup hot sauce (optional)
- 2 cups all-purpose flour
- 1 tablespoon salt
- 1 teaspoon ground black pepper
- 1 tablespoon smoked paprika
- 1 tablespoon garlic powder
Instructions
- Step 1: Cut the chicken and discard the backbone. We usually cut the chicken into 8-10 smaller pieces.
- Step 2: Add pickle juice and buttermilk to a large bowl, stir to combine. For a spicier kick, add some hot sauce as well.
- Step 3: Next, add the chicken pieces into the mixture. Set aside for 30 minutes, or refrigerate for up to 24 hours.
- Step 4: In a medium, shallow bowl, combine flour, salt, pepper, garlic powder, and paprika.
- Step 5: Place a wire rack onto a baking sheet and set it nearby.
- Step 6: Remove one chicken piece from the buttermilk mixture, toss it well into the flour mixture, and place it onto the prepared cooling rack. Let it sit for 20-30 minutes.
- Step 7: To save time, add the flour mixture to a large baking dish, then add the chicken and toss to combine before placing it on the cooling rack.
- Step 8: Place a large/deep frying pan and fill it 1/2 full with oil. Heat oil to 365 degrees and fry the chicken in batches, careful not to overcrowd it. Cook chicken for 10 or more minutes, until crispy and golden brown.
- Step 9: Remove the chicken and place it on a cooling rack lined with paper towels to drain excess oil.
- Step 10: Serve with your favorite sauce and enjoy.
Notes
To ensure the coating sticks and results in a crispy skin, let the dredged chicken rest for at least 10-30 minutes on a wire rack before frying. Always maintain oil temperature between 360°F and 375°F.
- Prep Time: 40 minutes
- Cook Time: 20 minutes
- Category: Appetizer, Main Course
- Method: Frying
- Cuisine: American
Nutrition
- Serving Size: 1 serving
- Calories: 990 kcal
- Sugar: 8 g
- Sodium: 5596 mg
- Fat: 50 g
- Saturated Fat: 15 g
- Unsaturated Fat: 35 g
- Trans Fat: 0 g
- Carbohydrates: 86 g
- Fiber: 3 g
- Protein: 68 g
- Cholesterol: 235 mg
Keywords: fried chicken, homemade fried chicken, crunchy chicken, buttermilk brine