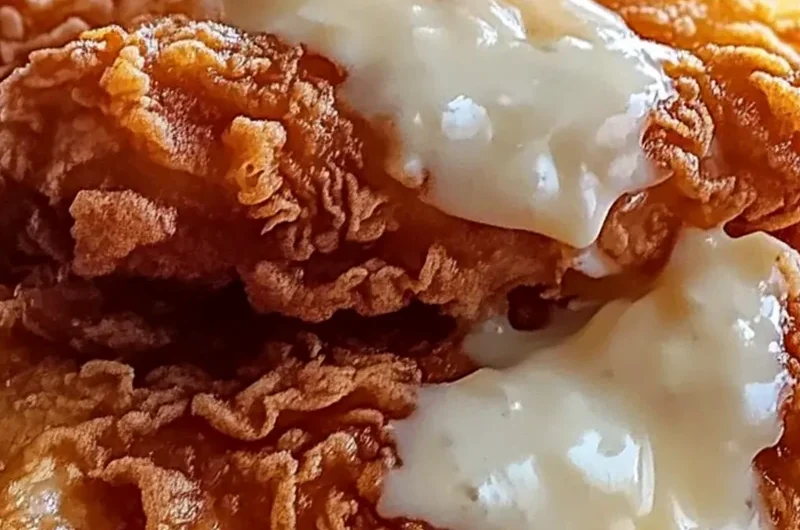
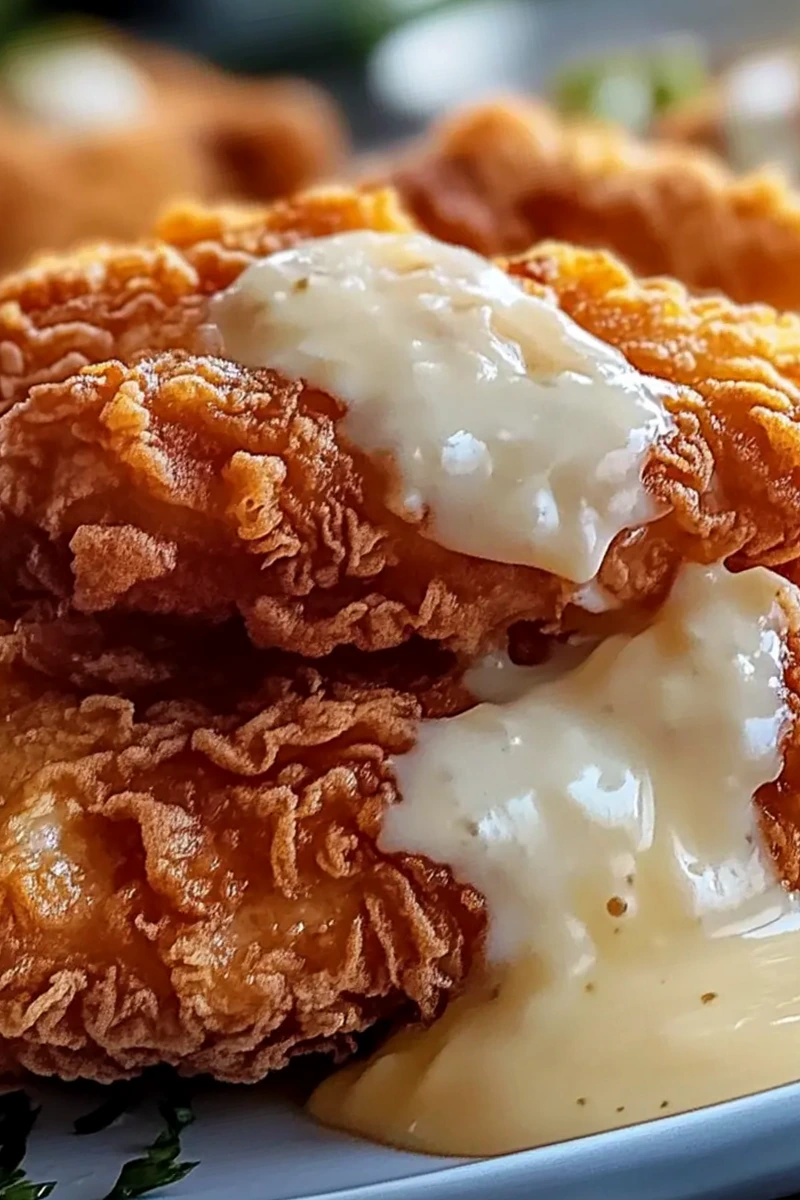
This classic chicken fried chicken recipe brings the nostalgic comfort of home-cooked meals directly to your dinner table in just 35 minutes. By focusing on a reliable dredging process and proper frying technique, you can achieve a perfectly golden, crispy crust that protects the juicy, tender chicken inside. It is an ideal dish for busy weeknights when you need something satisfying, hearty, and universally loved.
List of ingredients
- 4 pieces chicken breasts
- 1 cup all-purpose flour
- 2 large eggs
- 1 cup buttermilk
- 1 teaspoon garlic powder
- 1 teaspoon onion powder
- 1 teaspoon paprika
- salt to taste
- pepper to taste
- vegetable oil for frying
step-by-step instructions
- Step: Gently pound the chicken breasts until they’re an even thickness, about ½ inch.
- Step: In a bowl, combine flour, garlic powder, onion powder, paprika, salt, and pepper.
- Step: In another bowl, beat together the eggs and buttermilk until smooth and creamy.
- Step: Dip each chicken breast into the egg mixture, allowing excess to drip off, then coat well in the flour mixture.
- Step: Pour vegetable oil into a skillet, filling it about ½ inch deep. Heat over medium-high until shimmering but not smoking.
- Step: Carefully add the chicken to the oil and cook for 7-8 minutes on each side until golden brown and cooked through.
- Step: Remove the chicken from the skillet and place on a paper towel-lined plate. Let it rest for a few minutes to absorb any excess oil.
Essential Frying Techniques
Monitoring Oil Heat
Maintaining the oil at the correct temperature is the single most important factor for success. If the oil is too cool, the chicken will absorb it and become greasy; if it is too hot, the exterior will darken before the center reaches a safe temperature. Use a digital thermometer to ensure the oil stays near 350°F throughout the cooking process.
Preventing Coating Separation
To keep the breading from detaching during the fry, ensure the chicken is patted dry with paper towels before you start the dredging process. The flour-egg-flour sequence works best when the chicken surface is not excessively wet before the first dip, as this helps create a strong mechanical bond between the meat and the coating.
Refining Your Breading Process
Effective Batch Management
Never crowd the skillet, as this dramatically drops the oil temperature and causes the chicken to steam rather than fry. Cook in small batches so that each piece has enough space to cook independently, which is the secret to getting a uniform, crunchy golden crust on all sides.
Texture Enhancement
For an even crunchier finish, you can let the breaded chicken sit on a wire rack for about 10 minutes before frying. This allows the flour to hydrate slightly from the moisture of the egg and buttermilk, creating a more cohesive, crust-like texture that resists sogginess better than breading that goes immediately from bowl to pan.
Customization and Flavor Adaptations
Spicing Up the Crust
If you prefer a bolder flavor profile, you can easily adapt the seasoning blend. Adding a pinch of cayenne pepper or smoked chili powder creates a mild, lingering heat, while dried oregano or thyme can provide a classic herbal note that pairs beautifully with the chicken.
Alternative Flour Blends
Using a mix of all-purpose flour and a small amount of cornstarch or potato starch can yield a lighter, airier crust. The starch inhibits gluten development in the flour, which keeps the coating from becoming too dense or chewy, resulting in a shatteringly crisp texture that mimics restaurant-style frying.
Optimal Serving and Pairing Strategies
Starch and Vegetable Pairings
Serve the chicken alongside sides that contrast with the richness of the fried crust. Creamy mashed potatoes, buttered peas, or a crisp, vinegar-based coleslaw provide the necessary acidity and soft textures to balance the bite of the chicken.
Sauce Considerations
While the chicken is flavorful enough to eat on its own, a light drizzle of honey or a side of creamy gravy can elevate the meal. Ensure any sauce served on the side is warm, as cold sauces can quickly make the hot, crispy crust soggy if applied too early.
Common Troubleshooting Issues
Why Is My Crust Soggy?
A soggy crust is almost always the result of oil that was not hot enough. When the oil is cold, the coating acts like a sponge, soaking up the fat rather than crisping up. Always verify the temperature with a thermometer before adding the first piece to the skillet.
How Do I Prevent Over-Browning?
If the chicken is browning too quickly, your heat is likely too high for the thickness of the meat. Reduce the heat slightly to medium and allow the chicken a few extra minutes to cook; this allows the heat to penetrate to the center of the breast without burning the outer flour layer.
Frequently Asked Questions
Can I make this recipe in an air fryer?
You can achieve a similar result in an air fryer by lightly spraying the breaded chicken with oil. Cook at 375°F for 12-15 minutes, flipping halfway through, though the texture will be slightly drier than traditional pan-frying.
Is it necessary to use buttermilk?
Buttermilk contains mild acids that tenderize the meat, but if you do not have it, you can create a substitute. Mix one cup of milk with one tablespoon of lemon juice or white vinegar and let it sit for five minutes before use.
How can I keep the chicken warm while frying in batches?
Place a wire rack over a baking sheet in a low-temperature oven set to 200°F. As each batch finishes, transfer it to the oven to keep it warm and crispy while you finish the remaining pieces.
Can I prepare the chicken in advance?
You can pound and season the chicken a few hours early, but do not coat it in the breading until you are ready to fry. If the chicken sits in the flour coating for too long, it will become gummy and fail to produce a crisp texture.
Is this recipe suitable for leftover repurposing?
Leftover chicken is perfect for sandwiches or salads the next day. To keep it from drying out, reheat it in an air fryer or a conventional oven at 375°F rather than using a microwave, which will ruin the texture of the breading.
Print
The Best Chicken Fried Chicken Recipe for Comfort Food Bliss
- Total Time: PT35M
- Yield: 4 pieces 1x
- Diet: Non-vegetarian
Description
The Best Chicken Fried Chicken Recipe You’ll Ever Make at Home, packed with flavors that remind you of family gatherings and Sunday dinners.
Ingredients
- 4 pieces chicken breasts
- 1 cup all-purpose flour
- 2 large eggs
- 1 cup buttermilk
- 1 teaspoon garlic powder
- 1 teaspoon onion powder
- 1 teaspoon paprika
- salt to taste
- pepper to taste
- vegetable oil for frying
Instructions
- Step: Gently pound the chicken breasts until they’re an even thickness, about ½ inch.
- Step: In a bowl, combine flour, garlic powder, onion powder, paprika, salt, and pepper.
- Step: In another bowl, beat together the eggs and buttermilk until smooth and creamy.
- Step: Dip each chicken breast into the egg mixture, allowing excess to drip off, then coat well in the flour mixture.
- Step: Pour vegetable oil into a skillet, filling it about ½ inch deep. Heat over medium-high until shimmering but not smoking.
- Step: Carefully add the chicken to the oil and cook for 7-8 minutes on each side until golden brown and cooked through.
- Step: Remove the chicken from the skillet and place on a paper towel-lined plate. Let it rest for a few minutes to absorb any excess oil.
Notes
Ensure your oil is hot enough before frying — if it’s not sizzling, your chicken may turn out soggy instead of crispy.
- Prep Time: PT15M
- Cook Time: PT20M
- Category: Dinner
- Method: Frying
- Cuisine: American
Nutrition
- Serving Size: 1 piece
- Calories: 450 kcal
- Sugar: 1 g
- Sodium: 450 mg
- Fat: 18 g
- Saturated Fat: 6 g
- Unsaturated Fat: 12 g
- Trans Fat: 0 g
- Carbohydrates: 30 g
- Fiber: 2 g
- Protein: 35 g
- Cholesterol: 120 mg
Keywords: chicken fried chicken, comfort food, crispy chicken, dinner, homemade