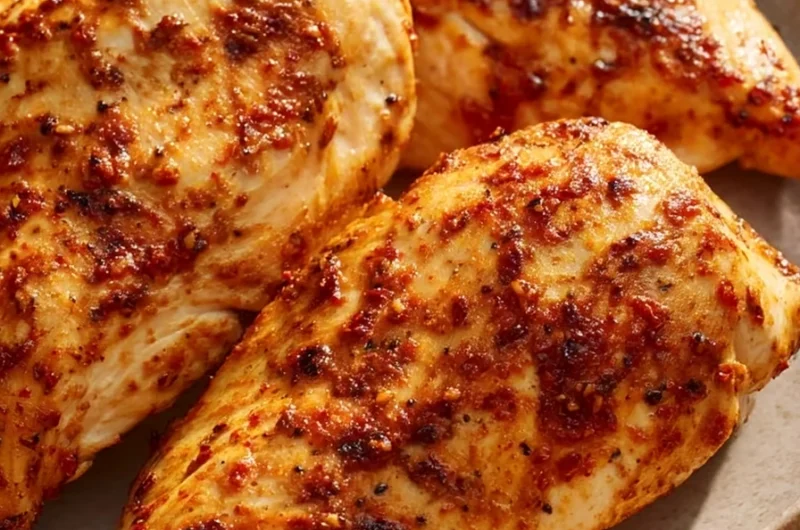
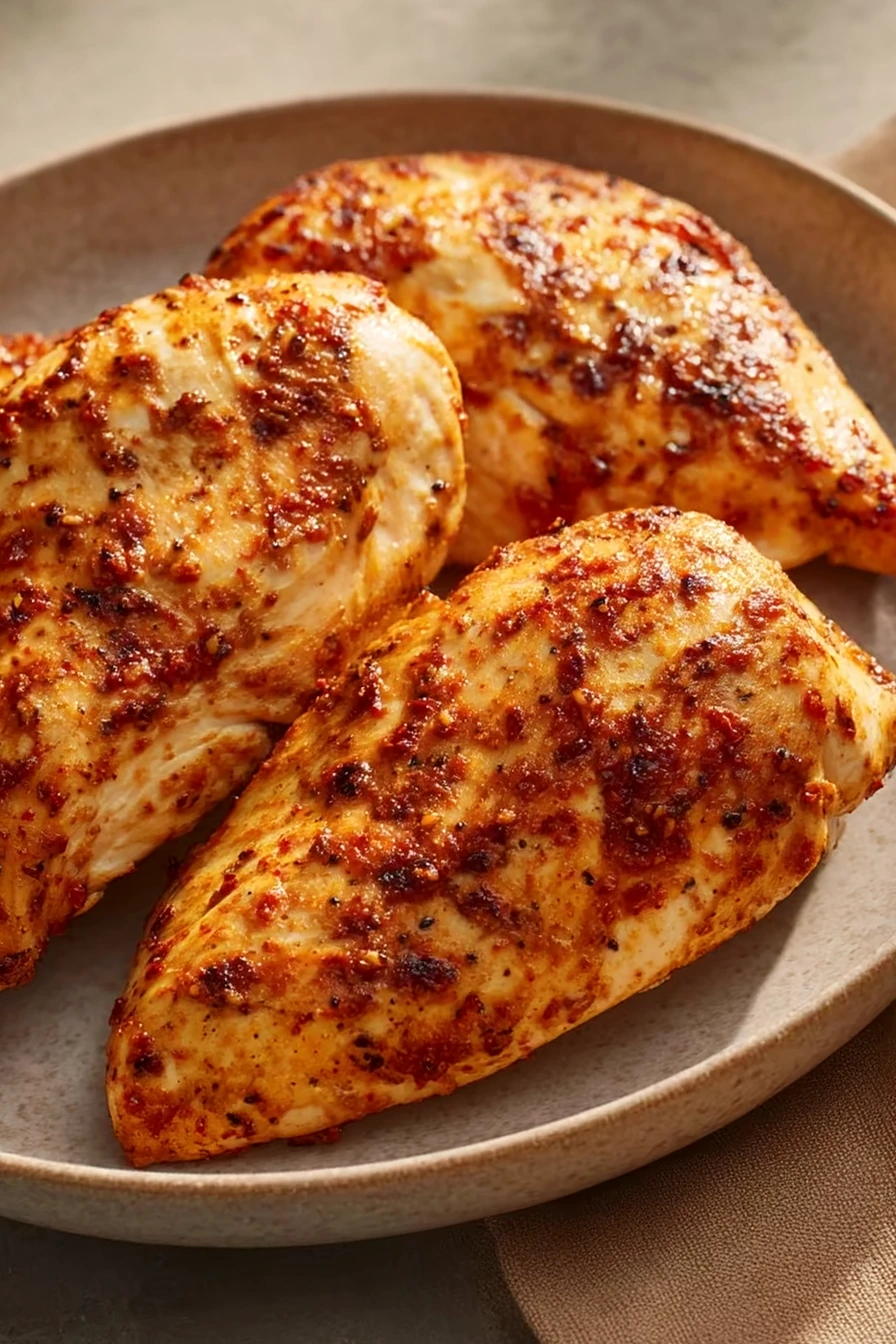
Preparing chicken breast in the air fryer provides a reliable way to achieve succulent meat with a perfectly browned exterior without relying on heavy breading. This straightforward method focuses on precise temperature control and simple seasoning to yield high-quality results in under half an hour. It serves as an ideal solution for those seeking a lean protein source that fits into busy weekly schedules while maintaining excellent flavor and texture.
List of ingredients
- 2 boneless, skinless chicken breasts (about 6 ounces each)
- 1 tablespoon olive oil
- 1 teaspoon garlic powder
- 1 teaspoon paprika
- 1/2 teaspoon onion powder
- 1/2 teaspoon salt
- 1/4 teaspoon black pepper
step-by-step instructions
- Step: Preheat the air fryer to 375°F (190°C) for 3 minutes.
- Step: Pat the chicken breasts dry with paper towels.
- Step: In a small bowl, mix the olive oil, garlic powder, paprika, onion powder, salt, and black pepper.
- Step: Brush the seasoning mixture evenly over both sides of each chicken breast.
- Step: Place the chicken breasts in the air fryer basket in a single layer, ensuring they do not overlap.
- Step: Cook for 9 minutes, then flip the chicken breasts over and cook for an additional 9 minutes, or until the internal temperature reaches 165°F (74°C).
- Step: Remove the chicken breasts from the air fryer and let them rest for 5 minutes before slicing and serving.
Improving Texture and Moisture
Importance of Consistent Thickness
Chicken breasts often vary in thickness, with one end significantly thinner than the other. To ensure even cooking, lightly pound the thicker part of the breast with a meat mallet or a heavy skillet until the entire piece has a uniform depth. This prevents the thinner portion from becoming overcooked and dry while the thicker center remains raw.
Resting Time for Juicy Results
Cutting into chicken immediately after taking it out of the air fryer causes the internal juices to spill out onto the cutting board instead of staying in the meat. The five-minute rest period is essential because it allows the proteins to relax and reabsorb moisture. This simple step is the difference between a dry meal and one that is consistently tender.
Refining the Flavor Profile
Customizing Spice Blends
While the provided spice mix offers a classic savory flavor, you can adapt the coating to suit different meal themes. For a Mediterranean flair, incorporate dried oregano and a touch of lemon zest into the oil mixture. Alternatively, add a pinch of cayenne pepper or crushed red pepper flakes if you prefer a sharper, spicy finish to your poultry.
Applying Oil Effectively
The olive oil in this recipe acts as a medium for the spices to cling to the meat rather than falling off into the bottom of the air fryer basket. Ensure you whisk the oil and spices into a thick emulsion before application. If the oil is too thin, it will slide off the chicken, leading to an uneven distribution of seasoning.
Air Fryer Operation and Maintenance
Managing Basket Capacity
Overcrowding the air fryer basket is a common mistake that leads to steamed rather than roasted chicken. If you are preparing more than two breasts, it is better to cook in multiple batches. The heated air must be able to circulate around each piece of meat to create a flavorful exterior surface.
Cleaning the Heating Element
Because this recipe uses a small amount of oil, it is important to check the air fryer for debris after use. Oil splatter near the heating element can cause smoking during future cooking sessions. Regularly wiping down the interior of the basket and the area just below the heating element maintains the performance and safety of your machine.
Frequently Asked Questions
Why does the chicken seem dry?
Dryness is usually a sign of overcooking or high temperatures. Ensure you are using an internal thermometer rather than relying solely on timing, as air fryers vary in heat intensity. Once the temperature hits 165°F, remove the chicken immediately to prevent moisture loss.
Can I prepare this in advance?
Yes, you can season the chicken up to two hours ahead of time and keep it refrigerated until you are ready to cook. If you do this, ensure the chicken is brought back toward room temperature for about 15 minutes before air frying to avoid shocking the meat and resulting in uneven cooking.
Is it necessary to flip the chicken?
Yes, flipping is necessary because most air fryers provide heat primarily from the top. The side facing down will not brown or crisp efficiently if left untouched for the entire duration of the cooking cycle. Flipping ensures a uniform color and texture on both sides of the fillet.
How can I verify the chicken is fully cooked without a thermometer?
While an instant-read thermometer is the most reliable tool, you can check by piercing the thickest part of the breast with a sharp knife. The juices should run completely clear, and the internal meat should be opaque and white throughout. If you see any translucent or pink coloring, it requires additional cooking time.
Serving and Storage Suggestions
Suggested Side Pairings
This neutral, savory chicken pairs well with a variety of sides including roasted root vegetables, quinoa, or a crisp garden salad. Because the chicken is cooked in a healthy, lean manner, it works perfectly alongside roasted broccoli or asparagus tossed in lemon and garlic. You can also serve it sliced over cold pasta or warm grains for a balanced meal.
Maximizing Fridge Longevity
Store leftover chicken in an airtight container to prevent it from absorbing refrigerator odors. It remains safe and flavorful for up to 4 days when stored correctly in the coldest part of your fridge. Avoid storing it with acidic sauces if you intend to keep it for the full four days, as the acidity can change the texture of the cooked poultry over time.
Reheating for Best Texture
To avoid a rubbery texture when reheating, use the air fryer again at a lower temperature, such as 300°F, for 3 to 5 minutes. Adding a teaspoon of water or vegetable broth to the container while heating can also help reintroduce moisture to the meat. Avoid using a high microwave setting, as it tends to heat unevenly and draw out excess moisture from the chicken fibers.
Print
Air Fryer Chicken Breast (Without Breading)
- Total Time: PT23M
- Yield: 2 servings 1x
- Diet: High Protein, Low-Carb
Description
A simple and healthy recipe for juicy, tender chicken breasts cooked in the air fryer without any breading. Perfect for a quick weeknight dinner or meal prep.
Ingredients
- 2 boneless, skinless chicken breasts (about 6 ounces each)
- 1 tablespoon olive oil
- 1 teaspoon garlic powder
- 1 teaspoon paprika
- 1/2 teaspoon onion powder
- 1/2 teaspoon salt
- 1/4 teaspoon black pepper
Instructions
- Step: Preheat the air fryer to 375°F (190°C) for 3 minutes.
- Step: Pat the chicken breasts dry with paper towels.
- Step: In a small bowl, mix the olive oil, garlic powder, paprika, onion powder, salt, and black pepper.
- Step: Brush the seasoning mixture evenly over both sides of each chicken breast.
- Step: Place the chicken breasts in the air fryer basket in a single layer, ensuring they do not overlap.
- Step: Cook for 9 minutes, then flip the chicken breasts over and cook for an additional 9 minutes, or until the internal temperature reaches 165°F (74°C).
- Step: Remove the chicken breasts from the air fryer and let them rest for 5 minutes before slicing and serving.
Notes
If you’re worried about dry chicken breasts, this recipe has you covered—let them rest a few minutes after cooking to lock in all those juices.
- Prep Time: PT5M
- Cook Time: PT18M
- Category: Dinner
- Method: Air Frying
- Cuisine: American
Nutrition
- Serving Size: 1 chicken breast
- Calories: 210 kcal
- Sugar: 0 g
- Sodium: 650 mg
- Fat: 8 g
- Saturated Fat: 1.5 g
- Unsaturated Fat: 6 g
- Trans Fat: 0 g
- Carbohydrates: 2 g
- Fiber: 0.5 g
- Protein: 34 g
- Cholesterol: 95 mg
Keywords: air fryer, chicken breast, healthy, low-carb, quick dinner, meal prep