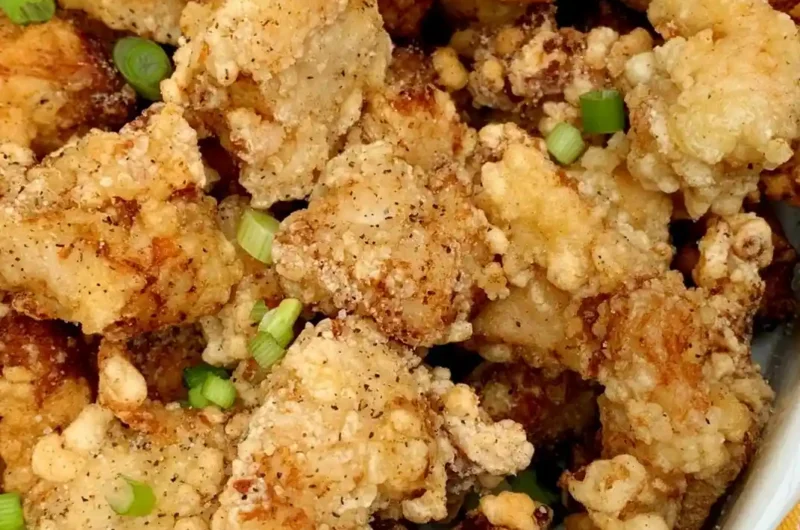
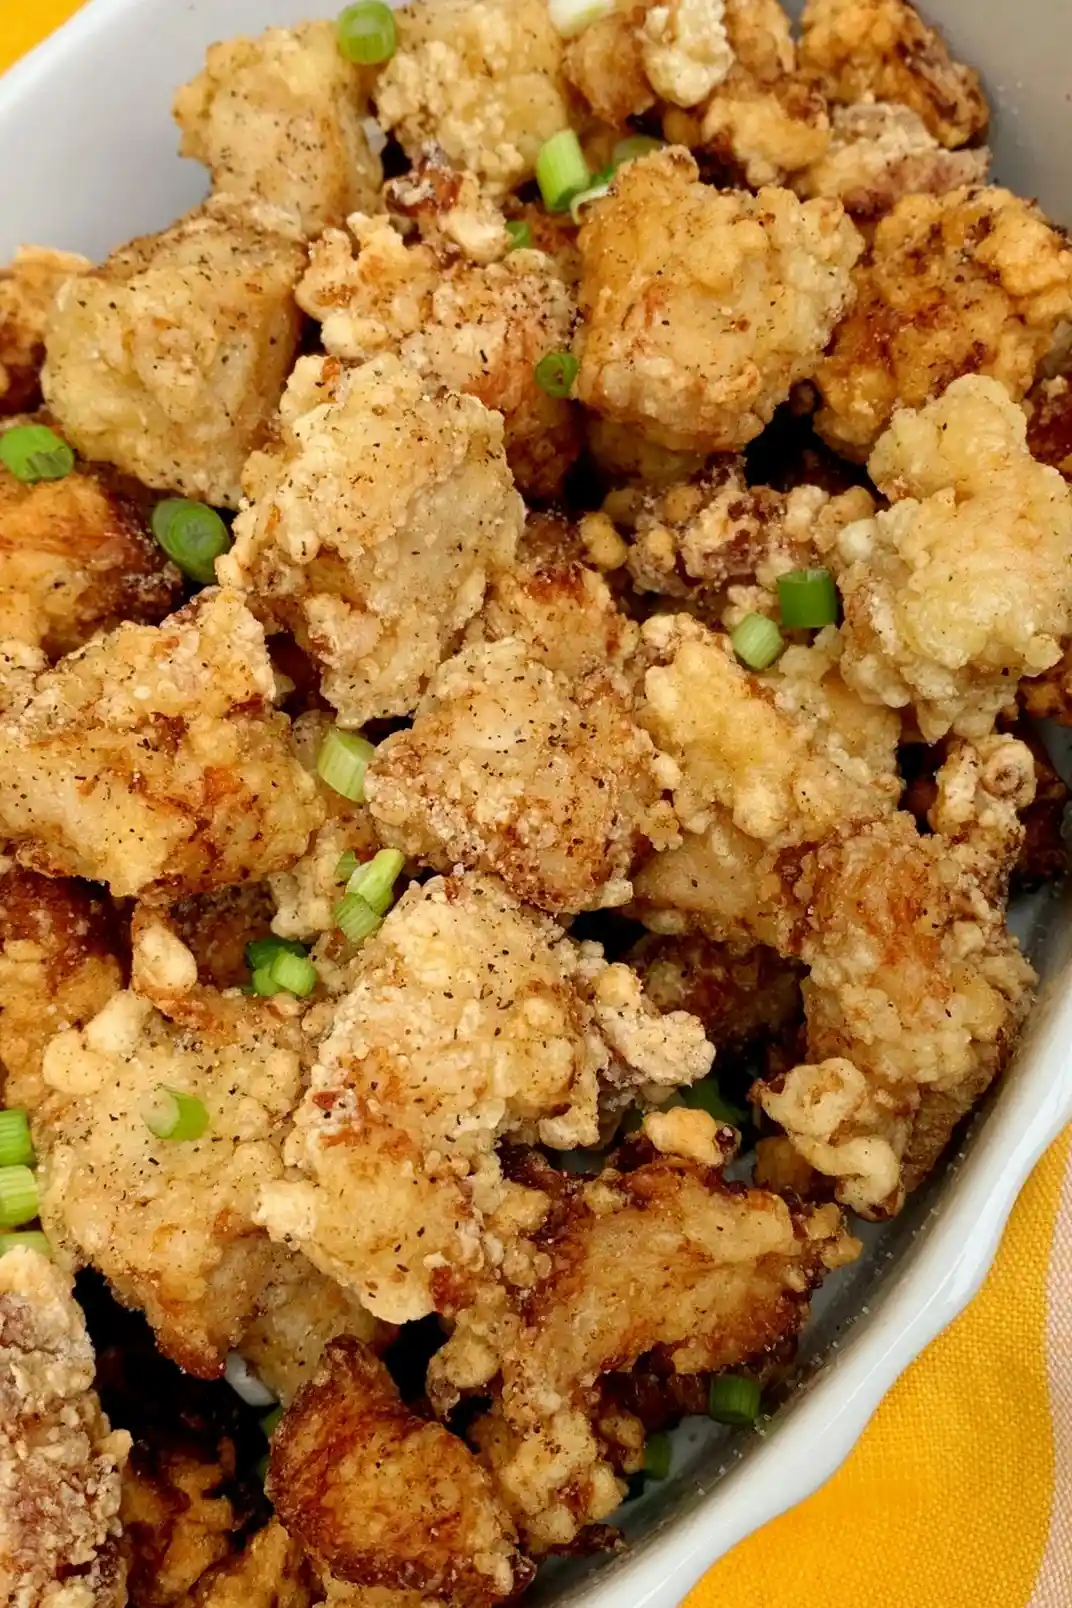
Achieve a restaurant-quality crunch with this easy Salt and Pepper Chicken recipe. This method uses a cornstarch coating to ensure a light, shatter-crisp texture without the need for heavy batter.
List of ingredients
- 1 lb boneless, skinless chicken thigh or breast, cut into bite-size pieces
- 2 tbsp soy sauce – provides salty umami depth
- 1 tbsp vegetable broth – alcohol-free liquid for the marinade
- 1 tsp brown sugar – balances the saltiness
- ½ tsp salt – enhances overall seasoning
- ½ tsp white pepper – provides authentic aromatic heat
- 2 cloves garlic, minced – adds pungent flavor
- ¾ cups Cornstarch – creates the signature crisp shell
- ¼ tsp extra white pepper – for final tossing
- 2-3 chillies, sliced (optional) – for added spice
- Oil for frying – use a neutral oil with a high smoke point
step-by-step instructions
- Marinate: In a bowl, combine chicken with soy sauce, vegetable broth, brown sugar, salt, white pepper, and minced garlic. After mixing, let it rest for 10–15 minutes.
- Prep Coating: Place cornstarch in a shallow dish. Dredge each piece of marinated chicken in cornstarch until fully coated. Then, shake off the excess.
- Heat Oil: Warm oil in a deep pan to 350–360 °F (175–180 °C). Use a thermometer if you have one, because proper oil temp is key for crisp.
- Fry: Working in batches, fry chicken until golden and crisp, for about 3–4 minutes per batch. Make sure you don’t crowd the pan.
- Drain & Toss: Remove with a slotted spoon to a wire rack or paper towel-lined tray. Toss lightly with extra white pepper and sliced chilies for flavor.
- Rest: Let the chicken rest for 5 minutes before serving. This helps lock in crisp and lets juices redistribute.
Mastering the Crunch
Maintaining Precise Oil Temperature
The temperature of your frying oil is the most critical factor for success. If the oil falls below 350°F, the cornstarch coating will absorb excess fat, resulting in a greasy, soggy texture. Conversely, oil above 370°F will brown the exterior too quickly, potentially leaving the chicken undercooked inside.
Use a clip-on deep-fry thermometer to monitor the heat in real-time. If the temperature drops significantly after adding a batch, remove the chicken and allow the oil to return to the target range before starting the next round.
Ensuring a Dry Surface Before Coating
Excess moisture on the surface of the meat prevents the cornstarch from adhering properly. When the marinade is too wet, it creates a gummy layer between the meat and the starch, which can lead to the coating sliding off during frying.
While the marinade is necessary for flavor, you should let any excess liquid drip off before dredging. Gently pressing the chicken into the cornstarch helps the powder bond with the meat for a more stable crust.
Preventing Pan Overcrowding
Adding too many pieces of chicken at once lowers the oil temperature instantly. This sudden drop causes the chicken to steam rather than fry, which destroys the crispiness of the cornstarch coating.
Fry in small batches, ensuring that each piece has plenty of room to float and circulate. This allows the hot oil to hit every surface of the chicken, ensuring an even, golden-brown finish across the entire batch.
Optimizing Meat Selection
Using Chicken Thighs for Maximum Juiciness
Boneless, skinless chicken thighs are generally preferred for this recipe because they have a higher fat content than breasts. This makes them more resilient to the high heat of deep frying, ensuring the interior remains moist while the exterior crisps.
Thighs are also more forgiving if you slightly overcook them. They maintain a tender texture that contrasts beautifully with the shatter-crisp cornstarch shell.
Using Chicken Breast for a Leaner Alternative
Chicken breast is an excellent option for those who prefer a leaner protein. However, breast meat cooks faster and dries out more easily than thigh meat, requiring closer attention to the frying time.
To prevent breast meat from becoming rubbery, ensure you do not exceed the recommended frying time. Remove the pieces the moment they reach a deep golden color to preserve the interior juices.
Importance of Uniform Piece Size
Consistency in the size of your chicken cubes is essential for even cooking. If you mix large chunks with small pieces, the smaller ones will burn before the larger ones are cooked through.
Aim for bite-sized pieces roughly 1 to 1.5 inches in diameter. This size provides an ideal ratio of crispy exterior to juicy interior and ensures a predictable cook time of 3 to 4 minutes per batch.
The Science of the Coating
Why Cornstarch Creates Superior Crispness
Cornstarch is used instead of wheat flour because it contains significantly less protein and no gluten. Gluten formation in flour can lead to a denser, bread-like crust that becomes chewy as it cools.
Cornstarch allows for faster moisture evaporation during the frying process. This rapid dehydration creates a thin, brittle, and light shell that provides the classic ‘shatter’ effect found in Chinese takeout.
Using a Cornstarch and Flour Blend
Some cooks prefer a blend of half cornstarch and half all-purpose flour. This modification results in a thicker, heartier crust that feels more like traditional Southern fried chicken.
While a blend provides more body, it lacks the delicate lightness of a pure cornstarch coating. If you choose this method, you may need to increase the frying time by 30 to 60 seconds to ensure the thicker crust is fully dehydrated.
Adapting for Gluten-Free Diets
This recipe is naturally close to gluten-free, as cornstarch is a gluten-free thickener. To make the dish fully gluten-free, simply replace the standard soy sauce with tamari or coconut aminos.
Tamari provides the same salty, umami profile as soy sauce without the wheat content. The frying process and cornstarch coating remain unchanged, maintaining the same level of crispness.
Alternative Cooking Methods
Air Fryer Implementation
For a healthier version, an air fryer can be used to achieve a similar result. Toss the cornstarch-coated chicken pieces in a small amount of neutral oil before placing them in the air fryer basket.
Cook at 380°F (190°C) for 10 to 12 minutes, shaking the basket halfway through. While not as indulgent as deep frying, this method still produces a satisfying crunch with significantly less oil.
High-Heat Oven Baking
Oven baking is possible if you use a wire rack set over a baking sheet. This allows hot air to circulate around the chicken, preventing the bottom from becoming soggy.
Bake at 425°F (220°C) for 15 to 20 minutes. For the best results, spray the coated chicken liberally with oil before baking to mimic the effects of deep frying.
Serving and Storage Advice
Best Side Dish Pairings
Salt and Pepper Chicken pairs exceptionally well with neutral grains like steamed jasmine rice or basmati rice. The rice absorbs the flavors of the seasoned chicken and balances the saltiness of the dish.
For a fresher contrast, serve the chicken with a quick Asian-style slaw featuring shredded cabbage, carrots, and a rice vinegar dressing. Stir-fried bok choy or broccoli also adds necessary color and nutrients to the meal.
Refrigerator Storage Guidelines
Store any leftover chicken in an airtight container in the refrigerator for up to 3 to 4 days. To prevent the coating from softening too quickly, let the chicken cool completely on a wire rack before sealing it in the container.
Avoid stacking the pieces too tightly, as trapped moisture can lead to a soggy exterior. Placing a piece of paper towel at the bottom of the container can help absorb excess moisture.
Reheating for Maximum Crispness
Never use a microwave to reheat fried chicken, as the steam will turn the crisp coating rubbery. The best methods for reheating are using an air fryer or a conventional oven.
Heat the chicken at 350°F (175°C) for 8 to 10 minutes in an oven or 5 minutes in an air fryer. This evaporates the moisture and restores the original crunch of the cornstarch shell.
Troubleshooting Common Issues
Resolving Soggy Coating
If your chicken is soft instead of crunchy, the most likely cause is oil that was too cool or a pan that was too crowded. This prevents the starch from searing instantly, allowing oil to soak into the crust.
Ensure you use a thermometer to verify the oil is at 350°F before adding the meat. Always fry in small batches to maintain a consistent temperature throughout the process.
Preventing Coating Separation
If the cornstarch shell peels away from the meat, it is usually due to too much moisture in the marinade or skipping the resting phase. A layer of liquid between the meat and the starch prevents a strong bond.
Drip the marinated chicken well before dredging and press the cornstarch firmly into the meat. Letting the coated chicken sit for two minutes before frying can also help the coating set.
Managing Greasy Results
Greasy chicken occurs when the oil temperature drops too low or the oil is not fresh. When the temperature dips, the chicken absorbs oil instead of pushing it away through the bubbling process.
Maintain a steady heat and avoid using oil that has been reused too many times. If you notice the chicken absorbing too much oil, remove it immediately and increase the heat for the next batch.
Balancing Burnt Exteriors and Raw Interiors
This happens when the oil is too hot or the chicken pieces are too large. The outside browns instantly, but the heat does not have enough time to penetrate the center of the meat.
Lower the heat slightly and ensure all chicken pieces are cut to a uniform size. Using a thermometer will help you find the ‘sweet spot’ where the exterior browns at the same rate the interior cooks.
Frequently Asked Questions
Can I use black pepper instead of white pepper?
Yes, you can use black pepper, but the flavor profile will change. White pepper has a more sharp, floral, and fermented heat that is characteristic of authentic Cantonese cooking, whereas black pepper is more pungent and woody.
What is the best oil for frying?
Use a neutral oil with a high smoke point, such as canola, vegetable, peanut, or grapeseed oil. Avoid extra virgin olive oil or butter, as they burn at lower temperatures and will impart an unwanted flavor to the chicken.
Can this dish be frozen?
Yes, you can freeze the cooked chicken. Cool it completely, freeze the pieces in a single layer on a tray, and then transfer them to a freezer bag. Reheat them in an air fryer or oven to restore the crunch.
Can I substitute the brown sugar?
You can use granulated white sugar or honey as a substitute. Brown sugar is preferred for its slight molasses hint, but any sweetener will work to balance the salty soy sauce and pungent garlic.
Do I need to peel the chillies?
No, you do not need to peel the chillies. Simply slice them thinly into rounds. If you prefer less heat, remove the seeds from the chillies before slicing them.
Print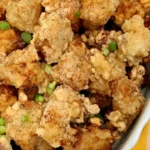
Crispy Salt and Pepper Chicken
- Total Time: 45 minutes
- Yield: 4 servings 1x
- Diet: General
Description
A homemade version of the popular Chinese takeout recipe featuring marinated bites of chicken fried until crispy and tossed in salt and pepper.
Ingredients
- 1 lb boneless, skinless chicken thigh or breast, cut into bite-size pieces
- 2 tbsp soy sauce
- 1 tbsp alcohol-free rice vinegar
- 1 tsp brown sugar
- ½ tsp salt
- ½ tsp white pepper
- 2 cloves garlic, minced
- ¾ cup cornstarch
- ¼ tsp extra white pepper
- 2–3 chillies, sliced (optional)
- Oil for frying
Instructions
- Marinate: Combine chicken with soy sauce, alcohol-free rice vinegar, brown sugar, salt, white pepper, and minced garlic; let rest for 10–15 minutes.
- Prep Coating: Dredge each piece of marinated chicken in cornstarch until fully coated, then shake off the excess.
- Heat Oil: Warm oil in a deep pan to 350–360 °F (175–180 °C).
- Fry: Fry chicken in batches for 3–4 minutes per batch until golden and crisp.
- Drain & Toss: Remove chicken with a slotted spoon and toss lightly with extra white pepper and sliced chilies.
- Rest: Let the chicken rest for 5 minutes before serving.
Notes
For the best crunch, use cornstarch only rather than a flour blend. Ensure oil is at the correct temperature to avoid greasy chicken.
- Prep Time: 10 minutes
- Cook Time: 15 minutes
- Category: Main Course
- Method: Deep Frying
- Cuisine: Chinese
Nutrition
- Serving Size: 1 serving
- Calories: 350 kcal
- Sugar: 3 g
- Sodium: 1366 mg
- Fat: 15 g
- Saturated Fat: 3 g
- Unsaturated Fat: 12 g
- Trans Fat: 0 g
- Carbohydrates: 27 g
- Fiber: 1 g
- Protein: 27 g
- Cholesterol: 113 mg
Keywords: salt and pepper chicken, crispy chicken, chinese takeout, fried chicken