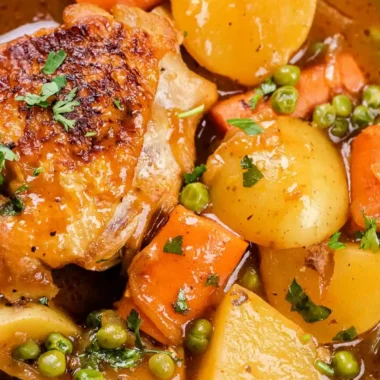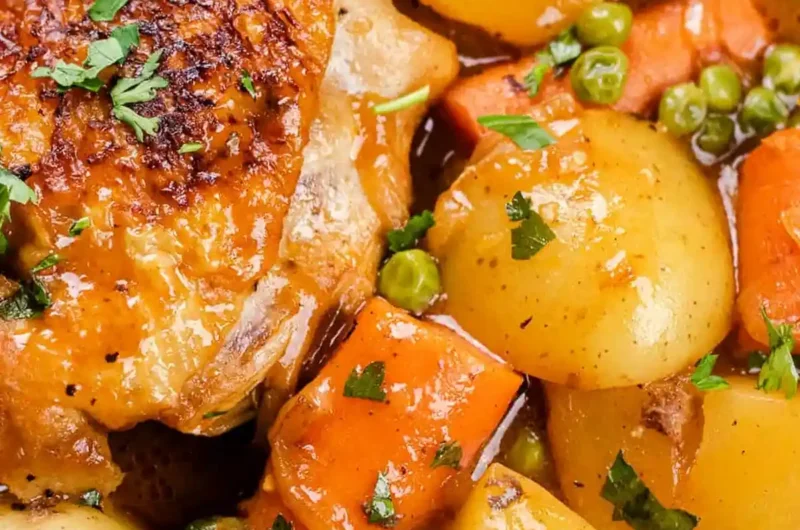
This filling one-pot meal features tender chicken thighs and a thick, savory gravy. The slow-cooking process in the oven ensures that the vegetables remain tender while the chicken becomes succulent.
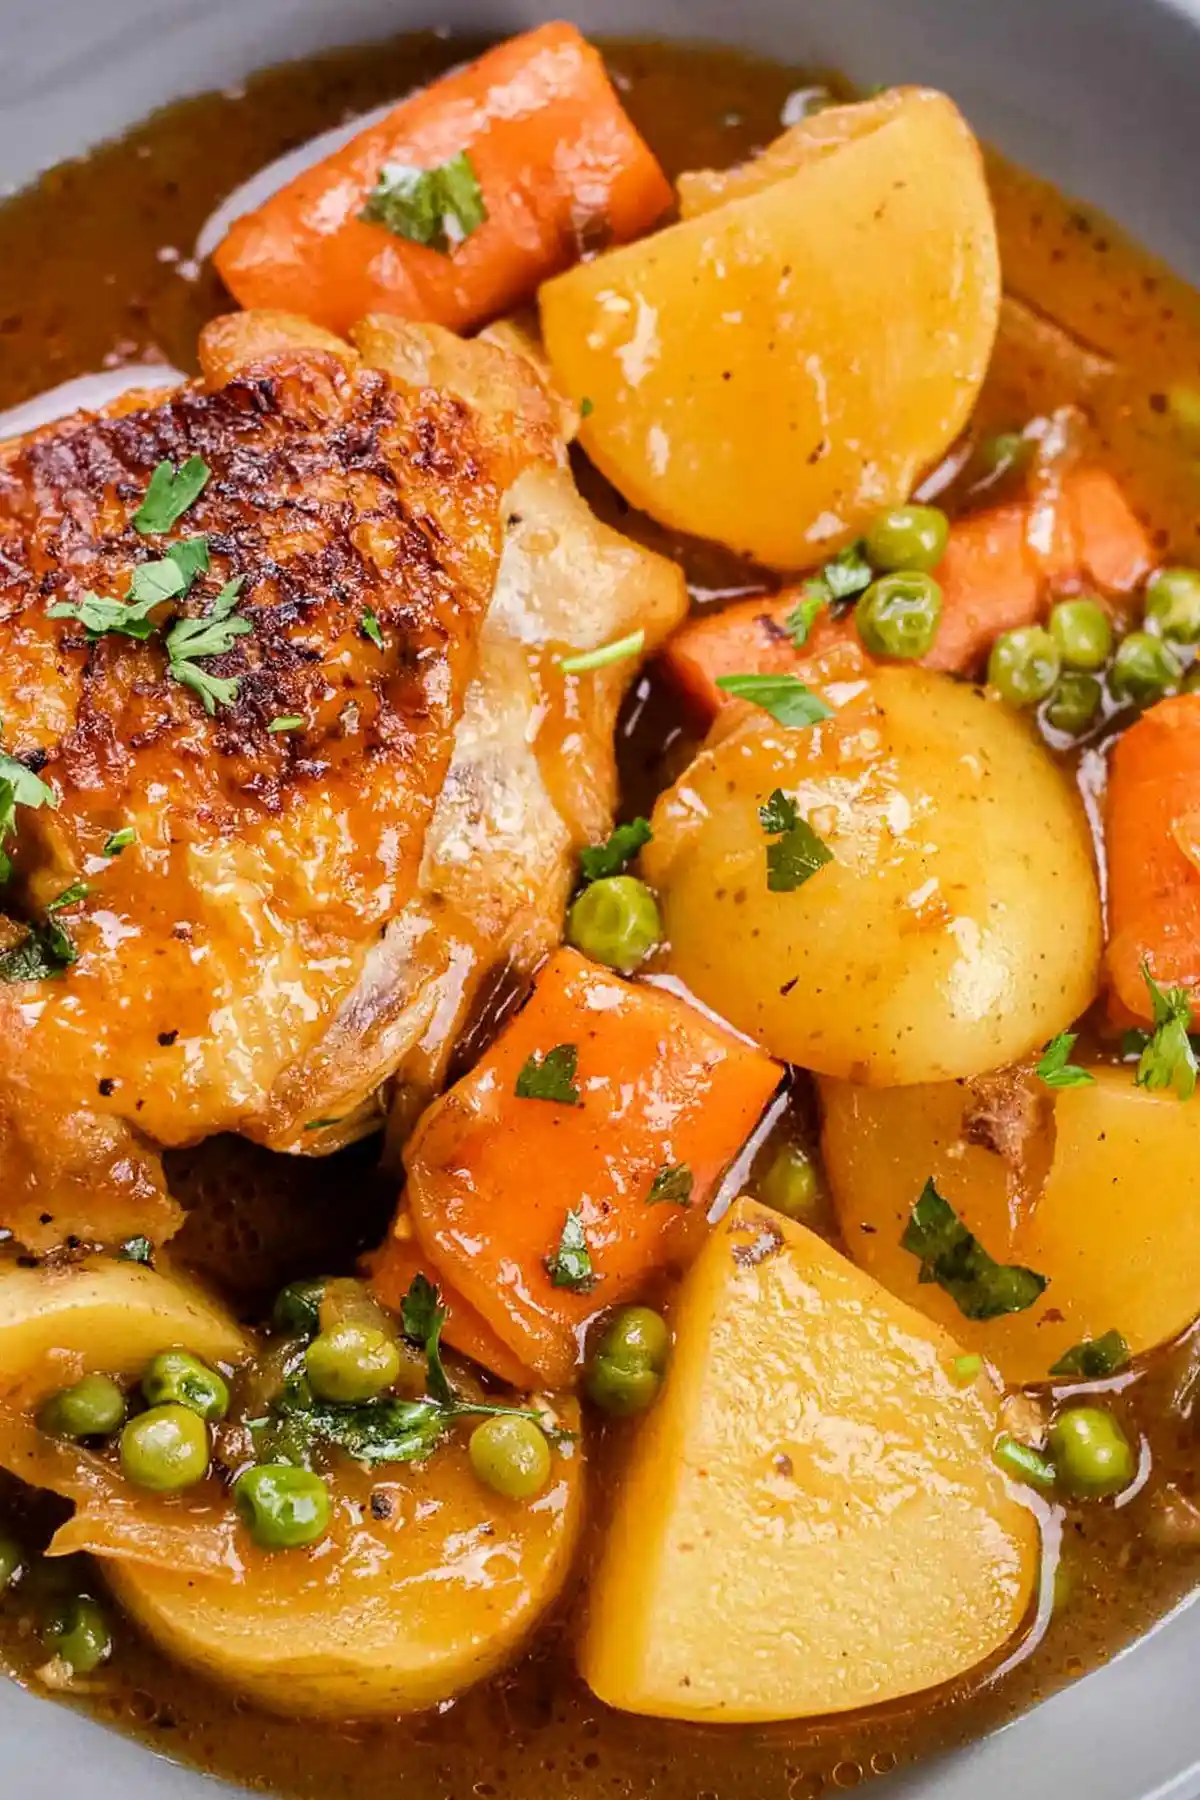
List of ingredients
- 2 tablespoons olive oil – used for searing the chicken.
- 4 bone-in, skin-on chicken thighs – provides richness and deep flavor.
- 1 large onion, halved and sliced – adds a sweet, caramelized base.
- 2 cloves garlic, minced – for aromatic depth.
- 2 large carrots, cut into 1 1/2-inch chunks – hearty root vegetable.
- 3 tablespoons all-purpose flour – used to thicken the stew gravy.
- 4 cups chicken stock or broth – the liquid base for the stew.
- 2 tablespoons tomato paste – adds richness and a hint of acidity.
- 1 tablespoon Worcestershire sauce – enhances the overall umami profile.
- 2 sprigs fresh thyme – adds an earthy, herbal note.
- 2 bay leaves – provides a subtle aromatic background.
- 6 baby potatoes, halved or quartered – adds texture and heartiness.
- 1/2 cup frozen peas – added at the end for color and sweetness.
step-by-step instructions
- Preheat: Set your oven to 350°F.
- Sear the Chicken: Heat 2 tablespoons of olive oil in a large, heavy-bottomed pot over medium-high heat. Place 4 chicken thighs skin-side down, season with salt and pepper, and brown for about 5 minutes per side until a golden crust forms. Transfer the chicken to a plate and set aside.
- Sauté Aromatics: Add 1 sliced onion to the pot and cook for approximately 10 minutes until caramelized. Stir in 2 cloves of minced garlic and cook for 30 seconds to release the aroma.
- Thicken and Deglaze: Sprinkle in 3 tablespoons of all-purpose flour and stir for one minute. Mix in 4 cups of chicken stock, 2 tablespoons of tomato paste, and 1 tablespoon of Worcestershire sauce, scraping any browned bits from the bottom of the pan.
- Add Carrots: Incorporate 2 roughly chopped carrots into the liquid and bring the mixture to a simmer.
- First Bake: Place the browned chicken thighs on top of the carrots, ensuring the skin remains above the liquid line. Add fresh thyme and bay leaves, cover with a lid, and bake for 35 minutes.
- Add Potatoes: Remove the pot from the oven and take off the lid. Add the diced potatoes, pushing them into the liquid while keeping the chicken skin above the surface.
- Second Bake: Cover the pot with the lid and return it to the oven for another 30 minutes or until the potatoes are tender.
- Final Touch: Remove the pot and lid once more. Stir in 1/2 cup of frozen peas, then return the pot to the oven for a final 10 minutes to warm the peas and crisp the chicken skin.
Advanced Cooking Techniques
Searing Chicken for Maximum Texture
Searing the chicken skin-side down creates a Maillard reaction, which develops complex flavors and a crispy texture. Avoid overcrowding the pot to ensure the meat browns rather than steams. Maintain medium-high heat and leave the thighs undisturbed for the first few minutes.
Caramelizing Onions for Sweetness
Cooking onions slowly allows their natural sugars to break down and brown. This process adds a deep, sweet complexity to the gravy that raw or lightly sautéed onions cannot provide. Stir occasionally to prevent the edges from burning while they turn a rich golden color.
Deglazing the Pot Bottom
The brown bits stuck to the bottom of the pot, known as the fond, contain concentrated flavor. By adding chicken stock and scraping with a wooden spoon, you incorporate these proteins back into the sauce. This step is essential for a professional-tasting stew gravy.
Cooking Out Raw Flour Taste
Stirring the flour into the oil and onions for one minute creates a basic roux. This process cooks the raw starch, preventing the final stew from having a floury or grainy taste. It ensures a smooth, velvety consistency in the finished sauce.
Ingredient Substitutions
Choosing the Right Potato Variety
Waxy potatoes like baby reds or Yukon Gold are ideal because they hold their shape during long cooking. Starchy potatoes, such as Russets, tend to break down and can make the stew overly thick or grainy. Use Yukon Gold for a balance of creaminess and structure.
Gluten-Free Thickening Alternatives
For a gluten-free version, replace the all-purpose flour with a cornstarch slurry. Mix one tablespoon of cornstarch with one tablespoon of cold water and stir it into the simmering liquid. Alternatively, arrowroot powder can be used for a similar thickening effect.
Fresh Herb Swaps
If fresh thyme is unavailable, use one teaspoon of dried thyme, though the flavor will be more concentrated. Fresh rosemary is another excellent addition, but use it sparingly as it can overpower other ingredients. Always remove woody stems before serving.
Adding Different Root Vegetables
You can replace some of the carrots with parsnips or turnips for a more complex, peppery flavor. Celery can be added along with the onions to create a classic mirepoix base. Ensure all root vegetables are cut to a similar size for even cooking.
Serving and Pairing Ideas
Best Bread Accompaniments
A crusty baguette or a slice of toasted sourdough is perfect for soaking up the thick gravy. Garlic bread also complements the savory notes of the chicken and thyme. Warm the bread in the oven during the final 10 minutes of the stew’s cooking time.
Fresh Garnish Options
Adding a sprinkle of freshly chopped parsley or chives just before serving adds a burst of color and brightness. A squeeze of fresh lemon juice can cut through the richness of the gravy. This adds a layer of acidity that balances the heavy root vegetables.
Complementary Side Dishes
Since the stew is quite heavy, serve it with a light side salad featuring a vinaigrette dressing. Steamed green beans or sautéed spinach also provide a healthy contrast to the rich sauce. These options balance the meal’s overall nutritional profile.
Storage and Preservation
Refrigeration Guidelines
Store leftovers in an airtight glass container once the stew has cooled to room temperature. It will remain fresh in the refrigerator for up to 5 days. Keep the container sealed to prevent the stew from absorbing other fridge odors.
Freezing for Long-Term Use
Transfer the stew to freezer-safe bags or airtight containers, leaving a small amount of space for expansion. It can be frozen for up to 3 months without significant loss of quality. Note that potatoes may change texture slightly after being frozen and thawed.
Proper Thawing Methods
The safest way to thaw frozen stew is by placing it in the refrigerator overnight. Avoid thawing at room temperature to prevent bacterial growth. If you are in a rush, use the defrost setting on your microwave before transferring to a pot.
Reheating Instructions
Stovetop Reheating Method
Place the stew in a saucepan over low to medium heat. Add a small splash of chicken broth or water to loosen the gravy, which naturally thickens in the fridge. Stir gently to avoid breaking the tender pieces of chicken and potato.
Microwave Reheating Tips
Heat the stew in a microwave-safe dish covered with a lid or damp paper towel. This traps steam and prevents the chicken from drying out. Stir every two minutes to ensure the heat is distributed evenly throughout the dish.
Oven Reheating for Crispy Skin
Transfer the stew to an oven-safe dish and cover with foil. Heat at 325°F until warmed through, then remove the foil for the last 5 minutes. This helps restore some of the crispness to the chicken skin.
Troubleshooting Common Issues
Fixing a Thin Gravy
If the sauce is too watery, simmer the stew without the lid for 10-15 minutes to reduce the liquid. You can also stir in a small amount of cornstarch slurry over medium heat. Simmer for another 2 minutes until the sauce reaches your desired thickness.
Preventing Soggy Chicken Skin
Ensure the chicken thighs sit on top of the vegetables and never submerge the skin in the liquid. If the skin becomes soft, place the pot under a broiler for 2-3 minutes at the very end. Watch it closely to prevent burning.
Managing Overcooked Potatoes
If the potatoes are turning to mush, check the variety you are using and reduce the second baking time. Ensure potatoes are cut into uniform chunks to avoid some being overcooked while others are raw. Always add them halfway through the process.
Adjusting the Flavor Profile
If the stew tastes too salty, add a small amount of unsalted broth or a pinch of sugar to balance the salt. If it lacks depth, add a teaspoon of tomato paste or a drop of soy sauce. A touch of black pepper can also enhance the savory notes.
Frequently Asked Questions
Can I use chicken breasts instead of thighs?
You can, but chicken breasts cook faster and dry out more easily than thighs. Reduce the baking time and consider searing them for a shorter period. Thighs are recommended for stews because they remain juicy during long oven exposures.
Do I have to use a Dutch oven?
Any heavy-bottomed, oven-safe pot will work, such as a cast iron casserole or a deep oven-proof skillet. The key is that the vessel can transition from the stovetop to the oven and hold heat evenly. Avoid thin-walled pots that may burn the contents.
Can this recipe be adapted for a slow cooker?
Yes, though the searing step must still be done on the stove for flavor. Combine the seared chicken and ingredients in the slow cooker and cook on low for 6-8 hours. Add the frozen peas during the last 30 minutes of cooking.
Why add the peas at the very end?
Frozen peas cook very quickly and lose their vibrant green color if boiled for too long. Adding them in the final 10 minutes ensures they are heated through but remain plump and bright. This preserves both the texture and the visual appeal.
Can I use dried herbs instead of fresh?
Yes, you can use dried thyme and bay leaves. Use approximately one-third of the amount of dried thyme compared to fresh. Add dried herbs at the beginning of the liquid stage to allow them to rehydrate and release their oils.
Print
Hearty Dutch Oven Chicken Stew with Root Vegetables
- Total Time: 1 hour 45 minutes
- Yield: 4 servings 1x
- Diet: General
Description
This hearty easy Dutch Oven Chicken Stew recipe is out of this world! Slowly cooked in the oven, it’s made with tender vegetables and juicy chicken thighs, smothered in thick gravy. It will be a perfect comfort meal for a cold night!
Ingredients
- 2 tablespoons olive oil
- 4 bone-in, skin-on chicken thighs
- 1 large onion, halved and sliced
- 2 cloves garlic, minced
- 2 large carrots, cut into 1 1/2-inch chunks
- 3 tablespoons all-purpose flour
- 4 cups chicken stock or broth
- 2 tablespoons tomato paste
- 1 tablespoon Worcestershire sauce
- 2 springs fresh thyme
- 2 bay leaves
- 6 baby potatoes, halved or quartered
- 1/2 cup frozen peas
Instructions
- Step: Preheat the oven to 350°F.
- Step: Preheat a large pot with heavy bottom over a medium/high heat and add 2 tablespoons olive oil. When the oil is hot, add 4 chicken thighs skin down and season with salt and pepper. Brown them for about 5 minutes each side or until it gets a golden crust. When done, transfer to a plate and set aside.
- Step: Add 1 sliced onion to the pot and cook it for about 10 minutes or until it’s caramelized. Add 2 cloves of minced garlic and stir for 30 seconds to release the aroma.
- Step: Sprinkle 3 tbsp all-purpose flour and stir for a minute. Then add 4 cups chicken stock, 2 tbsp tomato paste, and 1 tbsp Worcestershire sauce. Mix everything and scrape the burned bits from the bottom of the pan.
- Step: Add 2 roughly chopped carrots and merge them into the liquid and bring it to simmer.
- Step: Place the browned chicken on top of the carrots, so the skin is NOT submerged into the liquid. Add fresh thyme and bay leaves, cover with the lid, and bake for about 35 minutes.
- Step: Take the pot from the oven and remove the lid. Add diced potatoes and push them into the liquid.
- Step: Cover with the lid and return to the oven for another 30 minutes or until the potatoes are soft.
- Step: Take the pan from the oven and remove the lid. Add ½ cup frozen peas and push it into the liquid. Put the pan back to the oven for another 10 minutes to warm up the peas and crisp up the chicken skin.
Notes
Cook the onions longer until they are caramelized for deeper flavor. Ensure the chicken skin does not touch the liquid during baking to prevent it from becoming soggy. A cast iron casserole dish is recommended for even cooking.
- Prep Time: 15 minutes
- Cook Time: 1 hour 30 minutes
- Category: Dinner
- Method: Baking
- Cuisine: American
Nutrition
- Serving Size: 1 serving
- Calories: 704 kcal
- Sugar: 8 g
- Sodium: 1032 mg
- Fat: 32 g
- Saturated Fat: 8 g
- Unsaturated Fat: 23 g
- Trans Fat: 1 g
- Carbohydrates: 73 g
- Fiber: 10 g
- Protein: 33 g
- Cholesterol: 142 mg
Keywords: Dutch oven, chicken stew, one pot meal, comfort food, easy dinner