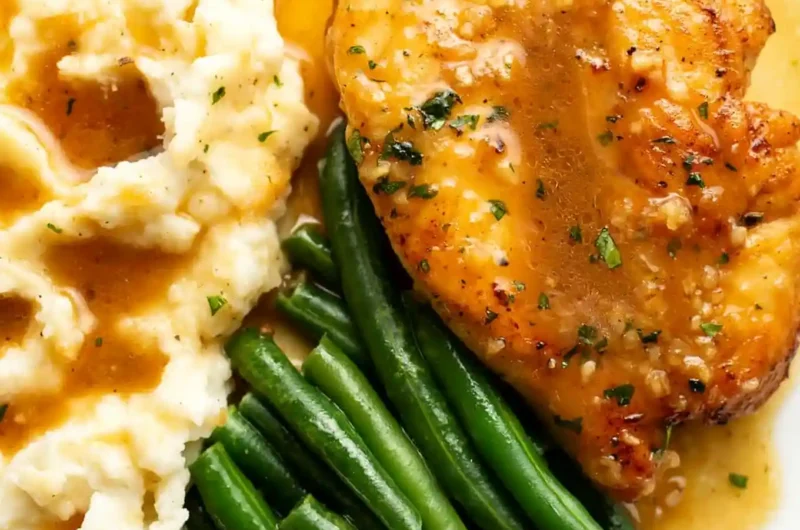
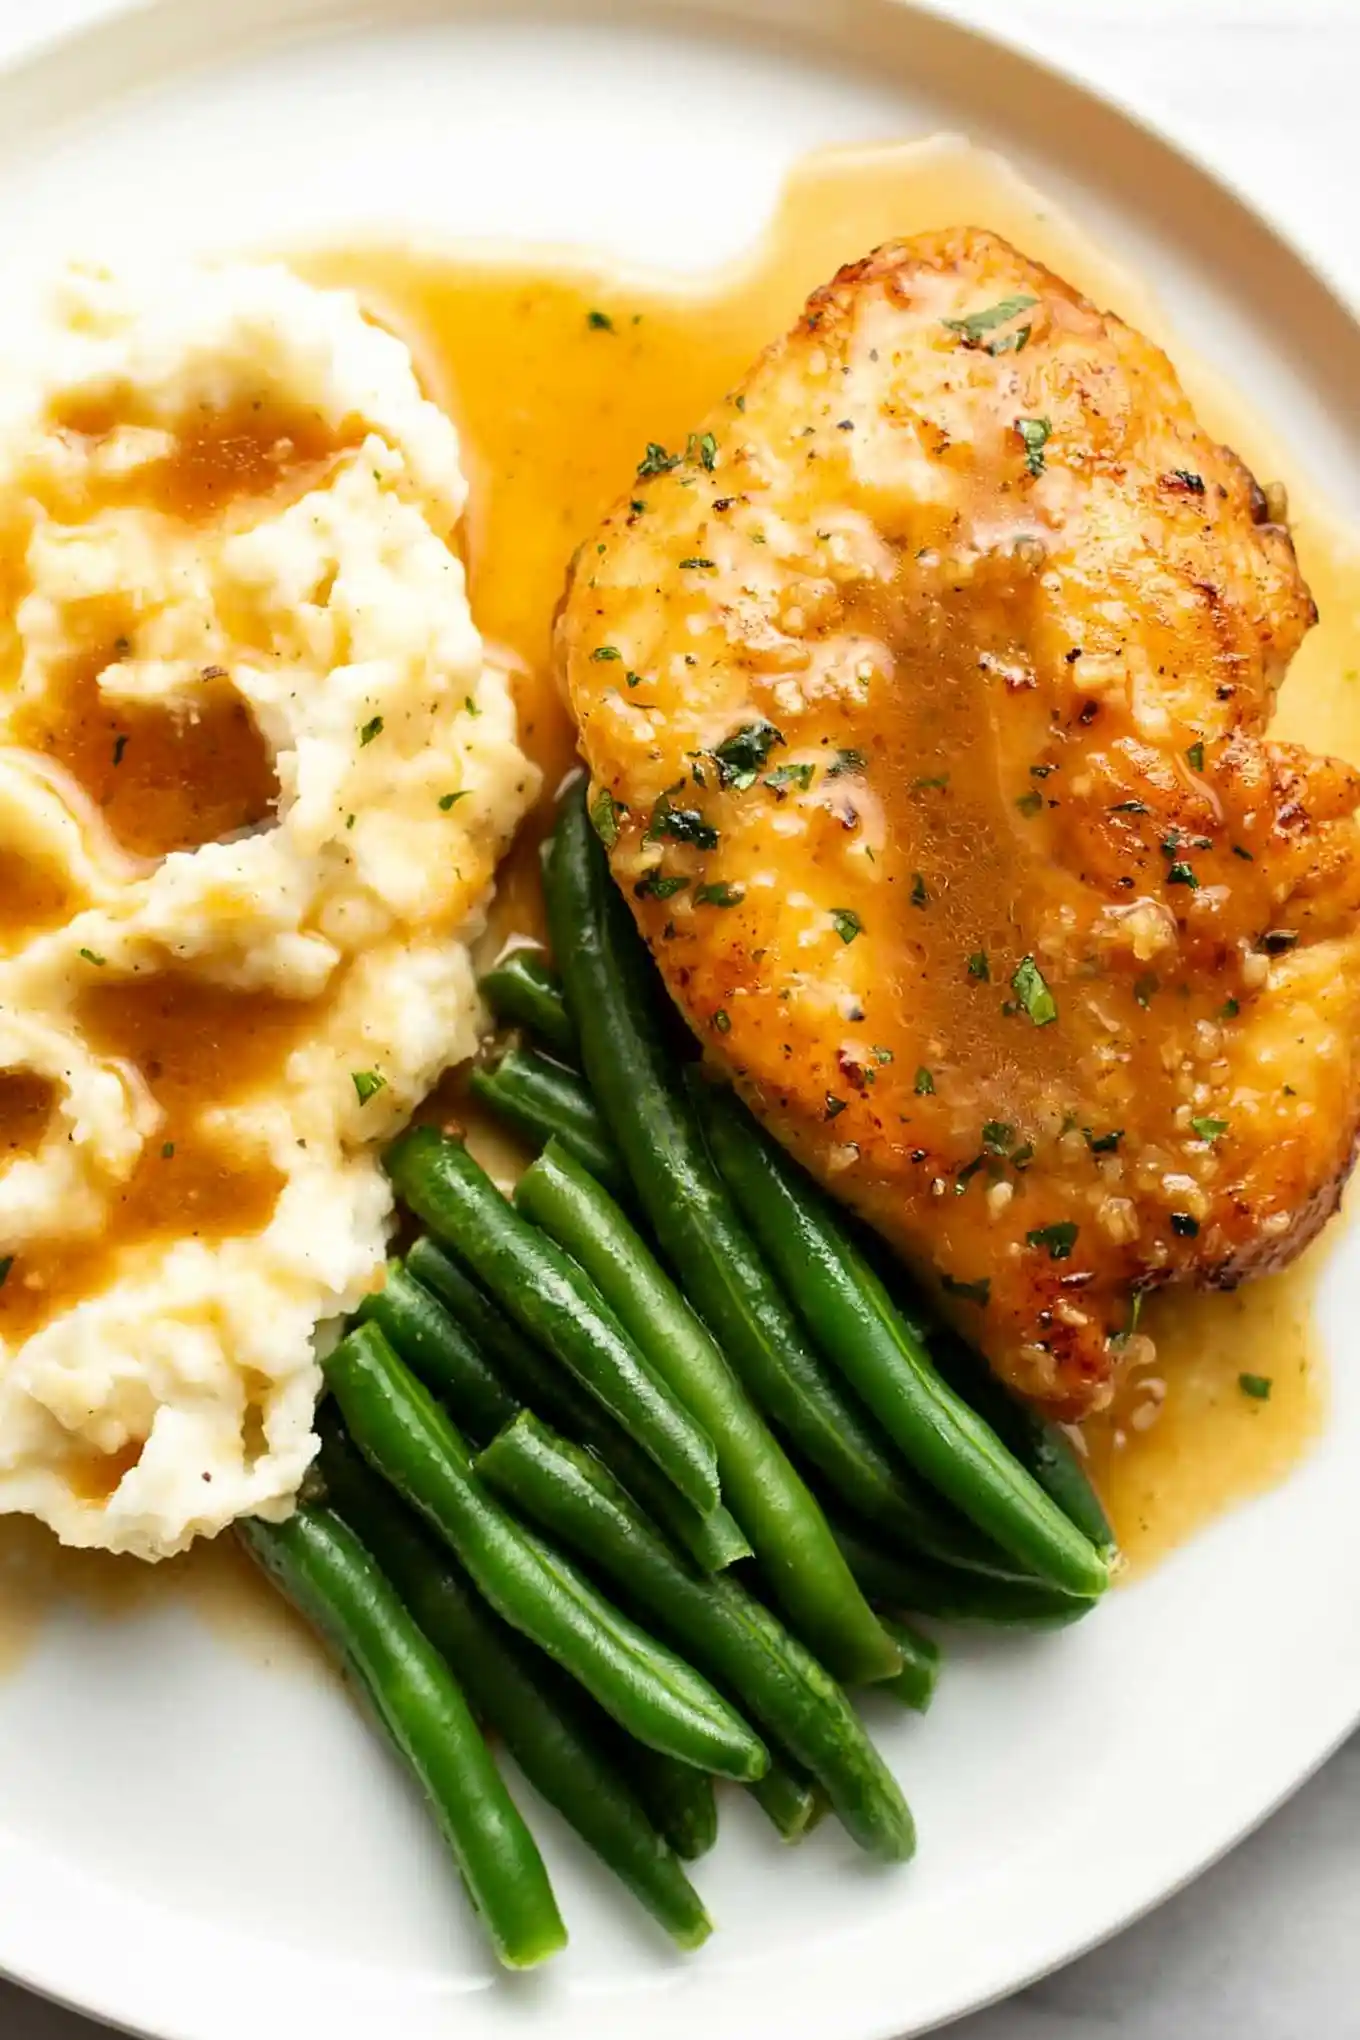
This honey garlic chicken is a fast weeknight meal that balances sweet and savory flavors. It uses common pantry items and takes only 30 minutes from start to finish.
List of ingredients
- 2 large chicken breasts – cut into thinner cutlets for even cooking.
- Pepper to taste – for basic seasoning.
- 1/2 teaspoon garlic powder – adds a layer of savory flavor.
- Flour for dredging – creates a golden crust and thickens sauce.
- 2 tablespoons butter (divided) – used for frying and enriching the sauce.
- 1 tablespoon olive oil – prevents butter from burning during searing.
- 1/2 cup low-sodium chicken broth or stock – the liquid base for the pan sauce.
- 1 tablespoon low-sodium soy sauce – provides saltiness and depth.
- 1 tablespoon honey – adds a natural sweetness and glaze.
- 4 cloves garlic (minced) – for a strong, aromatic punch.
- 1/2 teaspoon cornstarch – used to thicken the final glaze.
step-by-step instructions
- Prepare the meat: Cut the chicken in half lengthwise so you have four thinner cutlets. Sprinkle them with the pepper and garlic powder, and then coat each piece in flour.
- Sear the chicken: Add 1 tbsp of the butter and the olive oil to a skillet over medium-high heat. Once the pan’s hot, add the chicken. Cook it for 4-5 minutes/side until golden, then transfer to a plate.
- Begin the sauce: Take the pan off the heat and add the chicken broth, soy sauce, honey, garlic, and remaining butter. Return it to the heat and let the sauce bubble for about a minute or so.
- Thicken the glaze: In a small bowl, mix the cornstarch with 1 teaspoon of cold water, then pour it into the skillet and give it a stir.
- Finish and serve: Add the chicken back to the pan (along with any juices on the plate) and continue cooking until the sauce has reduced a bit and the chicken is fully cooked through (about 5 minutes). You may need to reduce the heat so it’s not bubbling like crazy. Serve immediately.
Professional Cooking Tips for Success
Slicing Chicken for Even Cooking
Cutting large chicken breasts in half lengthwise creates thinner cutlets. This increases the surface area for browning and ensures the meat cooks through quickly without drying out the exterior. It results in a more tender piece of meat that finishes in a fraction of the time.
Achieving the Perfect Golden Crust
Dredging the chicken in flour before searing creates a thin barrier that protects the meat from direct heat. This allows the chicken to develop a professional, golden-brown exterior. The flour also helps the honey garlic sauce adhere better to the chicken later in the process.
Managing Pan Temperature
When returning the chicken to the pan, keep a close eye on the sauce bubbles. Because honey has a high sugar content, it can burn quickly if the heat is too high. Reducing the heat to medium or medium-low prevents the glaze from scorching while the chicken finishes cooking.
Using an Instant Read Thermometer
To avoid overcooking the chicken, use a digital meat thermometer. The chicken is safe to eat and most juicy when it reaches an internal temperature of 165F (74C). Pull the chicken from the pan as soon as it hits this mark to maintain moisture.
Optimizing the Searing Process
Avoid overcrowding the skillet when browning the chicken. If the pan is too full, the temperature drops and the chicken will steam instead of sear. Work in batches if necessary to ensure every piece gets a crisp, golden finish.
Ingredient Substitutions and Customizations
Replacing Honey with Maple Syrup
If you prefer a different flavor profile, you can swap the honey for pure maple syrup. Maple syrup provides a similar sweetness and thickness but adds a distinct woody note. The ratio remains 1:1 for a consistent sauce consistency.
Omitting the Flour Dredge
You can skip the flour coating if you are looking for a lower-carb option. Note that the chicken will not brown as deeply, and the sauce will be slightly thinner. However, the flavor of the honey garlic glaze remains just as potent.
Adding Fresh Ginger for Zing
For an Asian-inspired twist, grate about one teaspoon of fresh ginger into the pan with the garlic. Ginger adds a bright, peppery contrast to the sweetness of the honey. This combination enhances the overall depth of the soy sauce base.
Incorporating Red Pepper Flakes
If you enjoy a spicy kick, add a pinch of red pepper flakes when bubbling the sauce. The heat cuts through the richness of the butter and honey. Adjust the amount based on your personal heat tolerance.
Using Regular Soy Sauce
If you only have regular soy sauce instead of low-sodium, reduce any additional salt used in the dish. Regular soy sauce contains significantly more sodium and can easily overpower the other flavors. Be cautious when seasoning your side dishes to maintain balance.
Switching the Cooking Oil
While olive oil is recommended, you can use avocado oil or grapeseed oil for searing. These oils have higher smoke points, which is beneficial if you prefer to sear the chicken at a very high temperature. Avoid using extra-virgin olive oil for high-heat searing as it can smoke too early.
Recommended Side Dishes
Serving with Creamy Mashed Potatoes
Mashed potatoes are an excellent choice because they act as a base for the extra pan sauce. The creaminess of the potatoes complements the salty-sweet glaze. Drizzle the remaining sauce from the pan over the potatoes for extra flavor.
Pairing with Steamed White Rice
Jasmine or basmati rice are ideal for absorbing the honey garlic sauce. The neutral flavor of the rice allows the bold garlic and soy notes to stand out. Steamed rice provides a clean contrast to the richness of the butter-based chicken.
Adding Roasted Green Beans
Roasted green beans offer a crisp-tender texture and a fresh flavor that balances the meal. Toss them in olive oil, salt, and pepper, then roast at 400F until slightly charred. This adds a necessary vegetable component and vibrant color to the plate.
Serving with Roasted Asparagus
Asparagus spears roasted with a touch of lemon juice pair beautifully with the savory chicken. The slight bitterness of the asparagus cuts through the sweetness of the honey. Roast them for 10-12 minutes for a quick and healthy accompaniment.
Pairing with a Fresh Arugula Salad
A simple arugula salad with a light lemon vinaigrette provides a sharp, peppery contrast. The acidity of the dressing helps cleanse the palate between bites of the rich sauce. This keeps the meal feeling light and balanced.
Quinoa as a Nutritious Alternative
For a protein-packed side, serve the chicken over cooked quinoa. Quinoa has a nutty flavor that works well with the soy and garlic elements. It is a great option for those looking for more fiber and nutrients in their meal.
Storage and Reheating Guidelines
Refrigerating Leftovers
Store any remaining chicken and sauce in an airtight container in the refrigerator. It will stay fresh and safe to eat for 3 to 4 days. Ensure the container is fully sealed to prevent the chicken from absorbing other fridge odors.
Best Methods for Reheating
Avoid reheating the chicken in the microwave on high power, as this can make the meat rubbery. Instead, place the chicken in a skillet over low heat. Add a tablespoon of water or chicken broth to loosen the sauce and keep the meat moist.
Freezing Considerations
This dish can be frozen, but the texture of the flour coating may change. Upon thawing and reheating, the crust may become softer or soggy. For the best quality, it is recommended to eat this dish within a week from the cooking date.
Preventing Sauce Separation
When reheating, you may notice the butter and soy sauce have slightly separated. Gently stirring the chicken over low heat will re-emulsify the sauce into a smooth glaze. Do not boil the sauce aggressively during reheating to avoid breaking the emulsion.
Storing the Sauce Separately
If you plan to meal prep, consider storing the chicken and the sauce in separate containers. This prevents the flour coating from becoming too saturated over time. Combine them only when you are ready to reheat and serve.
Common Troubleshooting and FAQs
Why is my sauce too thin?
If the sauce is too watery, it may be because the cornstarch slurry was not fully integrated or not simmered long enough. Return the pan to medium heat and let it bubble for another 1-2 minutes. Ensure you used cold water for the slurry to avoid clumps.
Why did my chicken stick to the pan?
Chicken usually sticks if the pan was not hot enough when the meat was added. Wait until the oil and butter are shimmering before adding the cutlets. Additionally, avoid moving the chicken too early; let it sear undisturbed for a few minutes to release naturally.
Can I use chicken thighs instead?
Yes, boneless skinless chicken thighs work very well in this recipe. Thighs are more forgiving and less likely to dry out than breasts. You may need to increase the searing time by 1-2 minutes per side depending on the thickness.
How do I stop the sauce from burning?
The honey in the sauce can caramelize and burn if the pan is too hot. Always remove the pan from the heat source before adding the broth, honey, and garlic. This lowers the temperature and gives you control as you return it to the stove.
What if I don’t have cornstarch?
You can use an equal amount of all-purpose flour as a thickener. Mix the flour with a small amount of cold water or broth to create a paste first. Note that flour requires a slightly longer simmer time than cornstarch to remove the raw taste.
Can I make this recipe in an air fryer?
The searing process can be done in an air fryer, but the sauce must be finished on the stove. Air fry the floured chicken at 400F for 10-12 minutes, then toss it in the prepared pan sauce. This preserves the glaze consistency.
Print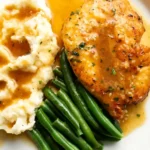
Honey Garlic Soy Sauce Chicken
- Total Time: 30 minutes
- Yield: 4 servings 1x
- Diet: General
Description
This honey garlic soy sauce chicken recipe is quick, easy, and flavorful. The savory-sweet sauce is made with pantry staples, and this dish is ready in about 30 minutes!
Ingredients
- 2 large chicken breasts
- Pepper (to taste)
- 1/2 teaspoon garlic powder
- Flour (for dredging)
- 2 tablespoons butter (divided)
- 1 tablespoon olive oil
- 1/2 cup low-sodium chicken broth or stock
- 1 tablespoon low-sodium soy sauce
- 1 tablespoon honey
- 4 cloves garlic (minced)
- 1/2 teaspoon cornstarch
Instructions
- Step: Cut the chicken in half lengthwise so you have four thinner cutlets. Sprinkle them with the pepper and garlic powder, and then coat each piece in flour.
- Step: Add 1 tbsp of the butter and the olive oil to a skillet over medium-high heat. Once the pan’s hot, add the chicken. Cook it for 4-5 minutes/side until golden, then transfer to a plate.
- Step: Take the pan off the heat and add the chicken broth, soy sauce, honey, garlic, and remaining butter. Return it to the heat and let the sauce bubble for about a minute or so.
- Step: In a small bowl, mix the cornstarch with 1 teaspoon of cold water, then pour it into the skillet and give it a stir.
- Step: Add the chicken back to the pan (along with any juices on the plate) and continue cooking until the sauce has reduced a bit and the chicken is fully cooked through (about 5 minutes). Serve immediately.
Notes
If needed, you can skip the flour dredge on the chicken. It helps it nicely brown in a fairly short amount of time and also helps thicken the sauce a bit.
- Prep Time: 10 minutes
- Cook Time: 20 minutes
- Category: Main Course
- Method: Pan-Frying
- Cuisine: American
Nutrition
- Serving Size: 1 serving
- Calories: 253 kcal
- Sugar: 4 g
- Sodium: 330 mg
- Fat: 12 g
- Saturated Fat: 5 g
- Unsaturated Fat: 6 g
- Trans Fat: 0.2 g
- Carbohydrates: 9 g
- Fiber: 0.2 g
- Protein: 26 g
- Cholesterol: 87 mg
Keywords: honey garlic chicken, soy sauce chicken, pan-fried chicken, quick dinner