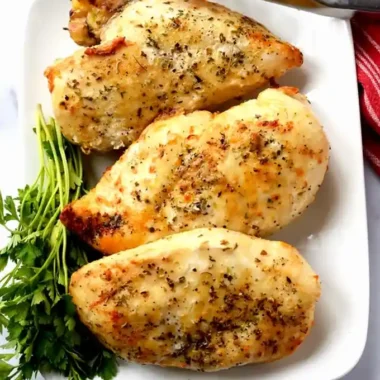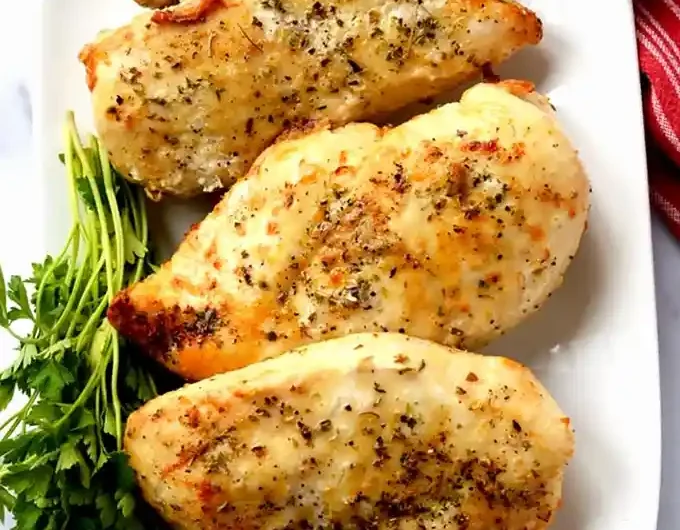
This method produces tender, juicy chicken breasts using a basic air fryer setup without the need for flour or breading. It is a versatile protein option suitable for quick dinners or organized meal preparation.
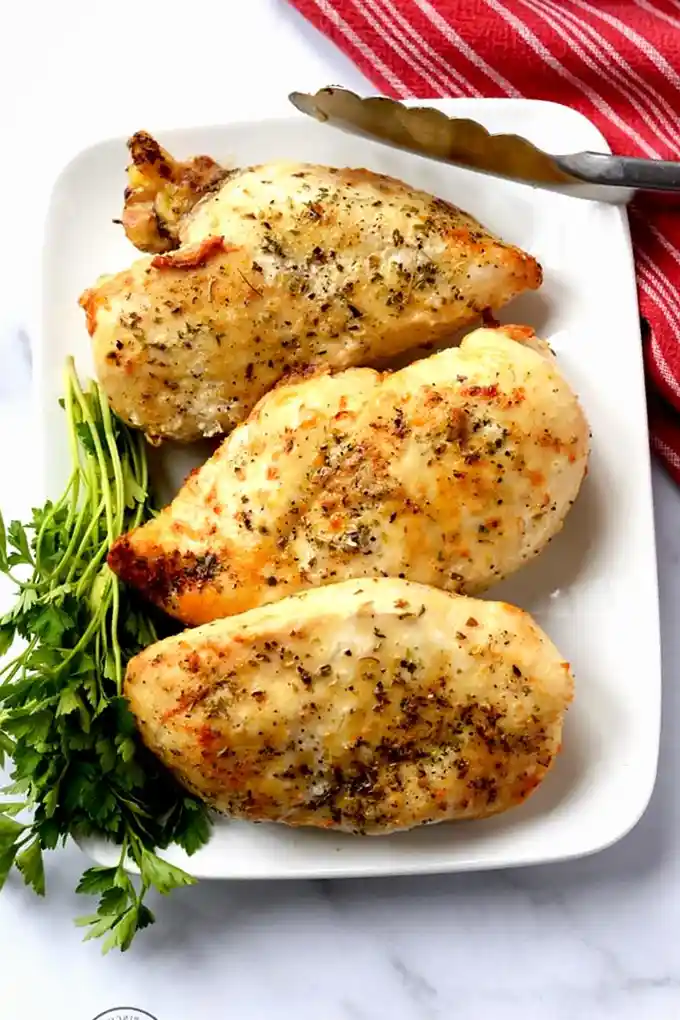
List of ingredients
- 4 boneless skinless chicken breasts – raw, approximately 7.5 to 8 ounces each for consistent cooking.
- Cooking spray – avocado oil spray is recommended, or use 1/4 tablespoon of oil per breast.
- 1/2 teaspoon garlic powder – roughly 1/8 teaspoon per breast for savory depth.
- 1/2 teaspoon salt – roughly 1/8 teaspoon per breast to enhance flavors.
- 1/8 teaspoon black pepper – a dash per breast for a mild bite.
- 1/2 teaspoon dried oregano – roughly 1/8 teaspoon per breast; can be swapped for parsley, basil, or thyme.
step-by-step instructions
- Prepare the seasoning: In a small mixing bowl, combine the salt, pepper, garlic powder, and dried oregano until evenly blended.
- Oil the first side: Spray the smooth presentation side of each chicken breast with your chosen cooking spray.
- Apply initial seasoning: Sprinkle a portion of the spice blend onto the sprayed side and pat it in firmly with your hands to ensure it adheres to the meat.
- Position in air fryer: Place the chicken breasts in the air fryer basket with the seasoned side facing down.
- Oil and season the second side: Spray the top (bare) side of the chicken and sprinkle on the remaining seasoning blend.
- First cooking phase: Set the air fryer to 360 degrees Fahrenheit and cook for 10 minutes.
- Flip and finish: Use tongs to flip the breasts over. Continue cooking at 360 degrees for another 8 to 12 minutes, or until the internal temperature reaches 165 degrees Fahrenheit.
- Rest the meat: Remove the basket from the appliance and let the chicken rest for 5 minutes before slicing to allow juices to redistribute.
Optimizing Air Fryer Settings
Using a Digital Timer for Precision
Air fryers cook significantly faster than conventional ovens, meaning a few extra minutes can lead to dry meat. Avoid relying on the analog knob timers found on some models, as they lack precision. Instead, use a digital timer on a phone or microwave to track the exact seconds of cooking time.
Maintaining a Consistent Temperature
Cooking at 360 degrees Fahrenheit provides a balance between browning the exterior and keeping the interior moist. Higher temperatures may sear the outside too quickly, leaving the center raw, while lower temperatures may result in a rubbery texture. Stick to the 360-degree setting for the most reliable results.
Preventing Basket Overcrowding
For the air to circulate efficiently, the chicken breasts must not be packed too tightly. Limit each batch to 3 or 4 breasts depending on the size of your air fryer basket. If the meat is touching too much, the sides will steam rather than roast, preventing a proper golden-brown finish.
Selecting and Preparing the Poultry
Weight and Size Consistency
The weight of the chicken breast directly dictates the cooking time. Using a kitchen scale to ensure each breast is between 7.5 and 8.5 ounces helps prevent some pieces from overcooking while others remain underdone. If using breasts of varying sizes, remove the smaller ones from the basket earlier than the larger ones.
Ensuring the Meat is Fully Thawed
Do not use frozen chicken breasts for this specific timing and temperature guide. Frozen meat will not sear properly and will likely be raw in the center by the time the outside is cooked. Fully thaw the chicken in the refrigerator overnight before starting the preparation process.
Achieving the Best Surface Texture
The ‘presentation side’ refers to the smooth, rounded top of the chicken breast. By seasoning this side first and placing it face-down, you create a flavorful crust that seals in moisture. Patting the seasonings into the meat with your hands ensures they do not blow away during the high-velocity air circulation.
Flavor Customizations and Substitutions
Using Alternative Dried Herbs
While oregano provides a classic Mediterranean flavor, you can easily swap it for other dried herbs. Parsley offers a fresh, mild taste, while basil adds a sweet, aromatic quality. Thyme is an excellent choice for a more earthy, savory profile that pairs well with lemon.
Adding Spicy Elements
To increase the heat, incorporate chili powder or smoked paprika into the seasoning blend. Smoked paprika not only adds a subtle heat but also gives the chicken a deeper, reddish-gold color. Keep the total volume of spices consistent to avoid overloading the meat.
Enhancing Savory Notes
Onion powder and chives can be added to the garlic powder base to create a more complex savory flavor. These ingredients complement the salt and pepper without overpowering the natural taste of the chicken. Use approximately 1/8 teaspoon of each per breast for a balanced profile.
Selecting the Right Cooking Oil
Avocado oil spray is ideal due to its high smoke point, which prevents the oil from burning at 360 degrees. Olive oil is a suitable alternative for those who prefer its flavor, though it has a slightly lower smoke point. For a completely oil-free version, you can omit the spray, though the seasoning may not adhere as well.
Serving Suggestions and Side Dishes
Pairing with Roasted Vegetables
Roasted broccoli, Brussels sprouts, or carrots complement the lean protein of the chicken breast. These can often be cooked in the air fryer in a separate batch or in a conventional oven. Lemon-garlic seasoning on the vegetables mirrors the savory notes of the chicken.
Incorporating Grain-Based Sides
Quinoa and brown rice provide a hearty base that absorbs the juices from the rested chicken. For a more flavorful option, cook the grains in vegetable broth rather than water. A side of wild rice with sautéed mushrooms also adds an earthy contrast to the seasoned meat.
Utilizing the Chicken in Salads
Sliced air fryer chicken is an excellent addition to a Greek salad with cucumbers, olives, and feta cheese. It also works well in a pasta salad with rotini, cherry tomatoes, and a light vinaigrette. Because the chicken is cooked without heavy breading, it integrates seamlessly into healthy salad bowls.
Storage and Preservation Methods
Short-Term Refrigeration
Store leftover chicken breasts in an airtight container or wrap them tightly in aluminum foil to prevent air exposure. When stored correctly in the refrigerator, the meat will remain safe to eat for up to 4 days. Ensure the chicken is cooled slightly before sealing the container to avoid excessive condensation.
Long-Term Freezer Storage
For longer preservation, place the cooked chicken in a heavy-duty freezer bag. Remove as much air as possible before sealing, or use a vacuum sealer to prevent freezer burn. Cooked chicken breasts can be stored in the freezer for up to 6 months without significant loss of quality.
Maintaining Moisture During Storage
To keep the meat from drying out in the fridge, you can store it with a small amount of chicken broth or a drizzle of olive oil in the container. This provides a moisture barrier that helps the meat retain its juiciness when reheated. Avoid storing the chicken in open bowls.
Reheating and Meal Prep Strategies
Gentle Reheating Techniques
To avoid overcooking the chicken during reheating, use a low heat setting in the microwave or a low temperature in the air fryer. In the air fryer, 320 degrees for 3 to 5 minutes is usually sufficient. Adding a teaspoon of water to the dish before microwaving helps steam the meat back to tenderness.
Batch Cooking for the Week
Preparing multiple batches of chicken breasts on a Sunday allows for quick assembly of meals throughout the work week. Divide the cooked and rested breasts into individual portions before refrigerating. This prevents the need to reheat the entire batch multiple times, which preserves the texture.
Integrating Chicken into Prepped Meals
Combine the cooked chicken with pre-portioned grains and steamed vegetables in meal prep containers. This ensures a balanced meal that only requires minimal heating. Keep the sauces separate and add them just before eating to prevent the chicken from becoming soggy.
Troubleshooting Common Issues
Preventing Dry or Rubbery Texture
If the chicken is consistently coming out dry, reduce the total cook time by 1 to 2 minutes. Every air fryer model varies in intensity, so adjusting the time based on your specific machine is essential. Ensure the resting period of 5 minutes is strictly followed, as skipping this step allows juices to leak out.
Ensuring Even Browning
If one side of the chicken is pale while the other is dark, ensure you are flipping the meat exactly halfway through the process. Also, check that the chicken is not overlapping in the basket. Proper spacing allows the hot air to hit every surface of the meat evenly.
Correcting Bland Flavor
If the chicken tastes under-seasoned, increase the amount of salt in the spice blend. Salt is the primary driver for bringing out the other flavors of garlic and oregano. Taste a small piece of the finished chicken and adjust the seasoning for the next batch accordingly.
Frequently Asked Questions
Do I need to preheat the air fryer?
Preheating is not required for this recipe, as the short warm-up time of most air fryers does not significantly impact the result. However, if you prefer a slightly more immediate sear, you can preheat for 3 minutes at 360 degrees.
Is brining necessary for this method?
Brining is not necessary because the combination of oil, seasoning, and a controlled cook time keeps the breast juicy. If you have very thick breasts, a quick dry brine with extra salt for 30 minutes can add further insurance against dryness.
Can I cook raw chicken in an air fryer?
Yes, air fryers are fully capable of cooking raw poultry from start to finish. This recipe is specifically designed for raw, boneless, skinless breasts, ensuring they reach a safe internal temperature of 165 degrees Fahrenheit.
What is the best way to check for doneness?
The most accurate method is using an instant-read digital meat thermometer. Insert the probe into the thickest part of the breast; once it hits 165 degrees Fahrenheit, the chicken is safe and ready to be removed from the heat.
Print
Juicy Air Fryer Chicken Breast
- Total Time: 22 minutes
- Yield: 4 servings 1x
- Diet: Gluten-Free
Description
Basic, tender, and juicy Air Fryer chicken breast, perfect for quick dinners or meal prep.
Ingredients
- cooking spray (or 1/4 Tablespoon oil per chicken breast)
- 4 boneless skinless chicken breasts (7.5 to 8 ounces each)
- 1/2 teaspoon garlic powder
- 1/2 teaspoon salt
- 1/8 teaspoon black pepper
- 1/2 teaspoon dried oregano
Instructions
- Step 1: In a small bowl, mix the salt, pepper, garlic powder and oregano together.
- Step 2: Spray the chicken breasts on the presentation side (smooth side) with cooking spray.
- Step 3: Sprinkle some of the seasoning blend on each chicken breast and pat to help the seasoning stick.
- Step 4: Place the chicken breasts, seasoned side down, in the air fryer.
- Step 5: Spray the bare side facing up and sprinkle on the remaining seasoning.
- Step 6: Cook for 10 minutes at 360 degrees.
- Step 7: Flip the chicken and cook until internal temperature reaches at least 165, about another 8 to 12 minutes at 360 degrees.
- Step 8: Remove from the air fryer and allow the chicken to rest for about 5 minutes before cutting.
Notes
Recommended Cook Times (flipping halfway): 5.5-6 oz (18 min), 6.5-7.5 oz (19 min), 7.75-8.5 oz (20 min), 9-10 oz (21 min). Use a digital timer for accuracy.
- Prep Time: 2 minutes
- Cook Time: 20 minutes
- Category: Main Course
- Method: Air Frying
- Cuisine: American
Nutrition
- Serving Size: 1 chicken breast
- Calories: 163 kcal
- Sugar: 0 g
- Sodium: 454 mg
- Fat: 3 g
- Saturated Fat: 1 g
- Unsaturated Fat: 2 g
- Trans Fat: 0 g
- Carbohydrates: 1 g
- Fiber: 0 g
- Protein: 30 g
- Cholesterol: 90 mg
Keywords: air fryer chicken breast, juicy chicken, meal prep chicken