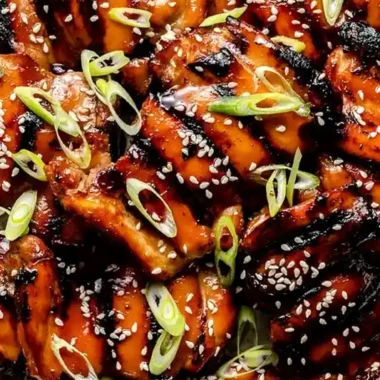
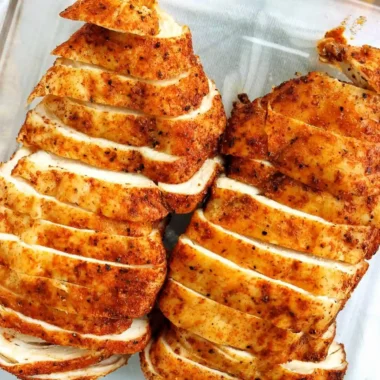
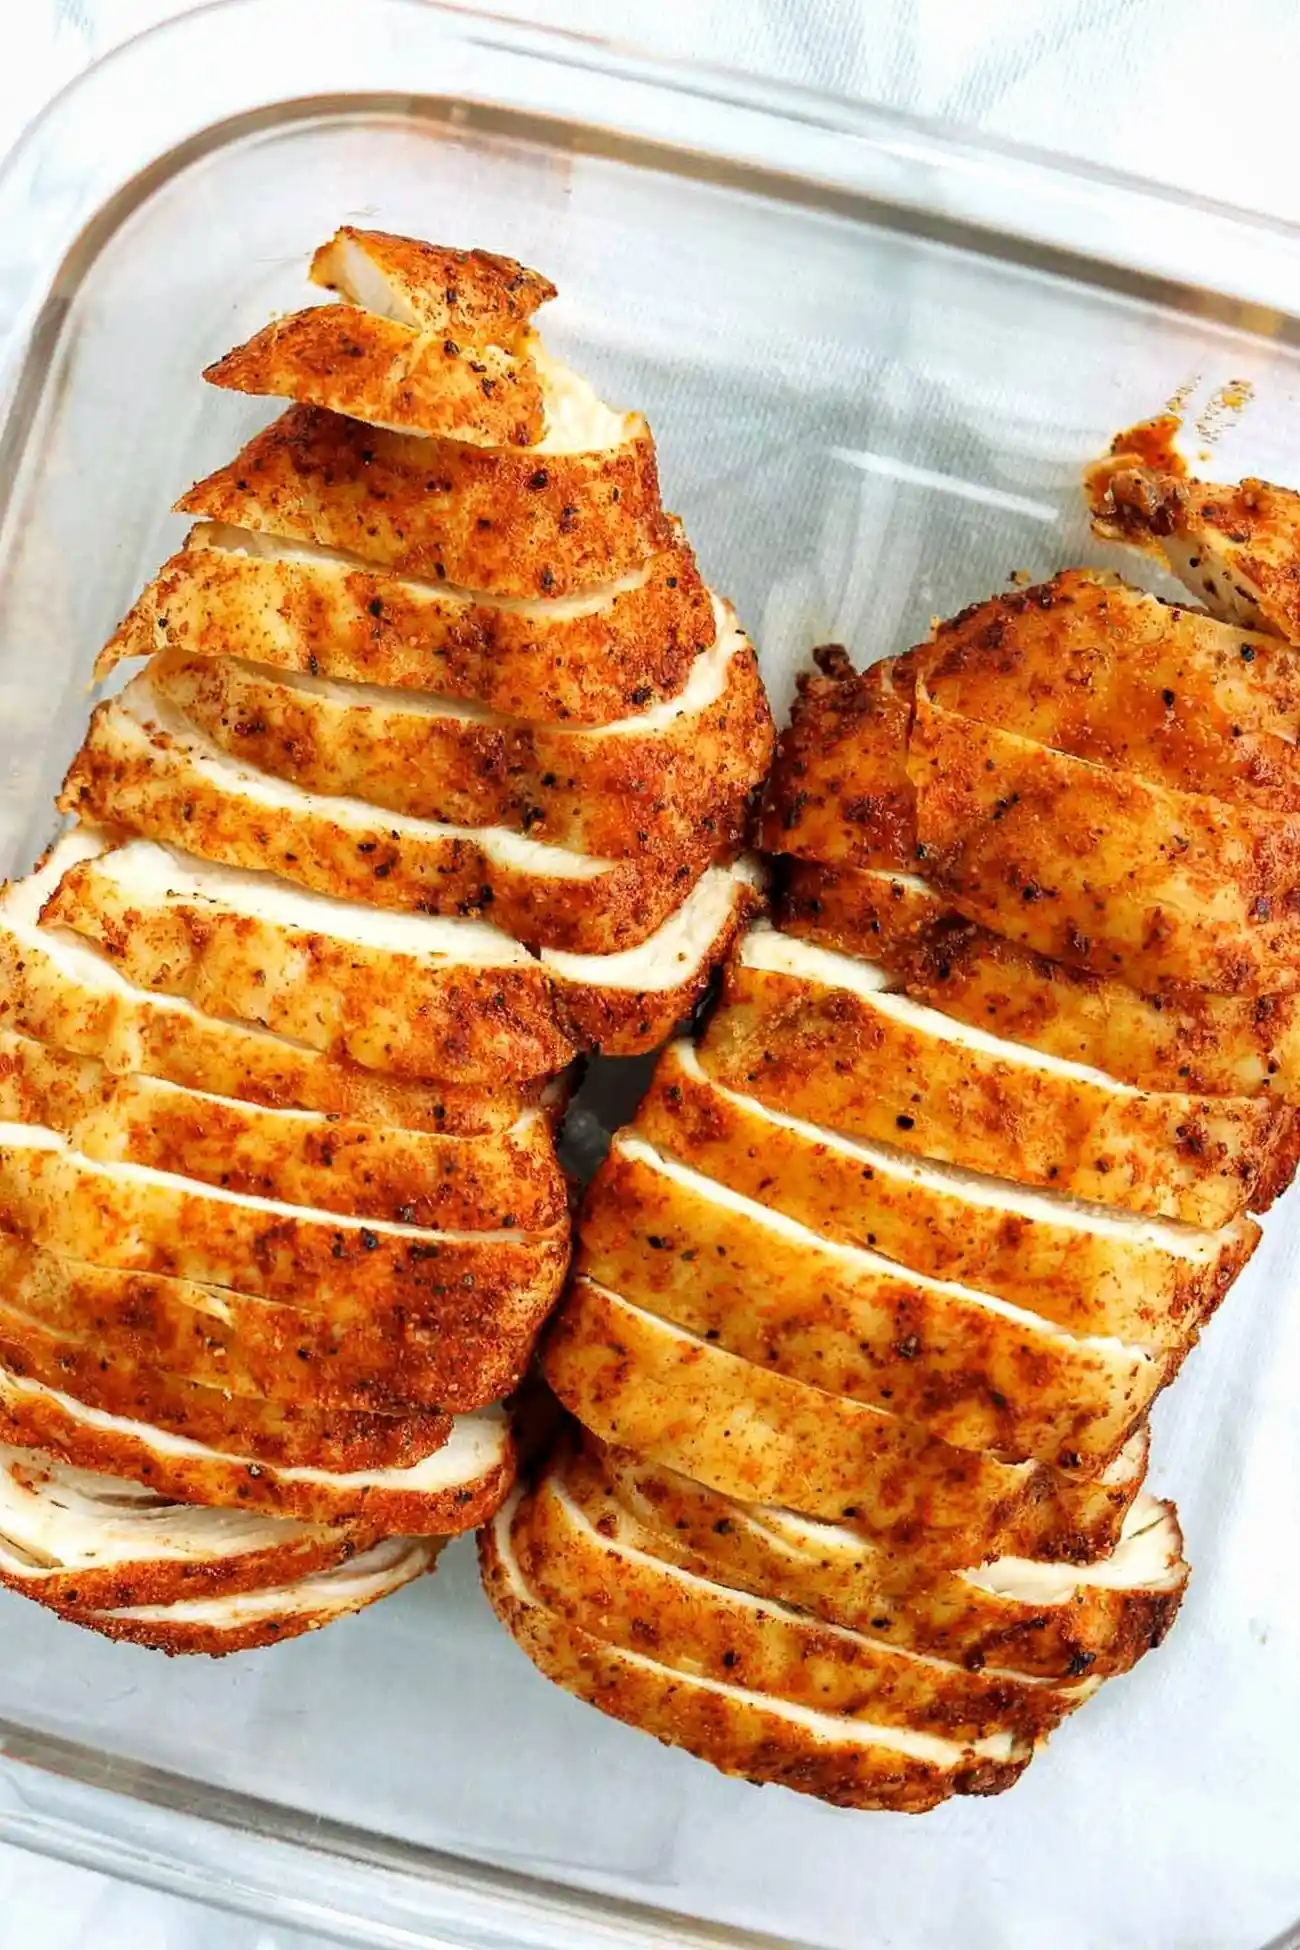
This method delivers tender, seasoned chicken breasts using a fast and reliable air frying process. It is an ideal solution for quick weeknight dinners or high-protein meal prep for the week.
List of ingredients
- 14 ounces – 1 pound (two 7–8 ounce) / 400-454 grams boneless skinless Chicken Breasts – Use breasts of similar size for even cooking.
- ¾ teaspoon Kosher Salt – Enhances flavor and helps retain moisture.
- ¾ teaspoon freshly cracked Black Pepper – Adds a bold, spicy aromatic quality.
- ¾ teaspoon Garlic Powder – Provides a concentrated savory depth.
- ¾ teaspoon Smoked Paprika (hot or sweet) – Gives the chicken a rich color and smoky undertone.
- 2 sprays / 1ml Olive Oil Cooking Spray (or use ½–1 teaspoon olive oil or avocado oil) – Prevents sticking and helps the spices adhere.
step-by-step instructions
- Preheat the air fryer: Lightly spray the air fryer basket with the olive oil cooking spray. Preheat your air fryer at 375°F/190°C for 3 minutes (or according to manufacturer’s instructions).
- Make the seasoning blend: In a large bowl, combine the kosher salt, black pepper, garlic powder and smoked paprika. Mix until evenly combined.
- Season the chicken breasts: Pat-dry the chicken breasts and trim off any excess fat if needed. Place the chicken in the bowl with the seasonings blend and use tongs to turn and evenly coat both sides of the chicken.
- Air fry: Place the chicken breasts (plump/smooth side down) in the center of the basket, making sure they don’t touch each other or the sides of the basket so that there is enough room for the hot air to circulate. Air fry for 9 minutes, then remove the air fryer basket and use tongs to carefully flip the chicken over so that the smooth side is facing up. Place the basket back into the air fryer and continue cooking for 8-9 minutes or until the internal temperature of the thickest part of the chicken breast registers at least 160°F/71°C on a meat thermometer.
- Cool: Use tongs to transfer the chicken to a cutting board and allow to rest for 10 minutes to lock in all the juices.
- Slice: Use a sharp knife to cut the chicken into thin slices and serve. Alternatively, dice or shred the meat for use in other recipes.
Optimal Cooking Guidance
Using an Instant-Read Thermometer for Accuracy
A meat thermometer is the most reliable way to ensure chicken is cooked through without overcooking. While some check for clear juices, slicing the meat opens the fibers and allows moisture to escape, which can result in drier chicken. Aim for 160°F/71°C before removing from the heat to allow for carryover cooking.
Avoiding Basket Overcrowding
Air fryers rely on the rapid circulation of hot air to cook and brown food. If the chicken breasts touch each other or the walls of the basket, the air cannot flow evenly around the meat. This leads to uneven cooking and prevents the exterior from developing a proper sear.
Adjusting Cook Times Based on Meat Size
The thickness of the chicken breast significantly impacts the total cooking time. Small breasts (5–7 ounces) typically require 12–18 minutes, while medium breasts (8–10 ounces) take about 18–20 minutes. Large breasts (11 ounces or more) may need 20–22 minutes to reach the safe internal temperature.
Ingredient Modifications and Swaps
Selecting the Right Oil Spray
Use a high-smoke point oil like avocado or olive oil to prevent the oil from breaking down at high temperatures. Avoid using aerosol sprays that contain propellants, as these chemicals can degrade the nonstick coating of your air fryer basket over time. Pure oil sprays or brushed-on oil are safer alternatives.
Adjusting Salt Types for Proper Seasoning
This recipe calls for kosher salt, which has larger grains than standard table salt. If you only have table salt, reduce the amount by roughly half to avoid over-salting the meat. This ensures the seasoning remains balanced and does not overpower the other spices.
Choosing Between Sweet and Hot Paprika
Smoked paprika provides a deep, woody flavor regardless of the heat level. Sweet smoked paprika is ideal for a mild, traditional taste, while hot smoked paprika adds a subtle kick. Both varieties will produce the same characteristic reddish-brown color on the finished chicken.
Flavor Variations
Integrating Dried Herbs
For a more aromatic profile, add ½ teaspoon of Italian seasoning, Herbs de Provence, or dried oregano to the spice mix. These herbs pair well with the garlic and paprika to create a Mediterranean-style seasoning. Ensure the herbs are mixed thoroughly with the salt and pepper for even distribution.
Creating a Spicy Heat Profile
To increase the spice level, incorporate ¼ teaspoon of ground cayenne pepper into the seasoning blend. This adds a sharp heat that complements the smokiness of the paprika. Adjust the amount based on your heat tolerance.
Applying Mexican-Style Seasonings
Replace the standard spices with ¼ teaspoon each of ground cumin, ground coriander, and chipotle powder. Add ½ teaspoon of garlic powder, ½ teaspoon of onion powder, ½ teaspoon of Mexican oregano, ¾ teaspoon of smoked paprika, 1–2 teaspoons of brown sugar, and 1 tablespoon of lime juice. This blend creates a zesty, bold flavor profile.
Utilizing Store-Bought Seasoning Mixes
Pre-made blends, such as smoky BBQ or fajita seasoning, can be used as a convenient shortcut. When using store-bought mixes, check the salt content first, as many commercial blends contain high amounts of sodium. You may need to omit the additional kosher salt called for in the base recipe.
Serving and Meal Prep Ideas
Main Course Pairings
Serve the chicken breasts alongside roasted or air-fried vegetables like asparagus, green beans, or broccoli. Complement the meal with a side of steamed rice, mashed potatoes, or quinoa. This combination provides a balanced meal of lean protein, complex carbohydrates, and fiber.
Incorporating Chicken into Fried Rice
Dice the cooked chicken breasts into small cubes to use in a homemade fried rice. Sauté the chicken with peas, carrots, onions, and soy sauce for a quick dinner. The pre-seasoned chicken adds an extra layer of flavor to the rice dish.
Sandwich and Wrap Applications
Slice the breasts thinly to fill toasted sourdough bagels or flour tortillas. Add melted provolone cheese and a spicy mayonnaise or pesto for a gourmet lunch. The tender texture of the air-fried chicken makes it an excellent filling for wraps and sandwiches.
Tossing Meat into Fresh Salads
Cube the chicken and add it to a bed of mixed greens with cherry tomatoes, cucumbers, and a vinaigrette. This is a practical way to turn a light salad into a filling, high-protein meal. It also works well in chicken salad sandwiches with Greek yogurt or mayonnaise.
Storage and Reheating Guidelines
Refrigeration Basics
Store leftover chicken in an airtight container to prevent the meat from drying out. Keep it in the refrigerator for up to 4–5 days. Ensuring the container is sealed tightly prevents the chicken from absorbing other odors in the fridge.
Freezing for Long-Term Use
Freeze portioned amounts of chicken in Ziplock bags or airtight containers for up to 3 months. To maintain quality, remove as much air as possible from the bags before sealing. Thaw the chicken slowly overnight in the refrigerator before reheating.
Microwave Reheating Method
For a quick reheat, place the chicken in the microwave on high for 30–60 seconds. To keep the meat juicy, add a teaspoon of water or a damp paper towel over the chicken to create steam. Avoid overcooking in the microwave to prevent a rubbery texture.
Air Fryer Reheating Method
To restore a slightly crisp exterior, reheat the chicken in the air fryer at 375°F/190°C for 2–3 minutes. This method is superior to the microwave for maintaining the texture of the seasoned crust. Be careful not to overheat, as the chicken can dry out quickly.
Common Questions and Troubleshooting
What temperature is air fryer chicken safe to eat?
Chicken is considered safe for consumption when it reaches an internal temperature of 165°F/74°C. However, removing the meat at 160°F/71°C is recommended because the temperature will continue to rise about 5°F during the resting period due to carryover cooking.
Do you need to brine chicken breasts before air frying?
Brining is not mandatory for this recipe to achieve juicy results. However, if you have time, a dry brine (seasoning with salt and refrigerating for 10–15 minutes) can further enhance tenderness. This process helps the salt penetrate deeper into the muscle fibers.
Should I pound the chicken breasts with a meat mallet?
For breasts under 8 ounces, pounding is generally unnecessary. For larger breasts, pounding the thicker end to a uniform thickness of about half an inch promotes even cooking. This prevents the thinner end from overcooking while the thickest part remains raw.
How do I cook chicken pieces?
Dice the raw chicken into 1-inch bite-sized pieces and toss them with the seasoning blend. Place them in a single layer in the air fryer and cook at 375°F/190°C for 6–7 minutes, shaking the basket halfway through. Cook in small batches to avoid overcrowding.
Can I cook frozen chicken breasts in the air fryer?
Yes, but the cooking time increases to approximately 24–30 minutes. Smaller frozen breasts are preferable, as large frozen pieces may overcook on the outside before the center is safe. Thawing the meat first is recommended for the best texture and juiciness.
Does this work in a Power XL air fryer?
This recipe can be used as a starting point for the Power XL model. Since different air fryers vary in intensity, you might find that 400°F/200°C for 16 minutes, flipping halfway, works more effectively. Always monitor the internal temperature with a thermometer when using a different brand.
Print
Juicy Air Fryer Chicken Breast
- Total Time: 20 minutes
- Yield: 3 servings 1x
- Diet: Gluten Free
Description
Learn how to cook tender, perfectly seasoned, juicy Air Fryer Chicken Breasts with a fuss-free easy method that works every time!
Ingredients
- 14 ounces (two 7–8 ounce) boneless skinless Chicken Breasts
- ¾ teaspoon Kosher Salt
- ¾ teaspoon freshly cracked Black Pepper
- ¾ teaspoon Garlic Powder
- ¾ teaspoon Smoked Paprika
- 2 sprays Olive Oil Cooking Spray
Instructions
- Preheat: Lightly spray the air fryer basket with olive oil spray and preheat at 375°F/190°C for 3 minutes.
- Make Seasoning: In a large bowl, combine kosher salt, black pepper, garlic powder, and smoked paprika.
- Season Chicken: Pat-dry the chicken breasts and evenly coat both sides with the seasoning blend.
- Air Fry: Place chicken plump side down in the basket. Air fry for 9 minutes, flip, and cook for 8-9 more minutes until the internal temperature reaches 160°F/71°C.
- Cool: Transfer chicken to a cutting board and allow to rest for 10 minutes.
- Slice: Cut the chicken into thin slices, cubes, or shred for serving.
Notes
For larger breasts (over 8oz), pounding the thicker end to half an inch thickness promotes even cooking. Use a meat thermometer to ensure doneness. Store leftovers in an airtight container in the fridge for 4-5 days or freeze for up to 3 months.
- Prep Time: 3 minutes
- Cook Time: 17 minutes
- Category: Main Course
- Method: Air Fry
- Cuisine: American
Nutrition
- Serving Size: 1/3 of recipe
- Calories: 169 kcal
- Sugar: 0.1 g
- Sodium: 371.9 mg
- Fat: 3.9 g
- Saturated Fat: 0.8 g
- Unsaturated Fat: 3.1 g
- Trans Fat: 0 g
- Carbohydrates: 1.1 g
- Fiber: 0.2 g
- Protein: 30.3 g
- Cholesterol: 97.3 mg
Keywords: air fryer chicken breast, juicy chicken, meal prep, gluten free, low carb