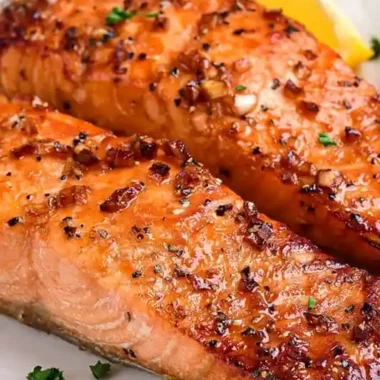
This recipe provides a foolproof method for achieving juicy, tender chicken breasts using a pressure cooker. It is an efficient way to prepare a healthy protein for a single meal or for weekly meal prep.
List of ingredients
- 3 tablespoons canola oil – used for searing the meat.
- 4 boneless skinless chicken breasts, thawed – the main protein source.
- 1 cup water – used to create steam in the pot.
- 1 teaspoon garlic powder – adds a concentrated savory flavor.
- 1 teaspoon onion powder – provides a subtle sweetness.
- 1/2 teaspoon salt – enhances all other flavors.
- 1/4 teaspoon black pepper – adds a mild spicy kick.
- 1/4 teaspoon dried oregano – gives an earthy, herbal note.
- 1/4 teaspoon dried basil – adds a sweet, peppery aroma.
- 1/4 teaspoon dried parsley – provides a crisp finish.
- 1/4 teaspoon paprika – adds color and a hint of smokiness.
- Lemon slices – used for fresh garnish and serving.
step-by-step instructions
- Mix Seasonings: Combine all the seasoning ingredients in a shallow bowl until well blended.
- Coat the Chicken: Pat the chicken breasts dry with paper towels and toss them in the seasoning mixture to coat all sides thoroughly. Set them aside.
- Prepare the Pot: Select the sauté function on the Instant Pot and set it to the highest setting.
- Heat the Oil: Once the display reads “Hot”, add the canola oil and wait for it to start sizzling.
- Sear the Meat: Carefully add the chicken breasts and cook for approximately 3 to 4 minutes on each side until they are golden brown. Remove them with tongs and set them aside on a plate.
- Deglaze and Setup: Add 1 cup of water or broth to a 6-quart pot (use 1.5 cups for an 8-quart pot) and place a trivet inside.
- Position Chicken: Arrange the seared chicken breasts on top of the trivet.
- Pressure Cook: Lock the lid and set the valve to “sealed”. Cook under high pressure for 5 minutes for small to medium breasts, or 6-8 minutes for large and thick breasts.
- Release Pressure: Allow for a 5-minute natural pressure release, then quickly release any remaining steam.
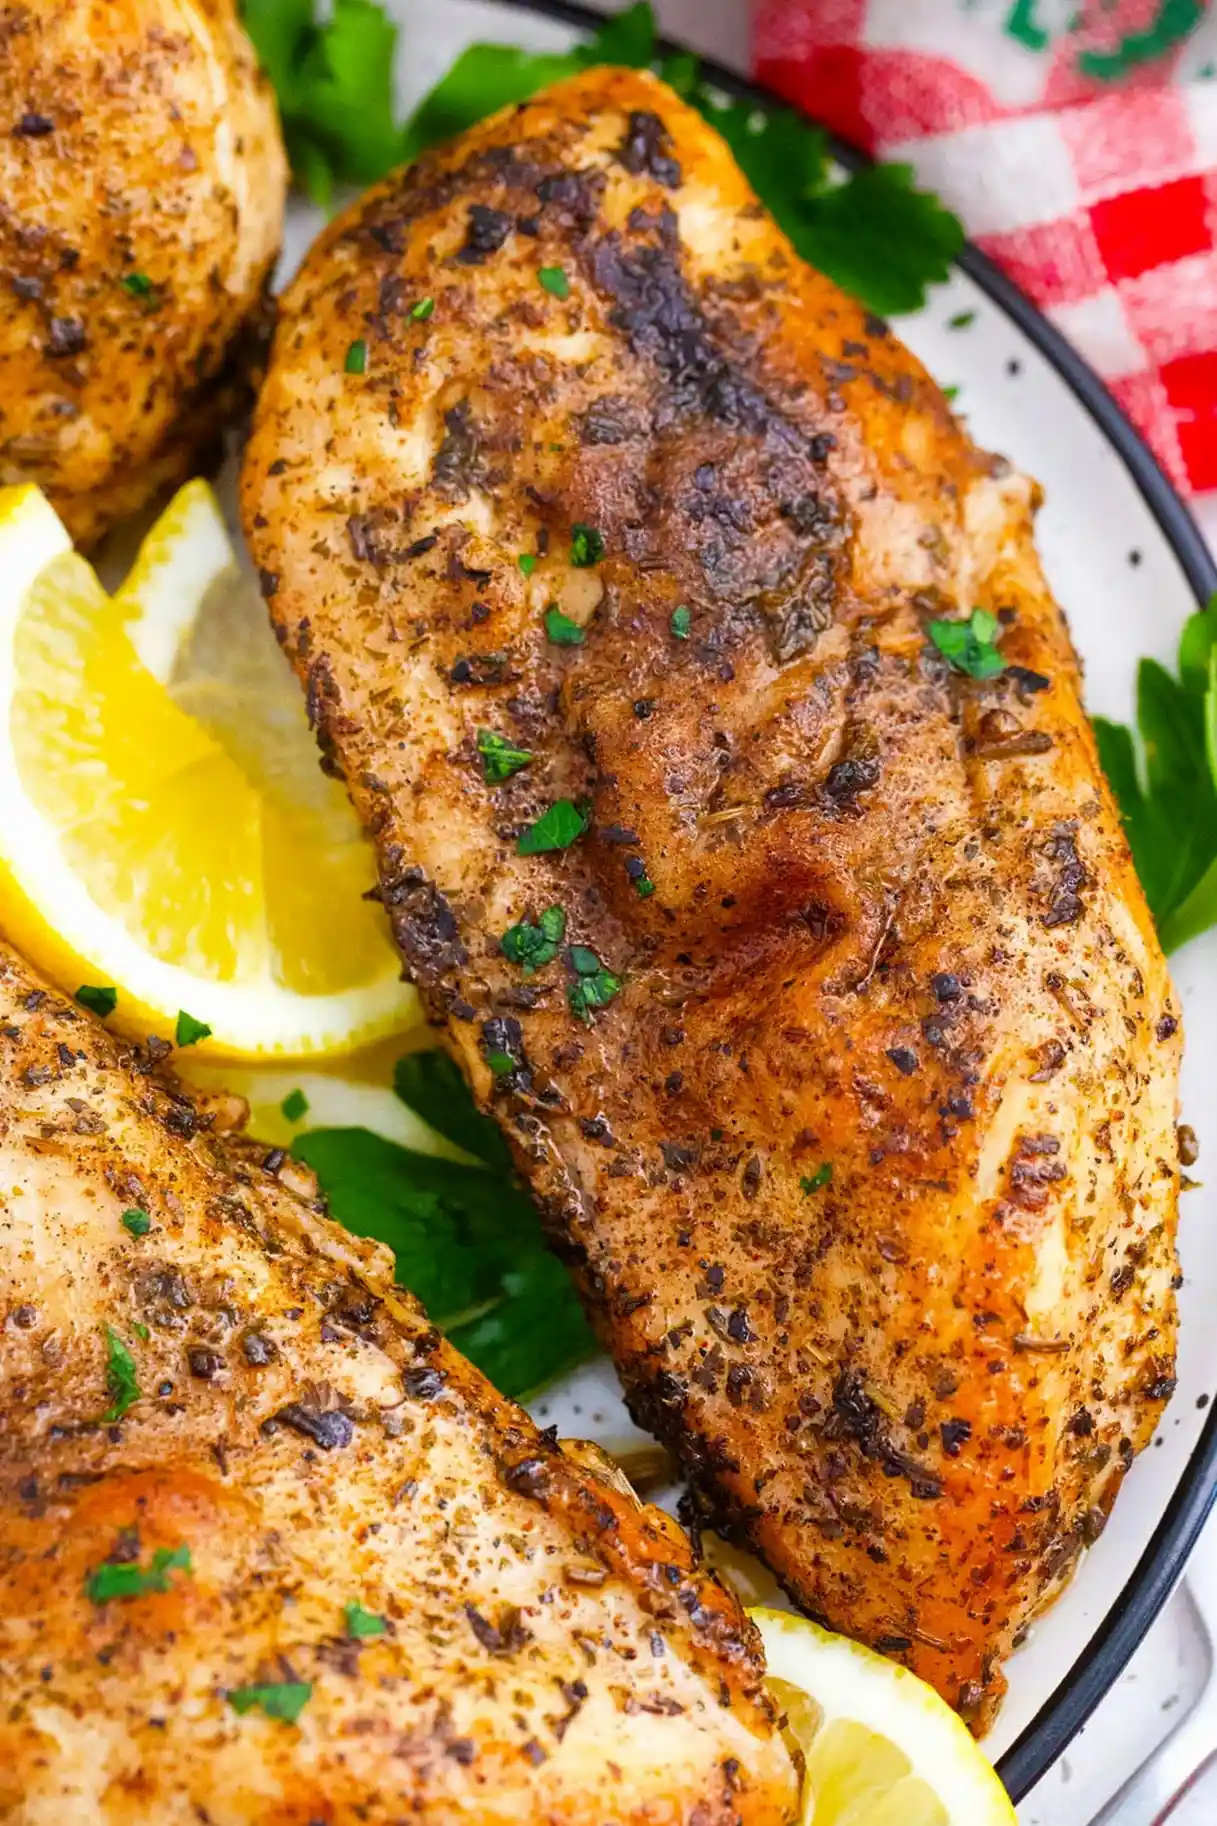
- Rest and Serve: Remove the chicken from the pot and let it rest for 5 minutes before serving with fresh lemon slices.
Professional Pressure Cooking Tips
The Importance of Searing for Flavor
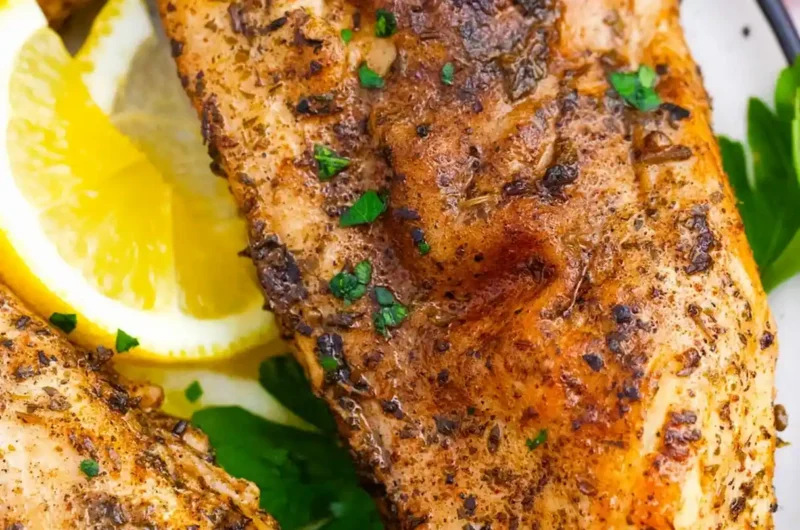
Sautéing the chicken before pressure cooking creates a caramelized crust known as the Maillard reaction. This step not only adds significant depth to the flavor but also helps lock in the natural juices of the meat. Skipping this process results in a paler piece of chicken with a less complex taste.
The Role of Natural Pressure Release
Using a natural pressure release for at least five minutes is critical for moisture retention. A sudden quick release causes the internal temperature to drop rapidly, which can force the juices out of the meat fibers. Allowing the pressure to dissipate slowly ensures the chicken remains tender and juicy.
Using Chicken Broth for Enhanced Taste
While water is sufficient for creating steam, replacing it with chicken broth adds an extra layer of savory flavor. Even though the chicken sits on a trivet and does not soak in the liquid, the aromatic steam infuses the meat during the cooking process. This is a simple way to elevate the dish without adding extra prep time.
Optimizing Pot Arrangement
Try to arrange the chicken breasts in a single, mostly even layer to ensure uniform heat distribution. Avoid packing the breasts too tightly, especially when dealing with larger cuts or frozen meat, as this can lead to uneven cooking. A small amount of overlap is acceptable, but airflow is key for consistent results.
Guidelines for Cooking Frozen Chicken
Adjusting the Pressure Cooking Time
You can use this exact method for frozen chicken breasts if you do not have time to thaw them. In this case, increase the high-pressure cooking time by an additional 4 to 5 minutes. Ensure the frozen breasts are not clumped together to allow the steam to reach all surfaces.
Verifying the Internal Temperature
When cooking from frozen, it is essential to use an instant-read digital thermometer to ensure safety. The chicken is fully cooked and safe to eat when the internal temperature reaches at least 165°F (74°C). Check the thickest part of the breast to confirm doneness before removing it from the pot.
Custom Flavor Profiles and Substitutions
Adding Spicy Heat with Cayenne
For those who prefer a spicy kick, add a half teaspoon of cayenne pepper to the seasoning blend. This adds a sharp heat that complements the garlic and paprika perfectly. You can adjust the amount based on your personal heat tolerance.
Creating Taco-Style Chicken
To transform these breasts into taco filling, replace the herbs with a homemade taco seasoning blend. Use a mix of chili powder, cumin, and smoked paprika. Once cooked, these breasts can be easily shredded and used in corn or flour tortillas.
Preparing Barbecue-Style Breasts
For a barbecue flavor without using a grill, add a pinch of brown sugar, dry mustard, and cinnamon to the rub. After the pressure cooking process is complete, brush the chicken with your favorite barbecue sauce. This creates a sweet and smoky profile that pairs well with corn on the cob.
Adding Zesty Lemon Pepper
To create a lemon-pepper variation, add fresh lemon zest and cracked black peppercorns to the initial seasoning. You can also add a tablespoon of fresh lemon juice to the water in the bottom of the pot. This results in a bright, citrusy flavor that is excellent for salads.
Using Bone-In Skin-On Breasts
If you prefer bone-in, skin-on chicken breasts, the process remains largely the same but requires more time. Increase the pressure cooking time by 5 to 7 minutes to account for the bone and skin. This version typically results in a juicier piece of meat due to the protection provided by the bone.
Recommended Serving and Meal Pairings
Combining with Pasta Salads
Slicing these juicy breasts and adding them to a cold pasta salad is an excellent way to make a complete meal. Pair them with rotini pasta, cherry tomatoes, mozzarella pearls, and a balsamic vinaigrette. The tender texture of the chicken balances the chewiness of the pasta.
Using in Tacos and Wraps
Shred the cooked chicken using two forks while it is still warm to create a tender filling. This is ideal for Chipotle-style tacos, chicken wraps, or quesadillas. Add shredded cabbage, avocado, and a creamy sauce for a professional-grade meal.
Incorporating into Creamy Soups
These breasts are perfect for adding to a chicken à la king or a creamy chicken vegetable soup. Dice the meat into small cubes and stir them into the soup during the last few minutes of simmering. This prevents the meat from overcooking while ensuring it is heated through.
Creating Cold Chicken Salads
For a classic deli-style chicken salad, dice the chilled breasts and mix them with mayonnaise, celery, and green onions. You can add diced apples, walnuts, and grapes for a Waldorf-style version. This makes for a refreshing lunch option that can be prepared in advance.
Storage and Preservation Methods
Refrigerating Cooked Chicken
To store leftovers, wrap the chicken breasts tightly in plastic wrap and place them in an airtight container. They can be kept in the refrigerator for 4 to 5 days without losing quality. Always ensure the chicken has cooled slightly before sealing the container to prevent excess moisture buildup.
Freezing for Future Meals
Cooked chicken breasts freeze exceptionally well and can be stored for up to 4 months. Wrap each breast individually in freezer paper or plastic wrap before placing them in a heavy-duty freezer bag. This prevents freezer burn and allows you to thaw only the amount you need.
Proper Thawing Methods
The safest way to defrost frozen cooked chicken is to move it from the freezer to the refrigerator overnight. This slow thaw preserves the texture of the meat and ensures food safety. Avoid thawing chicken on the counter at room temperature.
Best Practices for Reheating
Oven Reheating for Best Texture
To reheat chicken in the oven, wrap the breasts in aluminum foil with a small splash of water or broth. Heat at 350°F (175°C) for about 10 minutes. The foil traps the steam, which prevents the meat from drying out during the reheating process.
Air Fryer for Quick Heating
An air fryer is a great tool for reheating chicken while maintaining a slight crispness on the outside. Heat the chicken at 350°F for approximately 5 minutes. This method is faster than the oven and is ideal for smaller portions.
Common Troubleshooting and Questions
Why is my Instant Pot chicken breast so dry?
Dryness is almost always the result of overcooking. Because boneless breasts cook very quickly under pressure, even an extra two minutes can cause the muscle fibers to contract and squeeze out the moisture. Always follow the timing based on the thickness of the meat and never skip the natural release.
Do I have to use a trivet?
Yes, using a trivet is highly recommended to avoid the “Burn” notice and to prevent the meat from poaching. Elevating the chicken allows the steam to circulate around the meat rather than boiling it in water. This keeps the seasonings intact and prevents the bottom of the chicken from becoming soggy.
How much liquid is needed for different pot sizes?
The amount of liquid varies by the size of your Instant Pot to ensure there is enough steam to build pressure. For a 6-quart pot, use 1 cup of water; for an 8-quart pot, use 1.5 cups; and for a 10-quart pot, use 2 cups. This ensures the pot reaches pressure quickly and safely.
Print
Juicy Instant Pot Chicken Breast – From Fresh or Frozen
- Total Time: 20 minutes
- Yield: 4 servings 1x
- Diet: Gluten Free
Description
Instant Pot Chicken Breast takes just minutes to prep and cook, from fresh or frozen meat, and it’s always juicy, tender, and flavorful.
Ingredients
- 3 tablespoons canola oil
- 4 boneless skinless chicken breasts, thawed
- 1 cup water
- 1 teaspoon garlic powder
- 1 teaspoon onion powder
- 1/2 teaspoon salt
- 1/4 teaspoon black pepper
- 1/4 teaspoon dried oregano
- 1/4 teaspoon dried basil
- 1/4 teaspoon dried parsley
- 1/4 teaspoon paprika
- Lemon slices
Instructions
- Step 1: Combine all the seasoning ingredients in a shallow bowl.
- Step 2: Pat dry the chicken breasts and toss them in the seasoning to coat all sides. Set aside.
- Step 3: Select the sauté function on the Instant Pot at the highest setting.
- Step 4: After the display reads Hot, add oil to the pot and wait for it to start sizzling.
- Step 5: Carefully add the chicken breasts and cook about 3 to 4 minutes on each side, until golden. Remove from the pot with tongs and set aside on a plate.
- Step 6: Add 1 cup of water or broth to a 6-quart pot (1 ½ cups to an 8-quart pot), then place a trivet inside the pot.
- Step 7: Arrange the chicken breasts on the trivet.
- Step 8: Lock the lid, set the valve to sealed, and cook under high pressure for 5 minutes for small to medium breasts, and 6-8 minutes for large and thick breasts. followed by 5 minutes of natural pressure release. Then, quickly release the rest.
- Step 9: Remove the chicken from the pot, and allow it to rest for about 5 minutes before serving. Serve with lemon slices.
Notes
For frozen chicken breasts, add an extra 4-5 minutes to the pressure cooking time. Always ensure internal temperature reaches 165°F. Do not skip the sautéing step as it locks in juices and adds flavor.
- Prep Time: 10 minutes
- Cook Time: 5 minutes
- Category: Main Course
- Method: Pressure Cooking
- Cuisine: American
Nutrition
- Serving Size: 1 chicken breast
- Calories: 355 kcal
- Sugar: 0 g
- Sodium: 557 mg
- Fat: 16 g
- Saturated Fat: 2 g
- Unsaturated Fat: 14 g
- Trans Fat: 0 g
- Carbohydrates: 1 g
- Fiber: 0 g
- Protein: 48 g
- Cholesterol: 144 mg
Keywords: Instant Pot Chicken Breast, pressure cooker chicken, juicy chicken breast, meal prep chicken