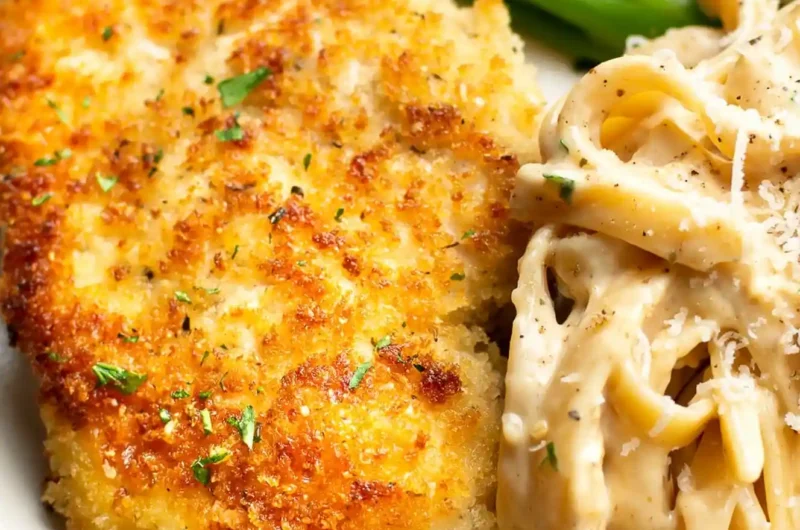
Enjoy a restaurant-style dinner with this quick parmesan crusted chicken. These tender cutlets are breaded in a savory blend of panko and cheese, then pan-seared and oven-finished for a perfect crunch.
List of ingredients
- 2 large chicken breasts – cut into thinner cutlets for even cooking.
- 1/2 teaspoon garlic powder – adds a savory depth to the meat.
- Salt & pepper to taste – essential for basic seasoning.
- 1/4 cup flour – helps the egg wash adhere to the chicken.
- 2 eggs – beaten well to act as a binding agent.
- 2/3 cup panko breadcrumbs – provides a light, airy, and extra crispy texture.
- 1/2 cup freshly grated parmesan cheese (microbial-rennet) – adds a salty, nutty flavor.
- 1/2 heaping teaspoon Italian seasoning – brings classic herb notes.
- 3 tablespoons olive oil (divided) – used for searing the chicken.
step-by-step instructions
- Prepare Oven: Preheat your oven to 400F and position the rack in the top third of the oven for optimal browning.
- Prep Chicken: Cut the chicken breasts in half lengthwise to create four thinner pieces. Pat them completely dry with paper towels and season both sides with garlic powder, salt, and pepper.
- Set Up Station: Prepare three separate bowls. Fill the first with flour, the second with beaten eggs, and the third with a mixture of panko, parmesan cheese, and Italian seasoning.
- Heat Pan: Add 2 tablespoons of olive oil to an oven-proof skillet over medium heat. Allow the oil to shimmer before adding the meat.
- Bread the Meat: Coat each chicken piece in flour, dip into the egg wash, and then press into the breadcrumb mixture. Shake off any excess at every stage to avoid a heavy coating.
- Pan Sear: Place two chicken pieces in the hot skillet and cook for 2-3 minutes per side until golden brown. Transfer them to a plate, add the remaining tablespoon of oil, and sear the second batch.
- Oven Finish: Arrange all four pieces back into the skillet. Transfer the pan to the oven and bake for 5 minutes, or until an instant-read thermometer hits 165F.
- Serve: Remove from the oven and serve immediately while the crust is at its crispiest.
Perfecting the Breading Process
Drying the Meat for Better Adhesion
Always pat the chicken breasts dry with paper towels before adding any seasoning. Surface moisture creates steam during the cooking process, which can cause the breading to slide off the meat. Dry meat ensures the flour sticks firmly to the surface.
Shaking Off Excess Coating
Gently shake the chicken after each dredging step to remove excess flour, egg, or crumbs. If the coating is too thick, it can become doughy or burn before the chicken is fully cooked. A thin, even layer is the key to a professional crunch.
Using a One-Handed Technique
To keep your workspace clean, use one hand for the dry ingredients and the other for the wet egg wash. This prevents your fingers from becoming breaded, which is often referred to as “club hand.” It makes the assembly process much faster and tidier.
Pressing the Crumbs Firmly
Once you dip the chicken into the panko and parmesan mixture, use your palm to gently press the crumbs into the meat. This ensures the breading is packed tightly and covers every inch of the chicken. Full coverage prevents the meat from shrinking and exposing bare spots.
Equipment Recommendations
Selecting an Oven-Proof Skillet
A cast iron or stainless steel skillet is ideal because it can move seamlessly from the stove to the oven. These materials hold heat exceptionally well, ensuring the chicken continues to sear even as it bakes. If you do not have one, simply transfer the seared chicken to a baking dish.
Utilizing Tongs for Easy Flipping
Use silicone-tipped tongs to flip the chicken pieces in the oil. Tongs provide a secure grip without piercing the meat or scraping the delicate breading off the surface. This keeps the crust intact and the juices inside the chicken.
Using an Instant Read Thermometer
A digital meat thermometer is the only way to guarantee the chicken is safe and juicy. Remove the chicken from the oven exactly when it reaches 165F. Overcooking by even a few degrees can turn a tender breast into a rubbery texture.
Choosing the Right Prep Bowls
Use wide, shallow bowls for the flour, egg, and breadcrumbs. Shallow containers allow you to coat the chicken without having to fold or bunch the meat. This helps maintain the shape of the cutlets and ensures an even coating.
Ingredient Substitutions
Replacing Panko with Standard Breadcrumbs
If panko is unavailable, regular dried breadcrumbs will work, though the texture will be denser. Standard crumbs create a tighter, finer crust rather than the jagged, airy crunch of panko. You may need to press them in more firmly to get the same effect.
Swapping Olive Oil for Avocado Oil
Avocado oil is a great alternative to olive oil due to its higher smoke point. This allows you to sear the chicken at a slightly higher temperature without the oil smoking or breaking down. It provides a very clean taste that doesn’t overpower the parmesan.
Cornstarch as a Flour Alternative
Substituting flour with cornstarch can result in an even crispier exterior. Cornstarch prevents gluten development and absorbs moisture more efficiently. This is a common technique used in professional kitchens to achieve a glass-like crunch.
Alternative Cheese Options
While parmesan is classic, you can use Pecorino Romano for a saltier, sharper flavor profile. Ensure you use a cheese that is finely grated so it integrates well with the panko. Freshly grated cheese always melts better than pre-shredded versions.
Customizing the Herb Blend
If you don’t have Italian seasoning, a mix of dried oregano and basil works perfectly. For a different twist, try adding a pinch of smoked paprika for a woody depth or lemon pepper for a bright, citrusy zing.
Serving Suggestions
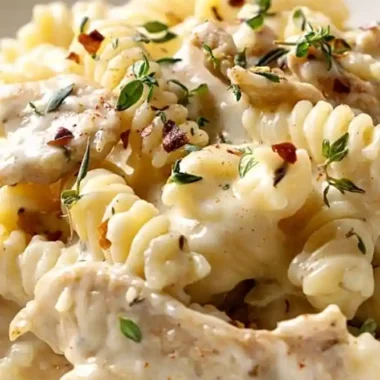
Pairing with Creamy Pasta
This chicken pairs excellently with Fettuccine Alfredo or a simple garlic butter pasta. The richness of the cream sauce complements the salty, crispy crust of the chicken. For a lighter option, try a lemon-garlic linguine.
Adding a Fresh Garden Salad
A crisp arugula salad with a lemon vinaigrette provides a necessary acidic contrast to the fried breading. The bitterness of the greens cuts through the richness of the cheese and oil. Add some shaved parmesan to the salad to tie the meal together.
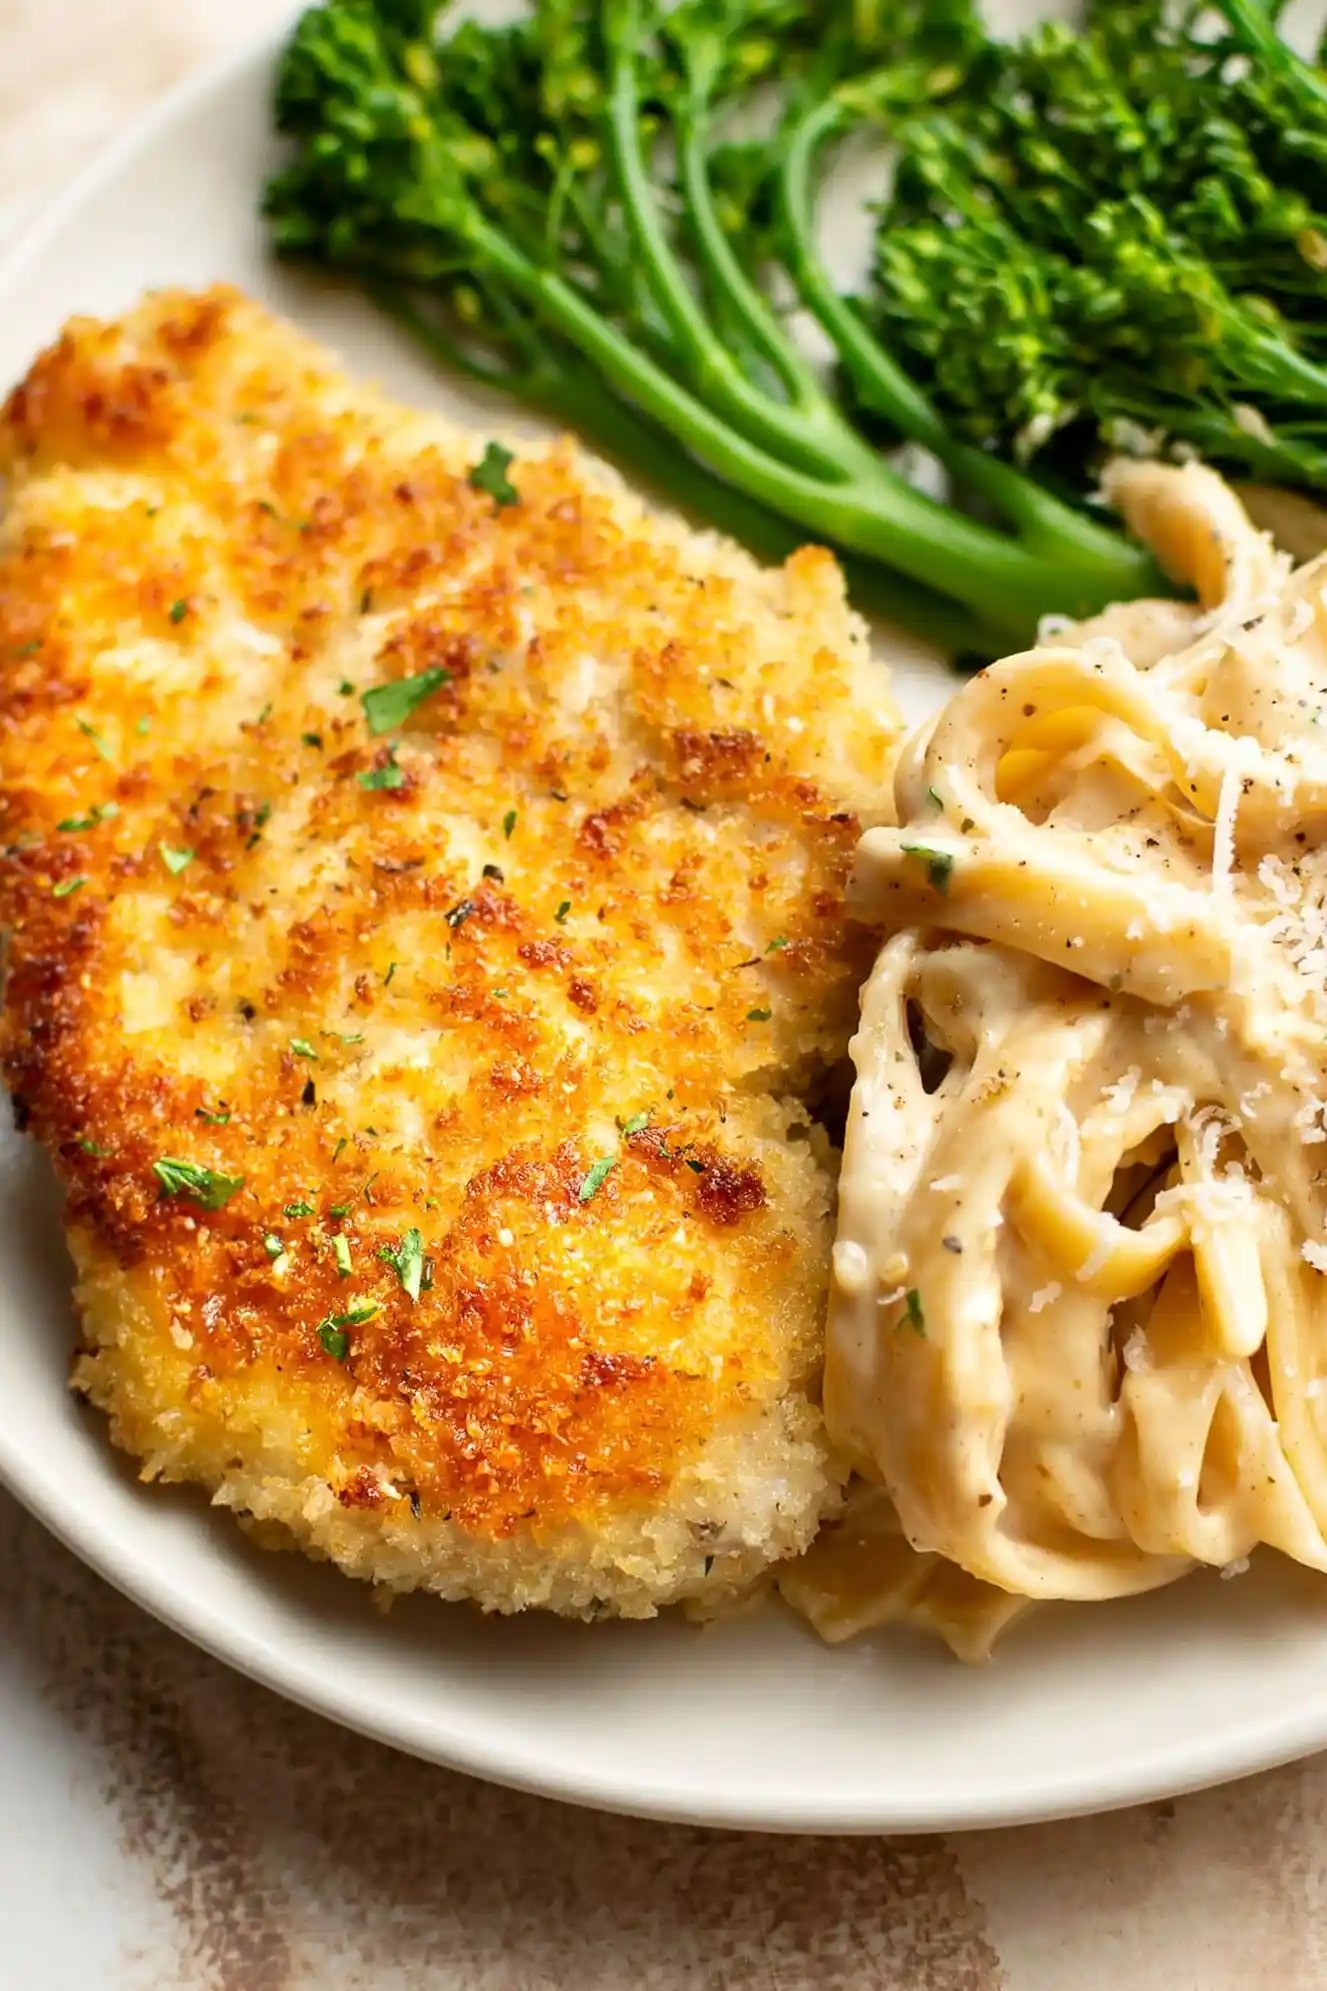
Serving with Steamed Vegetables
Garlic butter broccolini or sautéed green beans are perfect side dishes for this meal. These vegetables add a fresh, snap-like texture and a pop of color to the plate. Keep the seasoning light to let the chicken remain the star.
Pairing with Garlic Mashed Potatoes
For a full comfort-food experience, serve the chicken over a bed of creamy garlic mashed potatoes. The soft texture of the potatoes balances the crunch of the panko crust. Drizzle a bit of the pan juices over the potatoes for extra flavor.
Combining with Lemon Risotto
A bright lemon risotto adds a sophisticated touch to this dish. The creaminess of the rice and the citrus notes brighten the savory parmesan flavors. This combination is reminiscent of classic Italian-American dining.
Storage and Reheating
Refrigeration Guidelines
Store leftover chicken in an airtight container in the refrigerator for up to 3-4 days. Note that the breading will naturally soften as it absorbs moisture from the meat. To maintain quality, ensure the chicken is completely cooled before sealing the container.
Air Fryer Reheating Method
The air fryer is the best tool for restoring the original crispiness of the chicken. Heat the pieces at 350F for about 2-3 minutes per side. This evaporates the surface moisture and re-crisps the parmesan crust without overcooking the interior.
Skillet Reheating Tips
If you don’t have an air fryer, reheat the chicken in a skillet over low-medium heat with a tiny bit of oil. Flip occasionally until the breading sizzles and becomes crisp again. This is far superior to using a microwave, which makes the crust soggy.
Avoiding the Freezer
It is not recommended to freeze the cooked leftovers of this recipe. The freezing and thawing process breaks down the cellular structure of the breading, leading to a mushy texture. For best results, eat the chicken within a few days of cooking.
Troubleshooting Common Issues
Fixing Breading That Falls Off
If your breading is peeling, it is likely because the chicken was too damp or the flour step was skipped. Ensure the meat is patted dry and that the flour completely covers the surface. The flour acts as the “glue” that holds the egg and crumbs in place.
Preventing Burnt Breadcrumbs
Breadcrumbs can burn quickly if the oil is too hot. If the crust turns dark brown within seconds, lower your heat to medium. Look for a gentle shimmer in the oil rather than active smoking before adding the chicken.
Avoiding Dry or Rubbery Meat
Dry chicken is usually the result of overcooking. Because the breasts are cut into thin cutlets, they cook very quickly. Use your thermometer and pull them at 165F to ensure they remain juicy and tender.
Dealing with Bland Flavor
If the dish tastes bland, you may have under-seasoned the meat. Always salt and pepper the chicken directly before adding the flour. Seasoning the crust alone is often not enough to flavor the meat inside.
Preventing Egg Wash Clumps
If the egg wash is streaky or clumpy, the breading will be uneven. Whisk the eggs thoroughly with a fork until the whites and yolks are completely integrated. A smooth liquid ensures a thin, consistent layer of binding.
Frequently Asked Questions
Can I bake this without pan-frying?
Yes, you can bake the chicken entirely, but you will lose the deep golden color and the maximum crunch. If baking only, place the chicken on a wire rack over a baking sheet to allow air to circulate under the meat.
Can I use chicken thighs instead of breasts?
Chicken thighs work well and are often juicier, but they have a different shape and density. You will need to increase the oven cooking time by a few minutes to ensure the thicker thigh meat is fully cooked.
Is fresh parmesan better than canned?
Freshly grated parmesan is significantly better because it lacks the anti-clumping agents found in canned versions. These additives can prevent the cheese from melting and bonding with the panko, resulting in a grainier crust.
Can this recipe be made without flour?
You can skip the flour, but the egg wash may slide off the smooth surface of the meat. This increases the risk of the breading separating from the chicken during the frying process.
Can I freeze the chicken before cooking?
Yes, you can bread the chicken and freeze the raw cutlets individually on a tray. Once frozen, transfer them to a bag. Fry them directly from frozen, adding a few extra minutes to the pan-searing and oven steps.
Print
Parmesan Crusted Chicken
- Total Time: 30 minutes
- Yield: 4 servings 1x
- Diet: General
Description
This parmesan crusted chicken recipe is a comfort food classic with tender chicken breasts nestled inside crispy breading. It’s ready in just 30 minutes, and the parmesan and panko breadcrumb coating is easier to make than you think!
Ingredients
- 2 large chicken breasts
- 1/2 teaspoon garlic powder
- Salt & pepper to taste
- 1/4 cup flour
- 2 eggs
- 2/3 cup panko breadcrumbs
- 1/2 cup freshly grated microbial-rennet parmesan cheese
- 1/2 heaping teaspoon Italian seasoning
- 3 tablespoons olive oil (divided)
Instructions
- Step 1: Preheat the oven to 400F. Position the rack in the top third of the oven.
- Step 2: Cut the chicken in half lengthwise so you have 4 thinner pieces. Pat the chicken dry with paper towel. Sprinkle it with the garlic powder and some salt & pepper on both sides.
- Step 3: Prepare 3 bowls: one with the flour, one with the eggs (beat them with a fork), and the third with the panko/parmesan/Italian seasoning (mix it all together).
- Step 4: Add 2 tablespoons of olive oil to an oven-proof skillet over medium heat. Let the pan heat up while you’re working on the chicken in the next step.
- Step 5: Coat the chicken pieces in the flour. You will then dip each piece in the egg, followed by the breadcrumb mixture (shake off any excess at each of the 3 steps).
- Step 6: Add 2 of the chicken pieces to the skillet and cook for around 2-3 minutes/side until golden. Transfer the chicken to a plate, and for the second batch, add the remaining tablespoon of olive oil to the skillet. Once you’ve fried all the chicken, take the skillet off the heat and arrange all 4 pieces inside. Transfer the skillet to the oven and cook for 5 minutes or until cooked through (chicken is done when an instant read thermometer reads 165F).
- Step 7: Serve immediately.
Notes
Use panko breadcrumbs for extra crispiness. If an oven-proof skillet is not available, transfer the chicken to a baking dish for the final step.
- Prep Time: 10 minutes
- Cook Time: 20 minutes
- Category: Main Course
- Method: Pan-frying and Baking
- Cuisine: Italian American
Nutrition
- Serving Size: 1 piece of chicken
- Calories: 362 kcal
- Sugar: 1 g
- Sodium: 427 mg
- Fat: 20 g
- Saturated Fat: 5 g
- Unsaturated Fat: 15 g
- Trans Fat: 0 g
- Carbohydrates: 11 g
- Fiber: 1 g
- Protein: 33 g
- Cholesterol: 165 mg
Keywords: parmesan crusted chicken, crispy chicken, Italian American, quick dinner, panko chicken