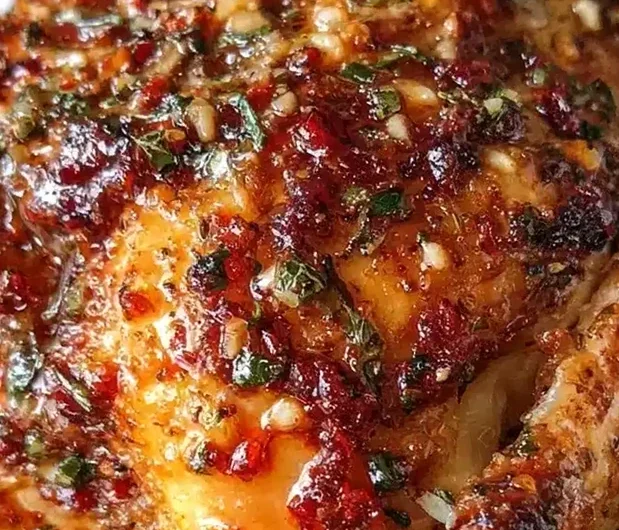
Roasting a whole chicken is a fundamental culinary skill that yields impressive, restaurant-quality results with minimal effort. This guide focuses on achieving a perfectly golden, crispy skin while keeping the breast and thigh meat incredibly succulent and flavorful. Follow these simple steps to master a centerpiece meal that is both approachable for beginners and deeply satisfying for any home cook.
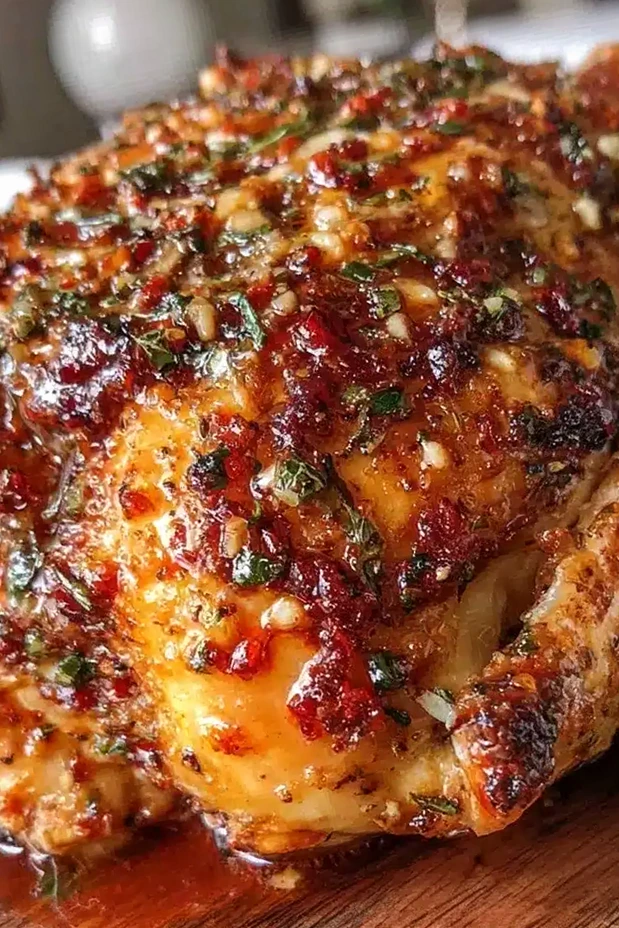
List of ingredients
- 1 whole chicken (about 4–5 pounds / 1.8–2.3 kg)
- 3 tablespoons unsalted butter, softened
- 4 cloves garlic, minced
- 2 sprigs fresh rosemary, finely chopped
- 2 sprigs fresh thyme, finely chopped
- 1 lemon, zested and quartered
- 2 tablespoons olive oil
- 1 ½ teaspoons salt
- 1 teaspoon black pepper, freshly cracked
- 1 large onion, quartered
- 1 cup carrots and celery, chopped (optional)
step-by-step instructions
- Step: Preheat your oven to 425°F (220°C).
- Step: Remove giblets from the cavity and pat the chicken dry with paper towels.
- Step: In a small bowl, mix softened butter, minced garlic, chopped rosemary, thyme, lemon zest, salt, and pepper until combined.
- Step: Carefully separate the skin from the breast meat and rub half of the herb butter mixture underneath.
- Step: Rub the remaining herb butter over the outside of the chicken.
- Step: Place the quartered lemon and onion inside the cavity.
- Step: Tie the legs together with kitchen twine.
- Step: Place the chicken breast-side up on top of the optional chopped carrots and celery in a roasting pan with a drizzle of olive oil.
- Step: Roast for 15 minutes at 425°F (220°C) to crisp the skin.
- Step: Reduce oven temperature to 375°F (190°C) and roast for another 50-60 minutes, until the internal temperature reaches 165°F (74°C).
- Step: Remove from the oven, tent loosely with foil, and let it rest for 15 minutes before carving.
Refining Your Roasting Technique
Importance of Room Temperature Chicken
Take the chicken out of the refrigerator about 30 to 45 minutes before you plan to roast it. Allowing the meat to lose its chill ensures more even cooking throughout the bird and prevents the outer layer from overcooking before the interior reaches a safe temperature.
Selecting the Proper Pan Size
Choose a roasting pan that is large enough to hold the bird comfortably but small enough to prevent excessive airflow around the sides, which can cause the pan drippings to burn. A heavy-duty stainless steel or cast iron pan is ideal for consistent heat distribution and better browning on the underside of the chicken.
Customizing Flavors and Ingredients
Adjusting Herb Profiles
While rosemary and thyme are traditional, you can experiment with fresh sage or tarragon for a different aromatic profile. Sage pairs exceptionally well with the lemon zest, providing a more robust, slightly peppery scent that works beautifully during the winter months.
Substituting Butter for Dietary Needs
If you prefer a dairy-free approach, extra virgin olive oil or a high-quality plant-based butter alternative works effectively. Ensure your chosen fat is solid enough to spread under the skin or whisk it with a little arrowroot powder if you need to create a thicker consistency for better adhesion.
Handling and Serving Best Practices
Creating a Stable Base
Using a bed of aromatic vegetables like carrots, celery, and onions not only keeps the chicken from sitting in its own juices—which can cause the bottom to steam instead of roast—but also creates a flavorful foundation for a pan sauce. You can mash the roasted vegetables into the juices for a rustic, thickened gravy that complements the finished meat perfectly.
Carving for Maximum Juiciness
Once the rest period is complete, use a very sharp carving knife to separate the legs and wings first. Then, slice the breasts along the bone to keep the portions thick, which helps retain the natural moisture that you worked so hard to seal in during the roasting process.
Storage and Reheating Advice
Managing Leftover Poultry
Store any leftover chicken in an airtight container in the refrigerator for up to four days. If you have a large amount remaining, consider pulling the meat off the bone while it is still slightly warm, as it is much easier to manage than when it has completely cooled and solidified.
Reheating Without Drying Out
To reheat slices without losing their tenderness, place them in a shallow dish with a tablespoon of chicken broth or water. Cover the dish tightly with foil and heat in a 325°F oven until warmed through; this steaming effect prevents the edges of the meat from toughening up.
Addressing Common Roasting Hurdles
What to Do If the Skin Darkens Too Fast
If you notice the skin turning a deep brown color before the internal temperature has reached the target, loosely cover the breast area with a piece of foil. This trick allows the rest of the chicken to continue cooking and the meat to reach a safe temperature without the skin becoming bitter or charred.
Why Meat Thermometers Are Essential
Relying on cooking time alone is risky because oven calibrations and chicken sizes vary significantly. An instant-read thermometer provides the only objective proof that your chicken is safe to eat while protecting the meat from the dryness caused by prolonged overcooking.
Handling Challenges with Moist Skin
If you find that the skin feels damp after patting it, try leaving the chicken uncovered in the refrigerator for an hour before seasoning. The cold, dry air of the fridge acts as a dehydrator, ensuring the skin is completely dehydrated and ready to crisp up the moment it hits the heat of the oven.
Frequently Asked Questions
How can I make the chicken skin extra crispy?
Ensuring the surface of the bird is completely dry before applying the herb butter is the single most important factor for crispness. The initial 15-minute blast at 425°F creates a structural barrier that keeps the skin firm throughout the longer, lower-temperature roasting phase.
Is it necessary to truss the bird?
Trussing is highly recommended for beginners because it creates a compact, uniform shape. This uniformity ensures that the breast meat does not dry out while waiting for the legs to finish cooking, resulting in a much more balanced texture across the entire chicken.
Can I add potatoes to the roasting pan?
Yes, you can add cubed potatoes around the bird, but be sure to cut them into uniform, bite-sized pieces so they finish cooking at the same time as the chicken. They will absorb the herb-infused fat from the chicken, turning golden and crispy on the outside while staying tender on the inside.
Print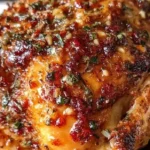
Perfect Juicy Whole Chicken Roast Recipe Easy Step-by-Step for First-Timers
- Total Time: 1 hour 20 minutes
- Yield: 4–6 servings 1x
- Diet: Gluten-Free
Description
A straightforward and rewarding recipe for roasting a whole chicken with crispy skin and juicy meat, perfect for first-timers and busy weeknights.
Ingredients
- 1 whole chicken (about 4–5 pounds / 1.8–2.3 kg)
- 3 tablespoons unsalted butter, softened
- 4 cloves garlic, minced
- 2 sprigs fresh rosemary, finely chopped
- 2 sprigs fresh thyme, finely chopped
- 1 lemon, zested and quartered
- 2 tablespoons olive oil
- 1 ½ teaspoons salt
- 1 teaspoon black pepper, freshly cracked
- 1 large onion, quartered
- 1 cup carrots and celery, chopped (optional)
Instructions
- Step: Preheat your oven to 425°F (220°C).
- Step: Remove giblets from the cavity and pat the chicken dry with paper towels.
- Step: In a small bowl, mix softened butter, minced garlic, chopped rosemary, thyme, lemon zest, salt, and pepper until combined.
- Step: Carefully separate the skin from the breast meat and rub half of the herb butter mixture underneath.
- Step: Rub the remaining herb butter over the outside of the chicken.
- Step: Place the quartered lemon and onion inside the cavity.
- Step: Tie the legs together with kitchen twine.
- Step: Place the chicken breast-side up on top of the optional chopped carrots and celery in a roasting pan with a drizzle of olive oil.
- Step: Roast for 15 minutes at 425°F (220°C) to crisp the skin.
- Step: Reduce oven temperature to 375°F (190°C) and roast for another 50-60 minutes, until the internal temperature reaches 165°F (74°C).
- Step: Remove from the oven, tent loosely with foil, and let it rest for 15 minutes before carving.
Notes
If the skin browns too quickly, tent with foil halfway through roasting. For a dairy-free option, substitute butter with vegan margarine or additional olive oil. If using dried herbs, reduce the quantity by half.
- Prep Time: 15 minutes
- Cook Time: 1 hour 5 minutes
- Category: Main Course
- Method: Roasting
- Cuisine: American
Nutrition
- Serving Size: 1 serving
- Calories: 350 kcal
- Sugar: 0.5 g
- Sodium: 450 mg
- Fat: 20 g
- Saturated Fat: 9 g
- Unsaturated Fat: 10 g
- Trans Fat: 0 g
- Carbohydrates: 2 g
- Fiber: 0.5 g
- Protein: 25 g
- Cholesterol: 95 mg
Keywords: whole chicken roast, juicy roast chicken, easy chicken recipe, herb butter chicken, crispy skin chicken, beginner chicken roast