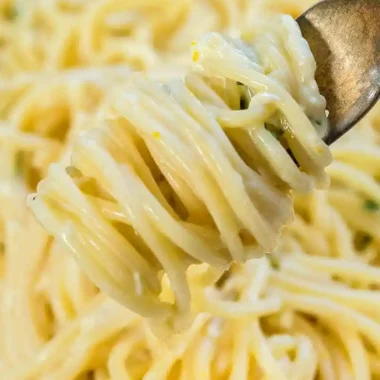
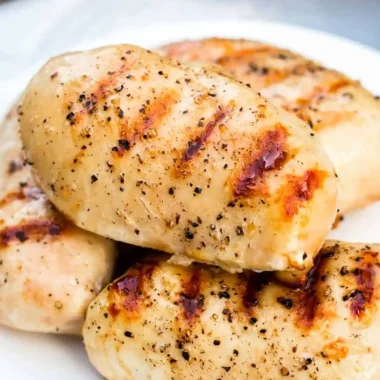
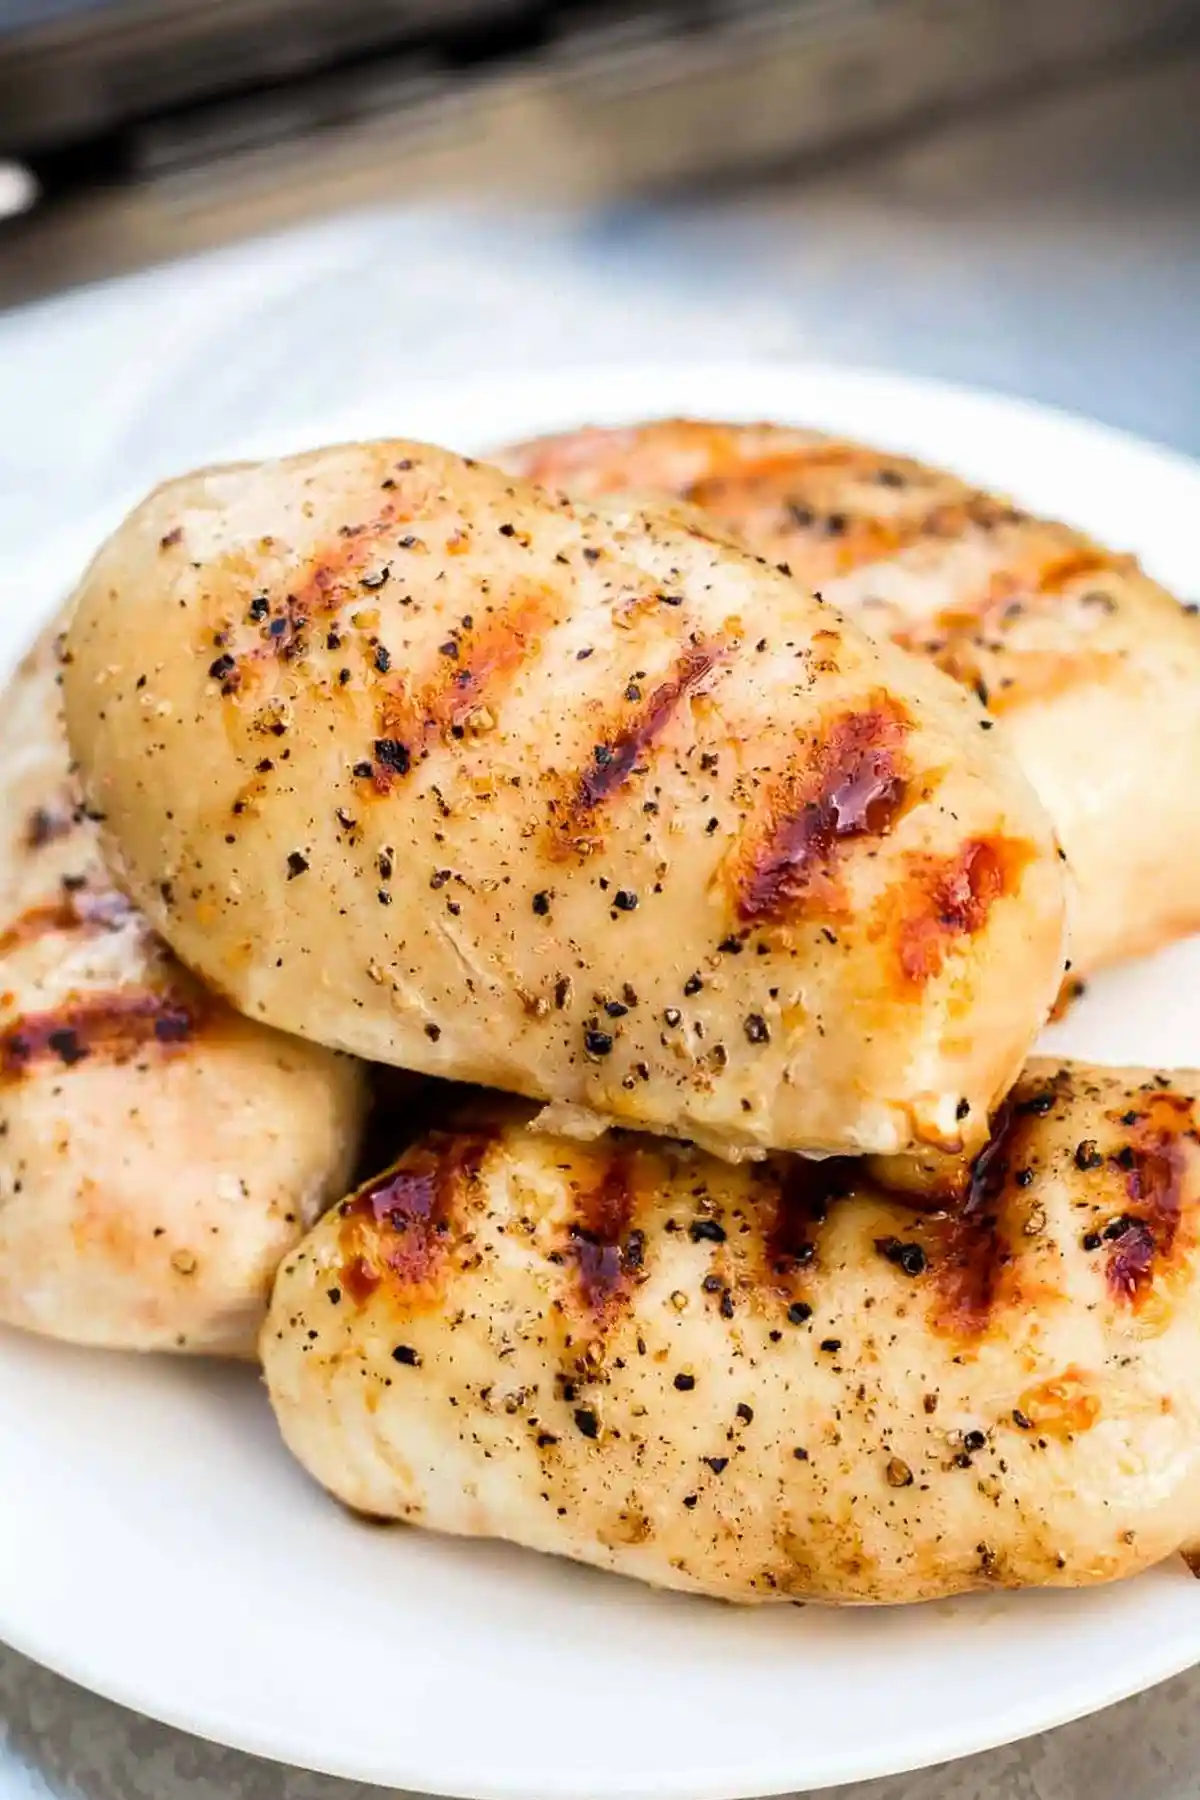
Achieving moist and tender chicken breasts on a gas grill requires precise temperature management and proper preparation. This method ensures a professional sear while keeping the interior succulent.
List of ingredients
- 6 medium chicken breasts, boneless and skinless (2-3 pounds) – ensure they are of similar thickness for even cooking.
- 3 tablespoons light olive oil – used to prevent sticking and lock in moisture.
- Salt – to taste for seasoning.
- Pepper or desired spices – to taste for added flavor.
step-by-step instructions
- Season the meat: Coat both sides of the chicken with olive oil and sprinkle with salt and pepper, or your preferred seasonings.
- Temper the chicken: Let the chicken sit at room temperature for about 30 minutes to ensure even cooking.
- Prepare the grill: Preheat the gas grill to medium-high heat, approximately 400°F. Lightly grease the grill surface to prevent the meat from sticking.
- Initial sear: Add the chicken to the grill, close the lid, and cook for 8 minutes or until the bottoms are browned with clear sear marks.
- Finish cooking: Rotate the chicken, close the lid, and reduce the heat to medium. Cook for another 7-10 minutes until the internal temperature reaches 165°F.
- Rest the meat: Remove the chicken from the grill and let it rest for 5 minutes before serving to redistribute juices.
Precision Cooking and Temperature Control
Using an Instant-Read Thermometer
The only guaranteed way to avoid dry chicken is by monitoring the internal temperature. Use a digital probe thermometer inserted into the thickest part of the breast. Remove the meat when it hits 165°F for immediate safety or 160°F for carryover cooking.
The Carryover Cooking Method
Carryover cooking occurs when the internal temperature continues to rise after the meat is removed from the heat source. By pulling the chicken at 160°F and resting it under foil, the meat will reach the safe 165°F threshold. This prevents the outer layers from overcooking while the center reaches safety.
Visual Indicators of Doneness
Carefully slice into the center of the thickest breast to check the color. The meat should be opaque white with a very slight hint of pink in the center. If the meat appears stringy or completely white throughout, it has likely been overcooked.
Testing for Firmness
Press the center of the chicken breast with your finger after it has cooled slightly. It should have a slight give and spring back, rather than feeling completely rigid. A squishy feeling indicates it is undercooked, while a hard feeling indicates it is overdone.
Optimal Grilling Equipment Setup
Gas Grill Burner Configuration
Grills with more burners, such as 4 or 5, generally provide more consistent heat distribution across the cooking surface. This reduces the occurrence of hot spots that can burn one side of the chicken while leaving another undercooked. Ensure all burners are ignited during preheating for a uniform surface temperature.
Maintaining Grill Grates
Clean grates are essential for achieving clean sear marks and preventing the meat from tearing. Use a grill brush to remove carbonized residue before applying oil. Applying a thin layer of oil via a paper towel or spray prevents the proteins in the chicken from bonding to the metal.
The Importance of the Grill Lid
Closing the lid transforms the grill into an oven-like environment, circulating heat around the sides of the meat. This ensures the interior cooks through without requiring excessive time on the direct heat of the grates. Keep the lid closed as much as possible to maintain a steady 400°F environment.
Advanced Flavor Enhancements
Acidic Toppings for Balance
Squeezing fresh lemon or lime juice over the chicken immediately after grilling adds acidity that cuts through the richness of the olive oil. This brightness enhances the natural flavor of the poultry. Citrus juices also help to tenderize the surface fibers of the meat.
Savory Sauce Pairings
Apply sauces like pesto, BBQ sauce, or a garlic-herb butter during the final two minutes of grilling. Applying sugary sauces too early can cause the exterior to burn before the interior is cooked. Pesto adds a nutty, herbal dimension that complements the charred exterior.
Adding Melted Cheeses
For a richer meal, place a slice of provolone, mozzarella, or pepper jack cheese on the breasts during the last minute of cooking. Close the lid to allow the cheese to melt completely. This creates a creamy layer that adds moisture to the final bite.
Using Dry Rubs and Spices
Experiment with paprika, garlic powder, onion powder, and dried oregano for a classic Mediterranean profile. Ensure the rub is applied after the oil to help the spices adhere and toast. Avoid rubs with high sugar content if grilling at very high temperatures to prevent scorching.
Meat Preparation and Selection
Managing Breast Thickness
Chicken breasts often vary in thickness, with one end being much thicker than the other. Use a meat mallet or a heavy skillet to gently pound the thickest part until the breast is uniform. This ensures that the thin end does not dry out while the thick end reaches 165°F.
The Role of Room Temperature Tempering
Cooking meat straight from the refrigerator creates a significant temperature gradient. The exterior often chars before the center can thaw and cook through. Allowing the meat to sit for 30 minutes minimizes this gap, leading to more consistent results.
Choosing the Right Oil
Use a light olive oil or a neutral oil with a high smoke point for grilling. Oils with low smoke points can burn and create a bitter taste on the meat. Light olive oil provides a balance of flavor and heat stability suitable for 400°F.
Timing Based on Meat Thickness
Guidelines for Thin Breasts
Chicken breasts that are 1/2 inch thick require significantly less time on the grill. Plan for approximately 3 to 4 minutes per side over medium-high heat. Monitor these closely as they can move from juicy to dry in less than a minute.
Guidelines for Medium Breasts
Breasts approximately 1 inch thick generally require 5 to 6 minutes per side. Following the recipe’s rotate-and-reduce method is ideal for this thickness. This ensures the center is cooked without compromising the outer sear.
Guidelines for Thick Breasts
For breasts 1.5 inches thick or more, expect 7 to 8 minutes per side. You may need to extend the medium-heat phase to ensure the center reaches the safe temperature. Avoid increasing the heat, as this will only burn the exterior.
Storage and Reheating Protocols
Refrigeration Best Practices
Allow grilled chicken to cool for about 10 minutes before placing it in a container. Store in an airtight glass or plastic container in the refrigerator. Properly stored grilled chicken remains safe and flavorful for 3 to 4 days.
Freezing for Long Term Use
Freeze chicken whole, shredded, or diced in vacuum-sealed bags or heavy-duty freezer bags. Remove as much air as possible to prevent freezer burn. Grilled chicken can be stored in the freezer for 3 to 4 months.
Moist Reheating Techniques
To prevent the chicken from drying out during reheating, add a tablespoon of water or chicken broth to the pan. Heat on medium-low heat with a lid on, or use a microwave on medium power. This creates steam that re-hydrates the meat fibers.
Utilizing Leftovers in Meals
Sliced grilled chicken is an excellent addition to cold salads, wraps, or grain bowls. Since it is already cooked, it can be eaten cold or lightly warmed. Shredding the leftover chicken makes it ideal for tacos or pasta dishes.
Common Grilling Questions
Should I close the lid when grilling chicken?
Yes, closing the lid is critical for even heat distribution. It traps the heat and cooks the chicken from all sides, similar to an oven, which reduces the total time the meat spends in direct contact with the hot grates.
How do I get perfect sear marks?
Start with a very hot grill (medium-high) and ensure the chicken is coated in oil. Do not move the chicken frequently; let it sit undisturbed for several minutes to allow the Maillard reaction to create those distinct brown lines.
What if the chicken sticks to the grill?
If the chicken sticks, it usually means the grill wasn’t hot enough or the meat wasn’t oiled properly. Wait another minute for the meat to naturally release from the grate before attempting to flip it.
Can I use a different type of grill?
While this recipe is designed for gas grills, it works for charcoal grills as well. Simply ensure you have a two-zone fire (hot and cool) so you can move the chicken to a lower-heat area if the exterior browns too quickly.
Recommended Side Dishes
Starchy Accompaniments
Creamy mashed potatoes or homemade potato wedges provide a hearty contrast to the lean chicken breast. For a lower-carb option, try roasted cauliflower or sautéed zucchini. These sides absorb the juices from the chicken well.
Fresh Vegetable Pairings
A crisp BLT coleslaw or a garden salad with a vinaigrette balances the smoky flavor of the grill. Grilled asparagus or corn on the cob can be cooked on the same grill as the chicken to save time. Keep the vegetables on the cooler side of the grill.
Grain-Based Options
Quinoa, brown rice, or a light pasta salad are excellent for meal prepping with grilled chicken. These grains provide lasting energy and can be seasoned with lemon and herbs to match the chicken profile.
Print
Juicy Grilled Chicken Breast Guide
- Total Time: 20 minutes
- Yield: 6 servings 1x
- Diet: General
Description
Learn easy tips grilled chicken breast on a gas grill. Guaranteed moist, tender and perfect barbecue grilled chicken every time with just a few simple steps.
Ingredients
- 6 medium chicken breasts (boneless, skinless (2–3 pounds))
- 3 tablespoons olive oil (light)
- Salt (to taste)
- Pepper or desired spices (to taste)
Instructions
- Season: Coat both sides of chicken with olive oil and sprinkle with salt and pepper, or desired seasonings.
- Rest: Let chicken sit at room temperature for about 30 minutes.
- Sear: Preheat gas grill before cooking to medium-high heat or about 400° F. Lightly grease grill surface and add chicken. Close lid and cook 8 minutes, or until bottoms are browned with sear marks.
- Cook: Rotate chicken, close lid, reduce heat to medium and cook 7-10 minutes more, or until internal temperature reaches 165° F.
- Finish: Remove chicken from grill and let it rest 5 minutes before serving.
Notes
Pro tip: You can cook chicken slightly less to 160° and let it rest 5-10 minutes under foil. It will continue to cook and be moister.
- Prep Time: 5 minutes
- Cook Time: 15 minutes
- Category: Barbecue
- Method: Grilling
- Cuisine: American
Nutrition
- Serving Size: 6 ounces
- Calories: 255 kcal
- Sugar: 0 g
- Sodium: 197 mg
- Fat: 11 g
- Saturated Fat: 1 g
- Unsaturated Fat: 10 g
- Trans Fat: 0 g
- Carbohydrates: 0 g
- Fiber: 0 g
- Protein: 36 g
- Cholesterol: 108 mg
Keywords: grilled chicken breast, how to grill chicken breast, moist grilled chicken breast