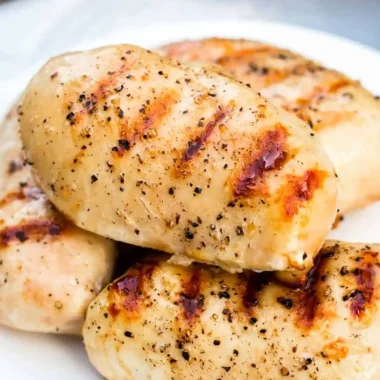
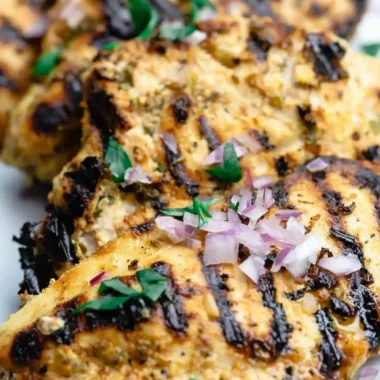
Grilling boneless, skinless chicken breasts on a gas grill is a fundamental skill that results in a nutritious, flavorful meal when done correctly. By mastering heat management and preparation, you can consistently produce poultry that is succulent rather than dry. This guide focuses on the technical aspects of achieving a professional-quality sear while maintaining internal juiciness.
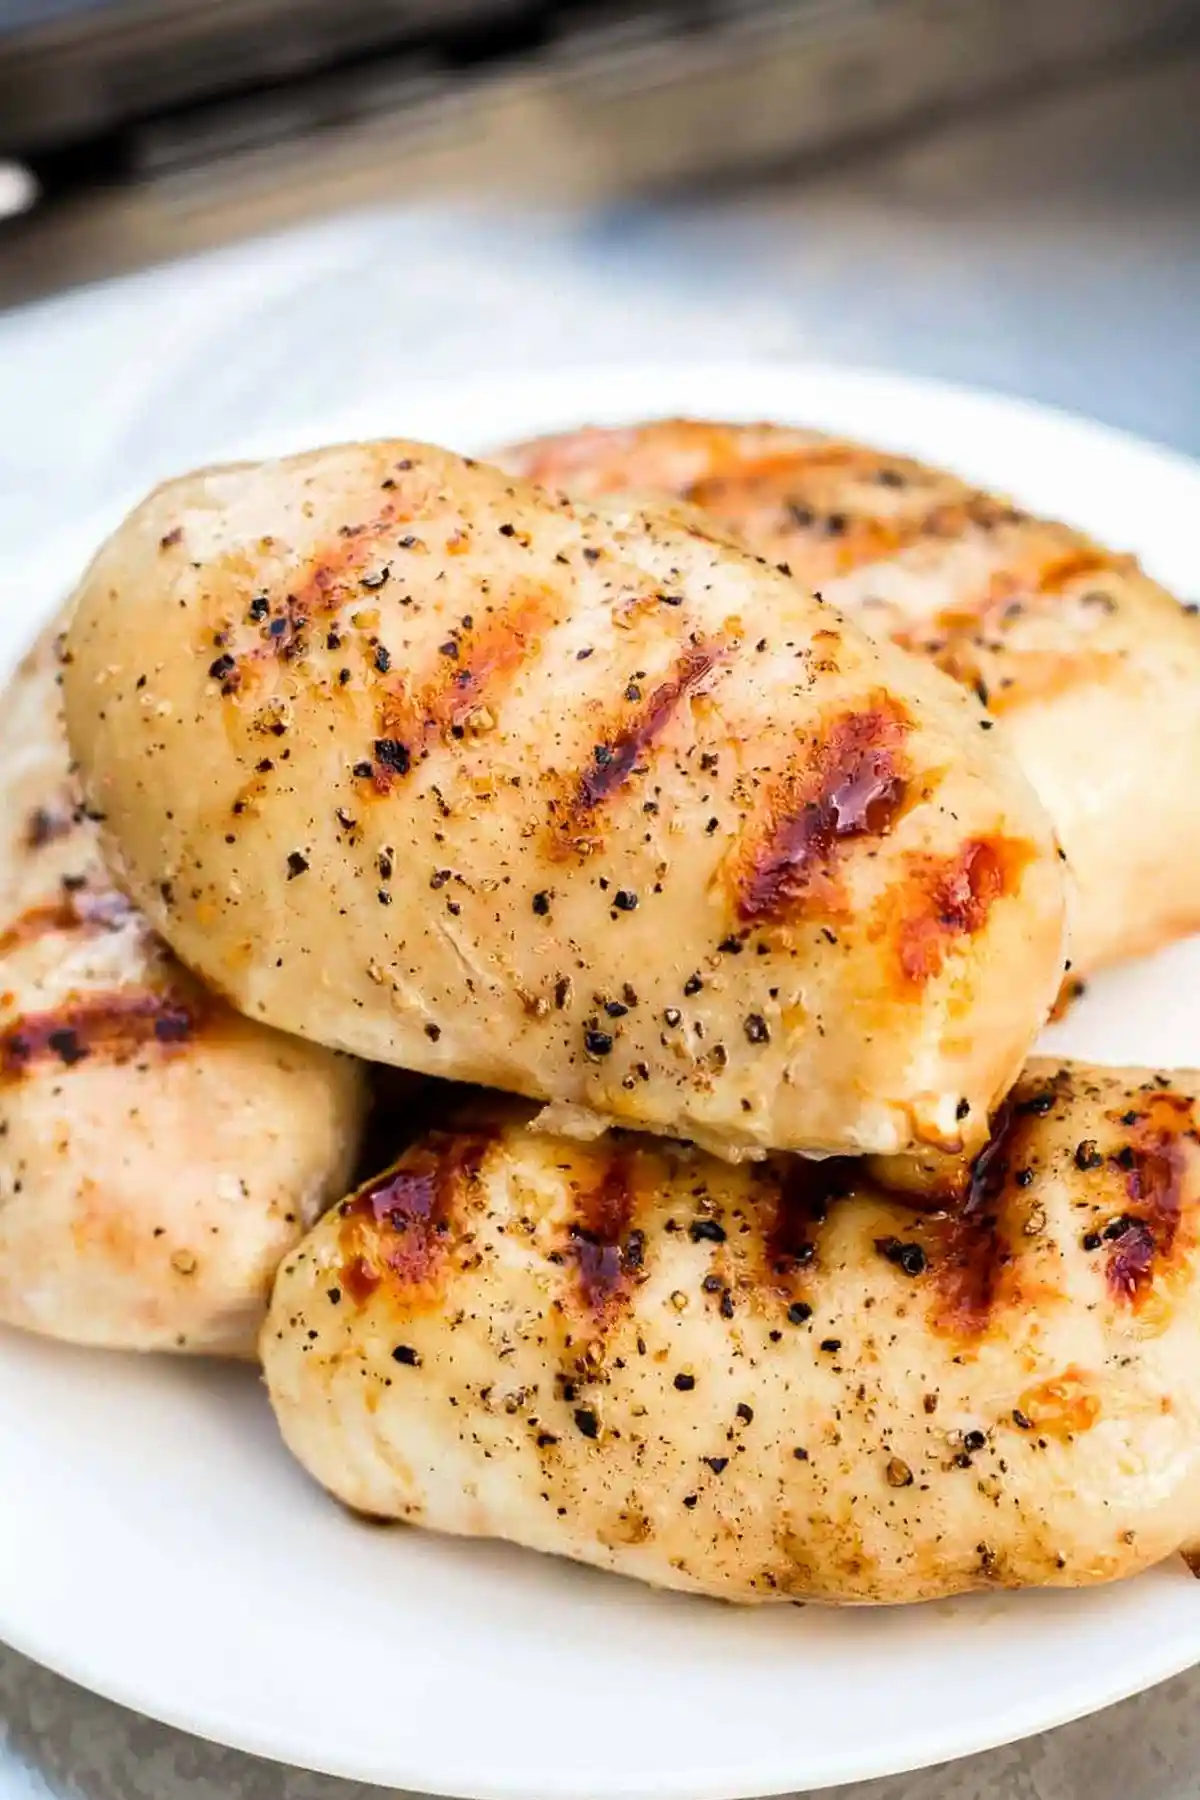
List of ingredients
- 6 medium chicken breasts (boneless, skinless, 2-3 pounds)
- 3 tablespoons light olive oil
- Salt to taste
- Pepper or desired spices to taste
step-by-step instructions
- Step: Coat both sides of chicken with olive oil and sprinkle with salt and pepper, or desired seasonings.
- Step: Let chicken sit at room temperature for about 30 minutes.
- Step: Preheat gas grill before cooking to medium-high heat or about 400° F.
- Step: Lightly grease grill surface and add chicken. Close lid and cook 8 minutes, or until bottoms are browned with sear marks.
- Step: Rotate chicken, close lid, reduce heat to medium and cook 7-10 minutes more, or until internal temperature reaches 165° F.
- Step: Remove chicken from grill and let it rest 5 minutes before serving.
Refining Your Grilling Technique
Managing Surface Temperature for Even Cooking
Controlling the heat output of your grill is crucial for managing the transition between the searing phase and the final internal cook. By starting at 400° F, you create a Maillard reaction that provides flavor and appearance, while dropping the heat to medium prevents the exterior from burning before the center is cooked through. If your grill has multiple burners, keep one zone slightly cooler to move pieces if you notice uneven charring.
Importance of Even Breast Thickness
Chicken breasts often have a tapered shape, which can lead to the thin end drying out while the thick end remains undercooked. Using a meat mallet to gently pound the thicker sections to match the rest of the breast ensures that all parts reach the target internal temperature simultaneously. Consistent thickness is the single most effective way to avoid the common issue of dry, overcooked poultry edges.
Selecting the Right Seasoning Timing
Adding dry rubs or salt too far in advance can sometimes draw out moisture through osmosis, so applying seasonings just before the chicken hits the grill is often preferred. If using fresh herbs or delicate spices, apply them toward the final minutes of cooking to prevent them from becoming charred or bitter. Salt is essential, but be cautious with sugar-heavy rubs, as they will caramelize and burn much faster on a hot grill grate.
Practical Adjustments for Different Cuts
Adapting Heat Based on Thickness
When working with exceptionally thin chicken breasts, reduce the initial searing time to avoid burning. For pieces under half an inch thick, consider a 3-4 minute sear on each side at a slightly lower temperature to ensure the interior reaches 165° F without becoming rubbery. Always prioritize internal temperature over strictly adhering to timing if your meat is exceptionally thin or thick.
Utilizing Indirect Heat Zones
If you are grilling larger batches of chicken that vary in size, create a two-zone setup on your gas grill. This allows you to sear pieces over the direct heat burners and then move them to a cooler section to finish cooking gently. This approach is particularly useful for preventing the outer edges from getting tough while waiting for the center of the breast to reach safety standards.
Storage and Preservation Methods
Refrigeration Best Practices
Store leftover grilled chicken in an airtight container to prevent dehydration from the circulating air in the refrigerator. When properly sealed, the cooked poultry remains safe and palatable for three to four days. It is helpful to store the chicken in smaller portions to avoid repeatedly reheating the entire batch, which preserves the texture of the remaining pieces.
Long-Term Freezer Storage
To freeze cooked chicken breast effectively, wrap each piece tightly in plastic wrap before placing it into a freezer-safe bag to minimize frost accumulation. Removing excess air from the storage bag is critical for preventing freezer burn on the exterior of the meat. Properly frozen, these portions can be stored for three to four months, providing a convenient base for future meals that only requires simple thawing in the refrigerator overnight.
Troubleshooting Common Grilling Issues
Addressing Sticking Grates
If chicken frequently adheres to your grill grates, ensure the grates are thoroughly cleaned and heavily oiled before preheating. Sometimes, attempting to move the chicken too early will cause it to stick; wait for the natural release that occurs once the surface has properly seared. Using a long-handled stainless steel spatula allows you to gently test the meat to see if it is ready to flip without tearing the delicate surface fibers.
Managing Flare-Ups During Cooking
Fat drippings hitting the flame can cause flare-ups that char the chicken unevenly. Keep a spray bottle of water nearby, or simply move the chicken to a cooler part of the grill until the flames subside. Trimming excess fat from the edges of the chicken before seasoning can significantly reduce the frequency of these flare-ups, resulting in a cleaner flavor profile.
Frequently Asked Questions
How does resting time influence the final texture?
Resting the chicken for 5 minutes allows the internal temperature to stabilize and the meat juices to redistribute throughout the fibers. Slicing immediately after removing it from the heat source causes the juices to spill out onto the cutting board, resulting in a drier bite. This brief cooling period is non-negotiable for achieving the desired moist mouthfeel.
Can I use a different oil for better flavor?
While light olive oil is recommended for its high smoke point and neutral flavor, you can substitute it with avocado oil or grapeseed oil, both of which handle high heat effectively. Avoid using extra virgin olive oil or butter, as these have lower smoke points and will burn quickly on the hot grates, potentially leaving an acrid flavor on the chicken.
How do I know if the thermometer is accurate?
To verify the accuracy of your digital instant-read thermometer, test it in boiling water, which should read exactly 212° F at sea level. If your chicken reads 165° F but feels firm to the touch, trust the thermometer reading, as physical firmness can be misleading based on the specific muscle density of the individual bird. Always insert the probe into the thickest part of the breast, avoiding bone or cartilage for the most precise reading.
Why should I keep the grill lid closed?
Closing the lid turns your grill into an oven, creating a convection environment that cooks the chicken from the top and sides, not just the bottom. This reduces the total cooking time and ensures that the heat penetrates the thickest part of the breast before the exterior dries out. Frequent opening of the lid causes temperature drops that prolong cooking times and negatively affect the texture of the meat.
Print
Mastering Moist and Tender Grilled Chicken Breast
- Total Time: PT20M
- Yield: 6 1x
- Diet: Keto
Description
Learn easy tips for grilling chicken breast on a gas grill. Guaranteed moist, tender, and perfect barbecue grilled chicken every time with just a few simple steps.
Ingredients
- 6 medium chicken breasts (boneless, skinless, 2–3 pounds)
- 3 tablespoons light olive oil
- Salt to taste
- Pepper or desired spices to taste
Instructions
- Step: Coat both sides of chicken with olive oil and sprinkle with salt and pepper, or desired seasonings.
- Step: Let chicken sit at room temperature for about 30 minutes.
- Step: Preheat gas grill before cooking to medium-high heat or about 400° F.
- Step: Lightly grease grill surface and add chicken. Close lid and cook 8 minutes, or until bottoms are browned with sear marks.
- Step: Rotate chicken, close lid, reduce heat to medium and cook 7-10 minutes more, or until internal temperature reaches 165° F.
- Step: Remove chicken from grill and let it rest 5 minutes before serving.
Notes
Pro tip: You can cook chicken slightly less to 160° and let it rest 5-10 minutes under foil. It will continue to cook and be moister. Ensure the chicken sits at room temperature for 30 minutes before grilling to ensure even cooking.
- Prep Time: PT5M
- Cook Time: PT15M
- Category: Barbecue
- Method: Grilling
- Cuisine: American
Nutrition
- Serving Size: 6 ounces
- Calories: 255 kcal
- Sugar: 0 g
- Sodium: 197 mg
- Fat: 11 g
- Saturated Fat: 1 g
- Unsaturated Fat: 9 g
- Trans Fat: 0 g
- Carbohydrates: 0 g
- Fiber: 0 g
- Protein: 36 g
- Cholesterol: 108 mg
Keywords: grilled chicken breast, how to grill chicken breast, moist grilled chicken breast