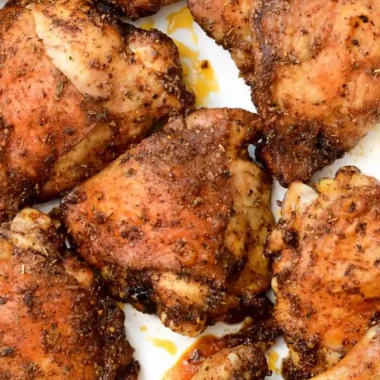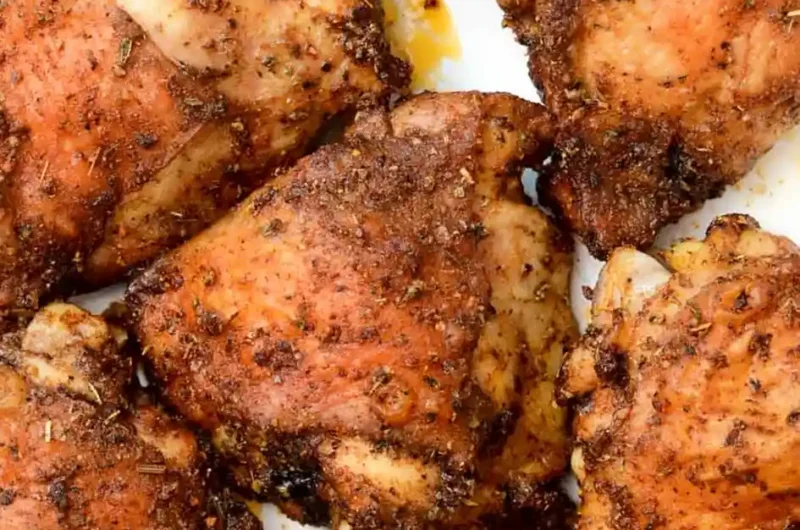
This recipe creates exceptionally juicy chicken with a golden, crackling skin using a simple oven-roasting technique. It is a practical dinner option that works well for both weeknight meals and hosting guests.
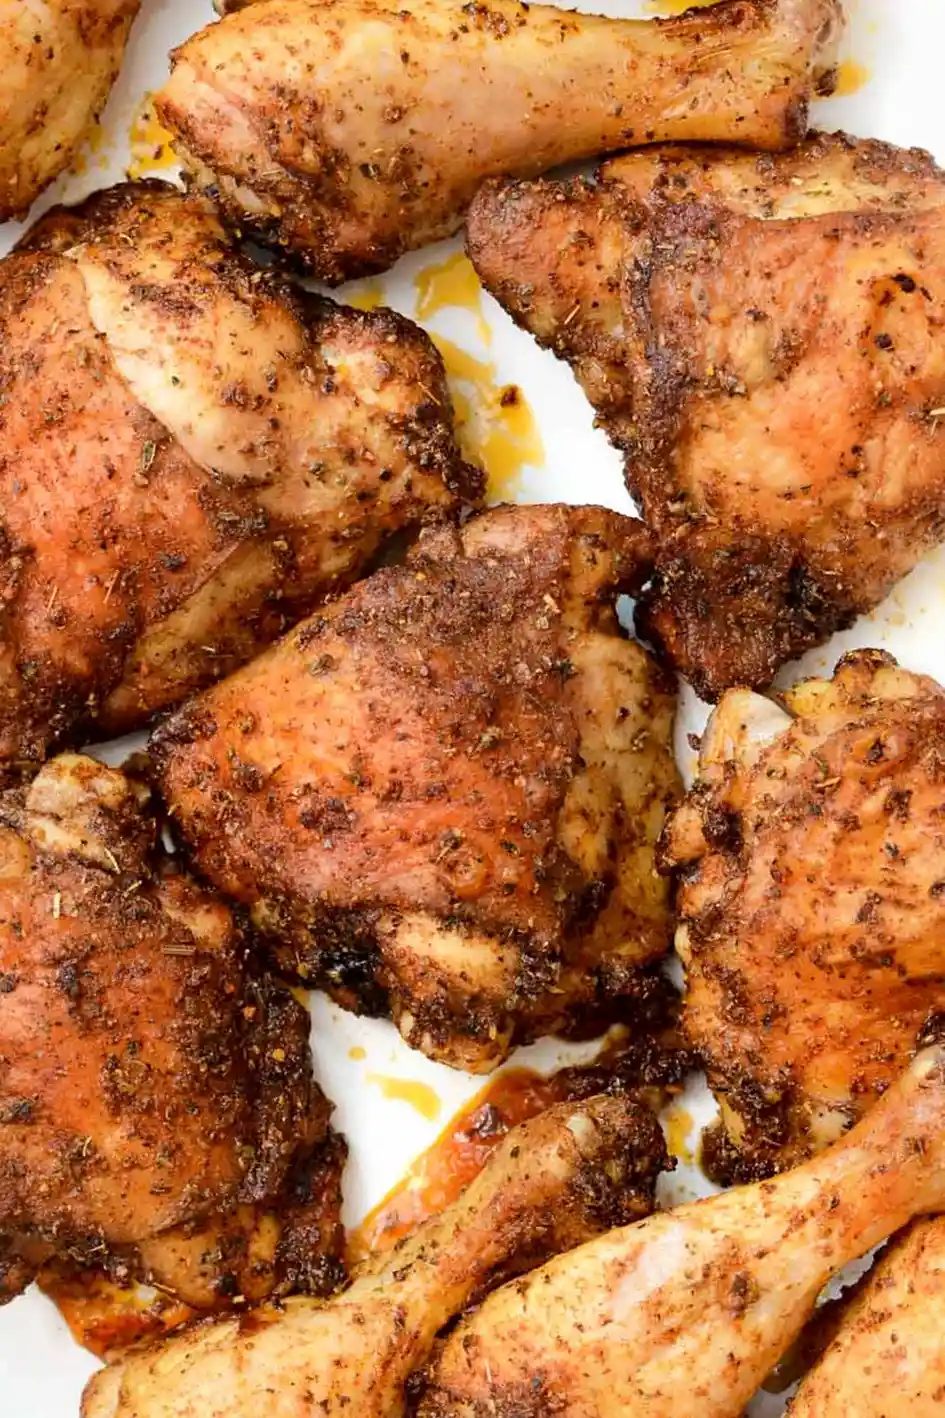
List of ingredients
- 1/4 cup olive oil – used for both the coating and pan lubrication.
- 4 teaspoons Italian seasoning – provides a classic herb profile.
- 1 tablespoon cornstarch – helps absorb moisture for extra crispiness.
- 2 teaspoons paprika – adds a rich golden-red color to the skin.
- 1 1/2 teaspoons garlic powder – adds a savory, concentrated garlic flavor.
- 3/4 teaspoon salt – enhances all the other seasonings.
- 1/2 teaspoon pepper – provides a mild, warm spice.
- 1/2 teaspoon baking powder – reacts with the skin to create tiny bubbles for a crunchier texture.
- 3-4 lbs chicken thighs and legs – use skin-on pieces for the best results.
step-by-step instructions
- Prepare the oven and pan: Set the oven rack to the middle position and preheat the oven to 400°F. Drizzle one tablespoon of olive oil onto a rimmed baking pan to prevent sticking.
- Create the seasoning mix: In a large mixing bowl, combine the olive oil, Italian seasoning, cornstarch, paprika, garlic powder, salt, pepper, and baking powder.
- Prepare the chicken: Use paper towels to pat the chicken thighs and legs completely dry on all sides. Place the dried chicken pieces into the seasoning mixture.
- Coat the meat: Use your hands to toss the chicken in the bowl, ensuring every inch of the skin and meat is thoroughly covered in the oil and spice blend.
- Bake the chicken: Arrange the chicken pieces on the prepared baking pan with the skin side facing up. Bake for 40 minutes.
- Verify doneness: Use a meat thermometer to ensure the internal temperature has reached 165°F, or pierce the thickest part of the thigh to ensure the juices run clear.
- Rest the meat: Remove the pan from the oven and let the chicken rest for 10 minutes before serving. Do not cut into the meat during this time to ensure the juices stay locked inside.
Professional Techniques for Maximum Crispiness
Patting Skin Dry for Better Texture
Moisture is the enemy of crispiness. When the skin is damp, the heat of the oven creates steam, which boils the skin rather than frying it in the oil. Use heavy-duty paper towels to remove all surface moisture before applying the seasoning.
The Science of Baking Powder
Baking powder increases the pH level of the chicken skin, which breaks down the proteins and allows the skin to brown more efficiently. It also creates tiny carbon dioxide bubbles on the surface. These micro-bubbles increase the surface area, resulting in a thinner, crunchier crust.
Avoiding Pan Overcrowding
Ensure there is at least an inch of space between each piece of chicken on the baking pan. If the pieces are touching, they will trap steam between them, leading to soggy sides. Proper spacing allows hot air to circulate around the entire piece of meat.
Using a Rimmed Baking Sheet
A rimmed baking sheet is essential to contain the rendered chicken fat. This prevents oil from dripping into the bottom of your oven, which could cause smoke or flare-ups. The rim also helps keep the chicken centered and secure during the roasting process.
Ingredient Alternatives and Substitutions
Selecting High Smoke Point Oils
While olive oil works well, you can substitute it with avocado oil or grapeseed oil. These oils have higher smoke points, meaning they can withstand the 400°F heat without breaking down or tasting bitter. This is particularly useful if you decide to increase the oven temperature slightly.
Replacing Cornstarch for Different Diets
If you need an alternative to cornstarch, arrowroot powder or potato starch are excellent replacements. These starches function similarly by absorbing surface moisture and creating a crisp barrier. Ensure you use the same measurement to maintain the consistency of the coating.
Adjusting the Herb Profile
If Italian seasoning is unavailable, you can create your own blend using dried oregano, basil, and thyme. For a different flavor profile, substitute the Italian herbs with smoked paprika and cumin for a more earthy, southwestern taste. Keep the cornstarch and baking powder constant for the texture.
Using Different Chicken Cuts
While thighs and legs are preferred for their juiciness, you can use drumsticks alone or skin-on breasts. Note that chicken breasts cook faster than thighs; check their internal temperature at 25-30 minutes to avoid overcooking. Always keep the skin on to utilize the crisping agents.
Flavor Variation Ideas
Lemon Garlic Infusion
For a brighter flavor, add one teaspoon of lemon zest to the dry seasoning mix. After the chicken has rested, drizzle a small amount of fresh lemon juice over the skin. The acidity cuts through the richness of the chicken fat perfectly.
Spicy Cajun Style
Swap the Italian seasoning for a Cajun spice blend containing cayenne pepper and onion powder. Increase the paprika amount by one teaspoon to enhance the deep red color. This variation pairs exceptionally well with steamed corn or collard greens.
Honey Glazed Finish
To add a touch of sweetness, whisk together honey and a splash of apple cider vinegar. Brush this glaze onto the chicken during the final 5 minutes of baking. Be careful not to apply it too early, as the sugar in the honey can burn at 400°F.
Herbes de Provence Twist
Replace the Italian seasoning with Herbes de Provence for a more floral, French-inspired aroma. This blend often includes lavender and rosemary, which complement the richness of the dark meat. Serve this version with a side of roasted carrots.
Serving and Pairing Suggestions
Roasted Root Vegetables
Since the oven is already preheated, roast carrots, parsnips, or Brussels sprouts on a separate tray. Toss them in the same olive oil and salt mixture used for the chicken. Roast them for 20-30 minutes for a cohesive, one-oven meal.
Fresh Green Salads
Balance the richness of the crispy skin with a crisp garden salad. Use a light vinaigrette made from lemon juice and olive oil to cleanse the palate. Mixed greens, cucumber, and radish provide a refreshing contrast to the savory chicken.
Grain-Based Side Dishes
Serve the chicken over a bed of fluffy quinoa or wild rice. The grains will soak up the flavorful juices that release from the chicken during the resting phase. This makes the meal more filling and adds a nutty texture to the plate.
Creamy Dipping Sauces
Create a garlic aioli or a honey-mustard dip to serve on the side. Mix mayonnaise, minced garlic, and a squeeze of lemon for the aioli. These sauces add a creamy element that complements the crunchy exterior of the chicken.
Storage and Reheating Guide
Refrigeration Period
Store leftover chicken in an airtight container in the refrigerator for up to four days. Allow the chicken to cool completely before sealing the container to prevent excess moisture from building up. This helps maintain the quality of the meat.
Freezing Leftovers
Cooked chicken thighs and legs can be frozen for up to three months. Wrap each piece individually in foil and place them in a heavy-duty freezer bag. Ensure all air is removed from the bag to prevent freezer burn on the skin.
The Best Reheating Method
To restore the crispiness, avoid the microwave, which makes the skin rubbery. Instead, place the chicken back in the oven at 350°F for about 10-15 minutes. This allows the fat to render again and the skin to crisp up.
Avoiding Sogginess during Reheating
Place the chicken on a wire rack set over a baking sheet when reheating. This allows air to circulate under the meat, preventing the bottom from becoming soggy. This method ensures both the top and bottom remain firm.
Preparation and Make-Ahead Advice
Optimizing Marinating Time
While this recipe is designed for immediate baking, you can coat the chicken and let it sit in the fridge for 2-4 hours. This allows the salt and spices to penetrate deeper into the meat. If you do this, let the chicken sit at room temperature for 20 minutes before baking.
Pre-coating the Meat
You can prepare the seasoning mixture a day in advance and store it in a sealed jar. When ready to cook, simply toss the fresh chicken in the pre-made blend. This reduces the active prep time on busy weeknights.
Planning the Oven Schedule
Because this recipe requires a high temperature, plan your other side dishes accordingly. If you are making a cake or a lower-temperature roast, cook the chicken first. The residual heat in the oven can help warm other dishes while the chicken rests.
Troubleshooting Common Issues
Skin Not Crispy Enough
If the skin remains soft, it is likely due to excess moisture or overcrowding on the pan. Ensure the chicken is patted bone-dry and that pieces are not touching. You can also turn on the broiler for the last 2 minutes of cooking to add extra heat to the skin.
Meat Drying Out
Overcooking is the primary cause of dry chicken. Always use a meat thermometer to pull the chicken at exactly 165°F. Remember that the internal temperature will rise slightly during the 10-minute resting period.
Uneven Cooking
If some pieces are done while others are raw, ensure your chicken pieces are of similar size. If you have a mix of very large thighs and small legs, place the larger pieces in the center of the pan where the heat is most consistent.
Seasoning Burning
If the spices look burnt but the meat is raw, your oven may be running too hot. Check your oven calibration with a thermometer. Lowering the temperature to 375°F and increasing the cook time by 5-10 minutes can solve this.
Frequently Asked Questions
Can I use a wire rack in the pan?
Yes, using a wire rack is highly recommended for maximum crispiness. It lifts the chicken off the pan, allowing heat to reach the bottom of the meat. This eliminates the need to flip the chicken during the baking process.
What is the best thermometer for this recipe?
An instant-read digital probe thermometer is the best tool. It allows you to check the temperature of the thickest part of the thigh without letting too much heat escape the oven. It provides the most accurate reading for food safety.
Can I use frozen chicken for this recipe?
You must fully thaw frozen chicken before using this method. Frozen meat will release too much water as it thaws in the oven, which will steam the skin and prevent it from getting crispy. Thaw in the refrigerator overnight for the best results.
Do I need to peel the skin?
No, the skin must remain on the chicken for this recipe. The skin acts as a protective layer that keeps the meat juicy and provides the surface area for the cornstarch and baking powder to create the crust.
Print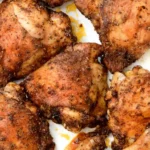
Crispy Oven-Roasted Chicken Thighs and Legs
- Total Time: 50 minutes
- Yield: 5 servings 1x
- Diet: Gluten Free
Description
These are the most juiciest and crispy baked chicken thighs and legs ever!
Ingredients
- ¼ cup olive oil
- 4 teaspoons Italian seasoning
- 1 tablespoon cornstarch
- 2 teaspoons paprika
- 1 ½ teaspoons garlic powder
- ¾ teaspoon salt
- ½ teaspoon pepper
- ½ teaspoon baking powder
- 3–4 lbs chicken thighs & legs
Instructions
- Step 1: Place the oven rack in the middle of the oven. Preheat the oven to 400°. Prepare a rimmed baking pan by drizzling a tablespoon of olive oil in the pan.
- Step 2: Mix the dry ingredients with olive oil in a large bowl. Take a paper towel and pat dry the chicken pieces, and place them in the oil mixture.
- Step 3: Use your hands and mix the thighs and legs into the oil mixture, making sure they are completely covered.
- Step 4: Place the thighs and legs onto the baking pan with the skin side up. Bake for 40 minutes. Use a meat thermometer to check the internal temperature that it’s 165° or make a cut into the thickest part of a thigh so that the juices run clear.
- Step 5: Let the chicken rest for 10 minutes before serving, and don’t cut any other pieces. This will help keep the juices in the chicken.
Notes
Keep these gluten-free by using only gluten-free spices.
- Prep Time: 10 minutes
- Cook Time: 40 minutes
- Category: Main Course
- Method: Oven
- Cuisine: American
Nutrition
- Serving Size: 1 serving
- Calories: 480 kcal
- Sugar: 1 g
- Sodium: 720 mg
- Fat: 32 g
- Saturated Fat: 8 g
- Unsaturated Fat: 24 g
- Trans Fat: 0 g
- Carbohydrates: 6 g
- Fiber: 1 g
- Protein: 38 g
- Cholesterol: 170 mg
Keywords: crispy baked chicken, chicken thighs, chicken legs, gluten-free chicken