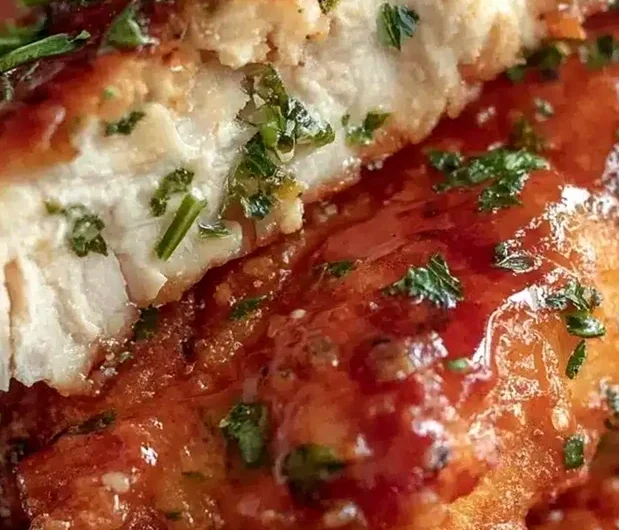
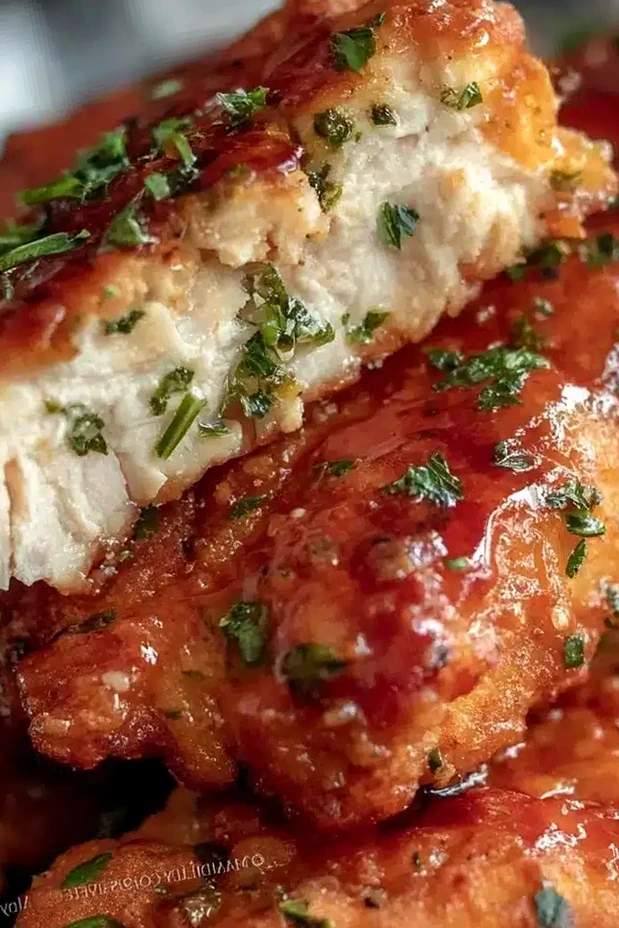
Transform simple pantry staples into a crispy, crowd-pleasing dinner with this effortless oven-baked chicken recipe. By using panko and freshly grated Parmesan, you achieve a golden, crunchy exterior that rivals deep-fried versions while keeping the chicken inside incredibly moist. This five-ingredient method is perfectly designed for busy weeknights when you need a nutritious, high-protein meal without hours of preparation or complex cleanup.
List of ingredients
- 1.5 pounds chicken tenders or thinly sliced chicken breasts
- 2 teaspoons Italian seasoning (dried basil, oregano, thyme, rosemary blend)
- ½ cup grated Parmesan cheese
- 1 cup panko breadcrumbs
- 2 large eggs
- Salt and pepper to taste
step-by-step instructions
- Step: Preheat oven to 425°F (220°C). Beat the two eggs with a pinch of salt and pepper in one shallow bowl.
- Step: In a second shallow bowl, combine panko breadcrumbs, grated Parmesan, Italian seasoning, salt, and pepper. Mix well.
- Step: Season chicken tenders lightly with salt and pepper.
- Step: Dip each tender into the egg mixture, letting excess drip off, then press firmly into breadcrumb mixture to coat all sides. For extra crunch, double-dip by repeating egg and breadcrumb steps.
- Step: Line a baking sheet with parchment paper or silicone mat. If available, place a wire rack on the sheet and arrange tenders on top without touching. Otherwise, lay tenders directly on the lined sheet.
- Step: Bake for 15-20 minutes, flipping halfway through, until golden and internal temperature reaches 165°F (74°C).
- Step: Optional: Broil for last 1-2 minutes for extra crispness, watching carefully to avoid burning.
- Step: Serve immediately with favorite dipping sauces such as marinara, ranch, or garlic aioli.
Refining your technique for best results
Ensuring the coating stays attached
The most common issue with baked breaded chicken is the crust separating during the cooking process. To prevent this, always ensure the chicken surface is dry before dipping it into the eggs. Firmly pressing the panko into the meat ensures a strong physical bond that will not slide off under heat.
The importance of oven temperature and airflow
High heat is crucial for achieving a crispy texture without overcooking the delicate chicken tenderloin. By setting your oven to 425°F, you create a thermal shock that crisps the panko quickly. If your tenders are cooking unevenly, consider rotating your baking pan 180 degrees midway through the baking duration.
Selecting the right cheese for the crust
Freshly grated Parmesan is significantly superior to pre-shredded varieties, which often contain anti-caking agents that hinder melting and browning. Using a fine microplane grater allows the cheese to integrate evenly with the breadcrumbs, resulting in a cohesive and flavorful golden crust.
Customizing flavors and ingredients
Incorporating extra spices for a bolder kick
If you prefer a more vibrant flavor profile, add half a teaspoon of smoked paprika or crushed red pepper flakes to the breadcrumb bowl. These additions introduce subtle warmth or color without requiring extra kitchen equipment or long prep times. A small amount of garlic powder can also enhance the existing savory notes in the Italian herb blend.
Creating a gluten-free breadcrumb alternative
You can easily substitute the traditional panko with gluten-free panko-style breadcrumbs. These are widely available and perform nearly identically to wheat-based versions in the oven. Ensure your choice of Parmesan is clearly labeled gluten-free if you are strictly avoiding wheat proteins in your kitchen.
Enhancing the coating with fresh herbs
While dried Italian seasoning is the backbone of this recipe, folding in a tablespoon of finely chopped fresh parsley or chives into the panko mixture just before breading can provide a burst of fresh flavor. This simple addition upgrades the presentation and brightness of the finished dish for special family meals.
Storage and reheating management
Maintaining crispness for second-day lunches
Reheating breaded chicken in a microwave often results in a soggy, unappealing texture. For optimal results, use a toaster oven or a traditional oven set to 350°F until the chicken is hot and the crust regains its crunch. A light spritz of oil or a small pat of butter on the surface can help restore the original texture of the breading.
Freezing prepared chicken tenders
You can freeze the breaded but uncooked chicken tenders on a baking sheet before transferring them to a heavy-duty freezer bag. When you are ready to cook, simply arrange them on a sheet and bake for an extra 5 to 7 minutes from frozen. This makes them a perfect candidate for convenient, quick-thaw, and bake weeknight dinners.
Solving common kitchen challenges
Why is the breading getting soggy?
Sogginess usually occurs when the chicken is crowded too closely together on the baking sheet, preventing proper steam release. Use a larger pan or cook in two batches if necessary to ensure every piece has ample space. Additionally, avoid stacking the cooked tenders on a plate immediately after removing them from the oven.
Adjusting the cook time for larger tenders
Chicken tenders vary in thickness; if yours are particularly thick or uneven, you can use a meat mallet to gently pound them to a uniform thickness before breading. This practice not only ensures even cooking across the tray but also significantly shortens the time required in the oven. Always rely on a digital thermometer to verify doneness rather than simply guessing by color.
Managing breadcrumb excess during coating
When you have a large batch to prepare, the breadcrumb mixture can become clumped with egg wash. To minimize this, use a dedicated “dry hand” and “wet hand” method throughout the dipping process. This prevents you from breading your own fingers and keeps the panko mix light and loose until the final piece is coated.
Should I use an air fryer?
The air fryer is an excellent alternative for this recipe if you want to save time. Simply arrange the tenders in a single layer in your air fryer basket and cook at 400°F for approximately 10 to 12 minutes. Because the air fryer uses high-velocity hot air, it often produces an even crispier result than a traditional oven in a shorter window.
Print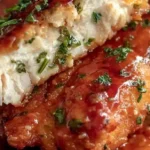
Easy Italian-Style Baked Chicken Tenders
- Total Time: 35 minutes
- Yield: 4 servings 1x
- Diet: High Protein
Description
A quick and easy oven-baked Italian chicken tenders recipe with a crispy coating, juicy inside, and packed with classic Italian seasoning. Perfect for busy weeknights with just five simple ingredients.
Ingredients
- 1.5 pounds chicken tenders or thinly sliced chicken breasts
- 2 teaspoons Italian seasoning (dried basil, oregano, thyme, rosemary blend)
- ½ cup grated Parmesan cheese
- 1 cup panko breadcrumbs
- 2 large eggs
- Salt and pepper to taste
Instructions
- Step: Preheat oven to 425°F (220°C). Beat the two eggs with a pinch of salt and pepper in one shallow bowl.
- Step: In a second shallow bowl, combine panko breadcrumbs, grated Parmesan, Italian seasoning, salt, and pepper. Mix well.
- Step: Season chicken tenders lightly with salt and pepper.
- Step: Dip each tender into the egg mixture, letting excess drip off, then press firmly into breadcrumb mixture to coat all sides. For extra crunch, double-dip by repeating egg and breadcrumb steps.
- Step: Line a baking sheet with parchment paper or silicone mat. If available, place a wire rack on the sheet and arrange tenders on top without touching. Otherwise, lay tenders directly on the lined sheet.
- Step: Bake for 15-20 minutes, flipping halfway through, until golden and internal temperature reaches 165°F (74°C).
- Step: Optional: Broil for last 1-2 minutes for extra crispness, watching carefully to avoid burning.
- Step: Serve immediately with favorite dipping sauces such as marinara, ranch, or garlic aioli.
Notes
Use panko breadcrumbs for extra crunch and freshly grated Parmesan for best flavor. Pat chicken dry before coating to help the crust stick. Double-dip for a thicker crust. Use a wire rack to keep coating crispy. Avoid overcrowding the pan. Leftovers reheat best in a skillet or oven to maintain crispness. Can be made gluten-free by swapping panko and Parmesan accordingly. Air fryer method: 400°F (200°C) for 10-12 minutes, flipping halfway.
- Prep Time: 15 minutes
- Cook Time: 20 minutes
- Category: Main Course
- Method: Oven-baked
- Cuisine: Italian
Nutrition
- Serving Size: 1 serving
- Calories: 350 kcal
- Sugar: 1 g
- Sodium: 550 mg
- Fat: 15 g
- Saturated Fat: 6 g
- Unsaturated Fat: 8 g
- Trans Fat: 0 g
- Carbohydrates: 12 g
- Fiber: 1 g
- Protein: 38 g
- Cholesterol: 145 mg
Keywords: Italian chicken tenders, oven-baked chicken, crispy chicken tenders, easy dinner, 5-ingredient recipe, kid-friendly chicken, quick chicken recipe