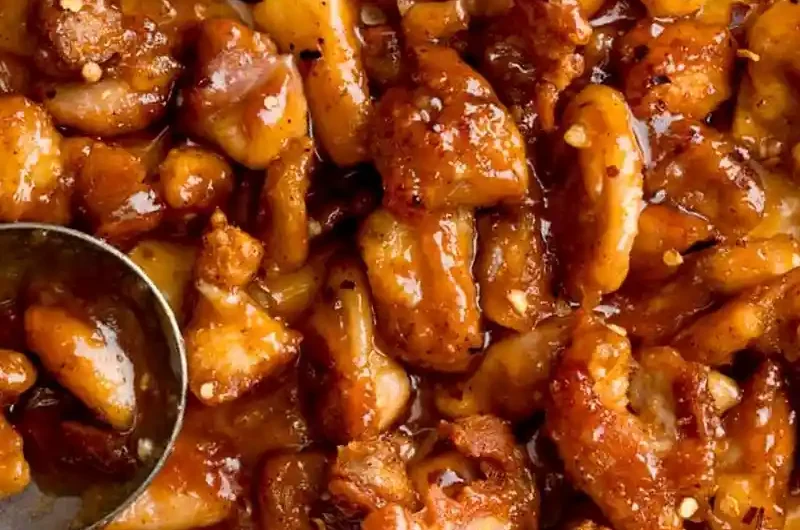
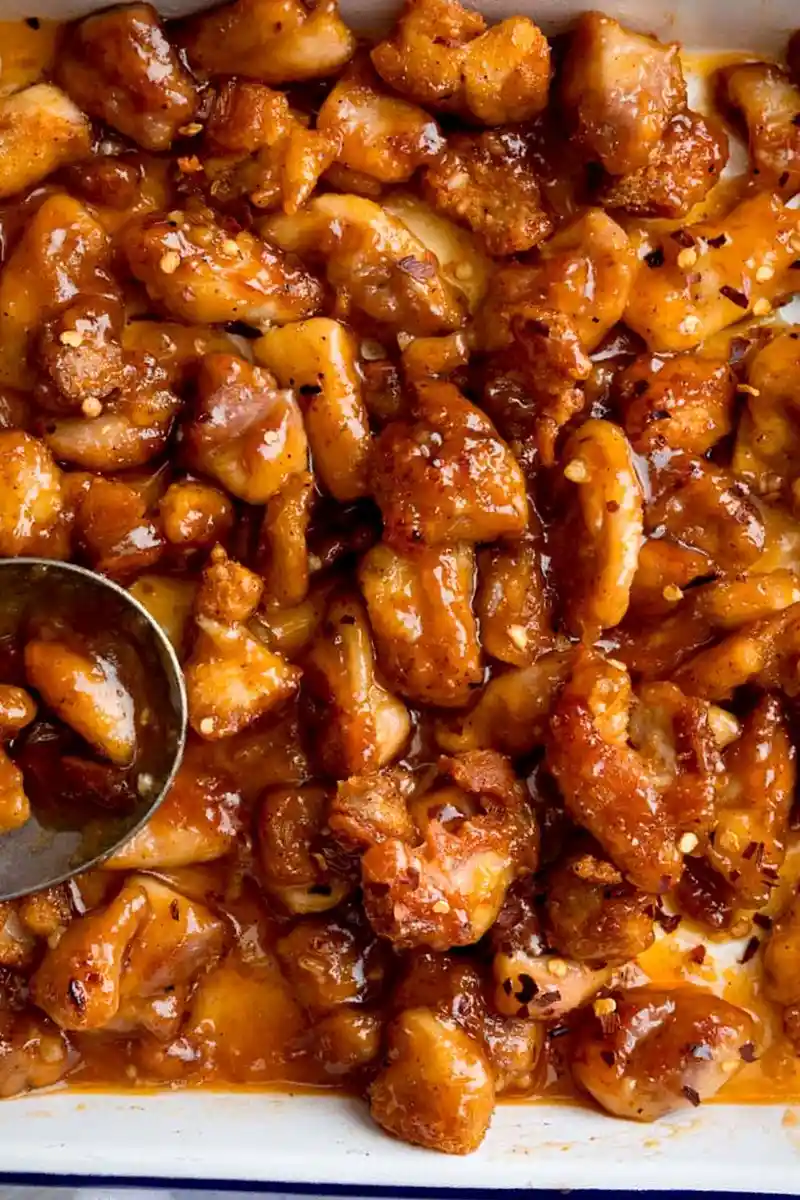
Enjoy the perfect combination of crispy, tender chicken thighs coated in a sweet and savory glaze. This oven-baked method delivers all the satisfaction of a takeout dish without the mess of deep frying, making it an excellent choice for busy weeknight dinners. The simple, high-heat approach ensures that the chicken stays juicy while developing a golden, flavorful exterior.
List of ingredients
- 8 skinless chicken thigh fillets
- 3 tbsp cornflour
- 1/4 tsp salt
- 1/4 tsp pepper
- 1/2 tsp garlic powder
- 1/2 tsp paprika
- 2 tbsp oil
- 1 tbsp rice vinegar
- 1 tbsp light soy sauce
- 1 tsp cornflour
- 80 ml chicken stock
- 1 tbsp unsalted butter
- 4 cloves of garlic, minced
- 110 g honey
- Boiled rice or egg fried rice for serving
- Chopped spring onions for garnish
- Chilli flakes for garnish
step-by-step instructions
- Step: Preheat the oven to 190C/375F (fan).
- Step: Trim the excess fat from the chicken thigh fillets and cut into bite-sized chunks.
- Step: In a bowl, mix 3 tbsp cornflour, salt, pepper, garlic powder, and paprika.
- Step: Toss the chicken in the cornflour mixture until completely coated.
- Step: Drizzle the oil over the chicken and mix until well-coated and sticky.
- Step: Spread chicken in a single layer in a baking dish with sides at least 2.5cm/1″ high.
- Step: Bake near the top of the oven for 15 minutes.
- Step: Meanwhile, whisk rice vinegar, soy sauce, 1 tsp cornflour, stock, butter, minced garlic, and honey in a jug.
- Step: After 15 minutes, turn the chicken pieces.
- Step: Pour the sauce around the chicken in the tray.
- Step: Bake for a further 10-12 minutes until the sauce is bubbling.
- Step: Remove from the oven, stir to coat the chicken in the sauce, and serve with rice, spring onions, and chilli flakes.
Successful Cooking Strategies
Importance of High-Heat Baking
Using a high oven temperature is crucial for this recipe. It allows the surface of the chicken to crisp up quickly while the interior remains succulent. Avoid opening the oven door unnecessarily, as this causes heat loss and can lead to steamed rather than crispy chicken.
Ensuring Even Crispiness
Space is your best friend when roasting chicken bites. If you crowd the tray, the moisture released by the meat during the first 15 minutes will get trapped, leading to soggy results instead of that desired golden crunch. Use two trays if necessary to keep the pieces separated with plenty of airflow around them.
Achieving the Perfect Sauce Consistency
The cornflour in the sauce mixture acts as a stabilizer. If you find your sauce is not thick enough after the final 12 minutes of baking, simply stir it well while the tray is still hot from the oven. The residual heat from the baking tray will continue to thicken the honey-garlic glaze as you mix the chicken components together.
Substitutions and Adjustments
Alternative Vinegars for Balance
If you find yourself without rice vinegar, apple cider vinegar is the best replacement. It offers a similarly mild acidity that cuts through the richness of the honey without being overly harsh. Avoid strong vinegars like distilled white vinegar in large quantities as they can overpower the delicate garlic notes.
Modifying the Spice Level
The current recipe uses a moderate amount of chilli flakes for a subtle kick. If your household prefers a milder profile, simply omit the chilli flakes or swap them for a small pinch of sweet paprika. For those who enjoy extra heat, you can add a drop of chili oil into the sauce mixture before the final baking stage.
Alternative Proteins and Vegetable Add-ins
While chicken thighs are recommended for their ability to remain juicy, you can use chicken breast if you prefer a leaner option, though you should slightly reduce the total cooking time by 2-3 minutes to prevent it from becoming dry. You can also toss in some broccoli florets or bell pepper strips during the final 10 minutes of cooking for a balanced meal.
Serving and Presentation Ideas
Complementary Side Dishes
This dish is incredibly versatile and pairs beautifully with various carbohydrates. Beyond standard boiled rice, consider serving this over coconut rice or steamed noodles. For a lower-carb alternative, serve the chicken inside crisp lettuce cups, which adds a refreshing crunch that contrasts perfectly with the sticky, warm sauce.
Creating a Complete Takeout Experience
To turn this simple chicken dish into a full banquet, serve it alongside fresh steamed bok choy or a quick stir-fry of snap peas. The honey-garlic flavor profile is classic and pairs well with many traditional Asian vegetable sides. Using fresh aromatics like ginger or sesame seeds as a garnish can also elevate the presentation to restaurant quality.
FAQs
How can I make this in an air fryer?
You can achieve excellent results in an air fryer by cooking at 190C/375F for approximately 15-18 minutes. Shake the basket frequently to ensure even browning and crispness. Heat the sauce separately on the stovetop until thickened and pour it over the cooked chicken right before serving.
Is it possible to prepare the components ahead of time?
While the chicken itself is best served fresh from the oven to maintain its texture, the sauce is perfectly suitable for advance preparation. Whisk your sauce ingredients together, store them in a sealed container in the refrigerator, and simply pour it over the chicken when you are ready for the final cooking step.
How should I handle leftovers?
Leftovers should be stored in an airtight container in the refrigerator for up to two days. Note that the crispy coating will soften once stored. To regain some texture, reheat in a hot oven or air fryer rather than the microwave, though the sauce may caramelize further during this process.
Troubleshooting Common Issues
Addressing Excess Moisture
If the chicken appears too liquid at the 15-minute mark, check that you have trimmed all excess fat from the thighs before starting. Chicken fat renders during the baking process and can pool on the tray; if you see a lot of fat, you can carefully drain it before adding the sauce to ensure the final dish isn’t greasy.
Managing Salt Levels
The saltiness of this dish is primarily driven by the soy sauce and chicken stock. Always check the label on your chicken stock, as some versions are significantly saltier than others. If you are using a standard salted stock, consider reducing the extra salt in the coating mixture to ensure the balance remains perfect.
Fixing Over-Caramelization
Honey is high in natural sugars, which means it can darken quickly if the oven temperature is too high. If you notice the sauce darkening too rapidly during the final 10-12 minutes, simply move your baking tray to a lower rack in the oven. This lowers the direct heat exposure while still allowing the sauce to thicken properly.
Print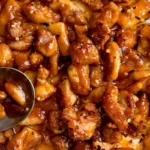
Baked Honey Garlic Chicken Thighs
- Total Time: PT30M
- Yield: 4 servings 1x
- Diet: Non-Vegetarian
Description
Crispy chicken thigh pieces baked in the oven with a sticky honey, soy, and garlic sauce. So simple and quick to prepare! Serve these crispy chicken bites up with rice, noodles or in lettuce cups and drizzle with that gorgeous honey garlic sauce!
Ingredients
- 8 skinless chicken thigh fillets
- 3 tbsp cornflour
- 1/4 tsp salt
- 1/4 tsp pepper
- 1/2 tsp garlic powder
- 1/2 tsp paprika
- 2 tbsp oil
- 1 tbsp rice vinegar
- 1 tbsp light soy sauce
- 1 tsp cornflour
- 80 ml chicken stock
- 1 tbsp unsalted butter
- 4 cloves of garlic, minced
- 110 g honey
- Boiled rice or egg fried rice for serving
- Chopped spring onions for garnish
- Chilli flakes for garnish
Instructions
- Step: Preheat the oven to 190C/375F (fan).
- Step: Trim the excess fat from the chicken thigh fillets and cut into bite-sized chunks.
- Step: In a bowl, mix 3 tbsp cornflour, salt, pepper, garlic powder, and paprika.
- Step: Toss the chicken in the cornflour mixture until completely coated.
- Step: Drizzle the oil over the chicken and mix until well-coated and sticky.
- Step: Spread chicken in a single layer in a baking dish with sides at least 2.5cm/1″ high.
- Step: Bake near the top of the oven for 15 minutes.
- Step: Meanwhile, whisk rice vinegar, soy sauce, 1 tsp cornflour, stock, butter, minced garlic, and honey in a jug.
- Step: After 15 minutes, turn the chicken pieces.
- Step: Pour the sauce around the chicken in the tray.
- Step: Bake for a further 10-12 minutes until the sauce is bubbling.
- Step: Remove from the oven, stir to coat the chicken in the sauce, and serve with rice, spring onions, and chilli flakes.
Notes
You can cook the chicken in an air fryer at 190C/375F for 15-18 minutes, shaking occasionally. The sauce can be heated separately in a saucepan or microwave and poured over the cooked chicken. Making the chicken ahead is not recommended, but the sauce can be prepared a day in advance.
- Prep Time: PT10M
- Cook Time: PT20M
- Category: Dinner
- Method: Baking
- Cuisine: Asian
Nutrition
- Serving Size: 1 serving
- Calories: 415 kcal
- Sugar: 23 g
- Sodium: 1107 mg
- Fat: 17 g
- Saturated Fat: 4 g
- Unsaturated Fat: 12 g
- Trans Fat: 0.2 g
- Carbohydrates: 30 g
- Fiber: 0.3 g
- Protein: 35 g
- Cholesterol: 174 mg
Keywords: honey garlic chicken, oven baked chicken, crispy chicken, easy dinner, fakeaway