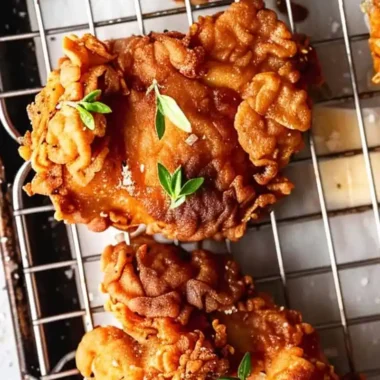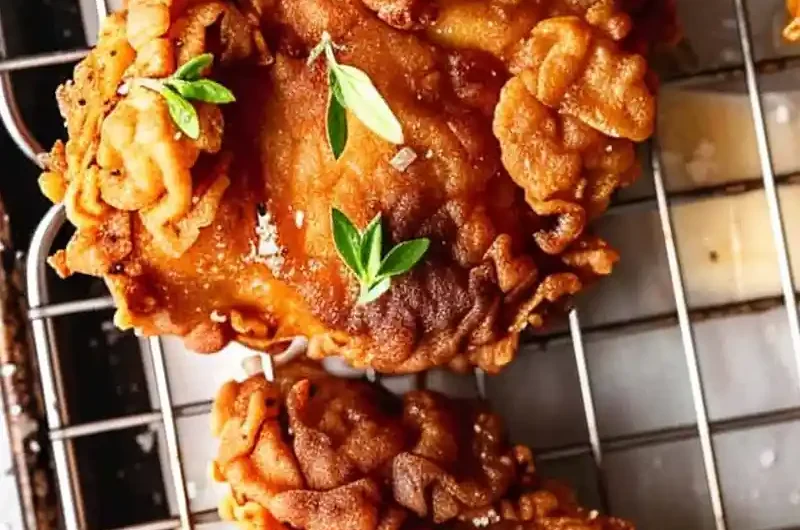
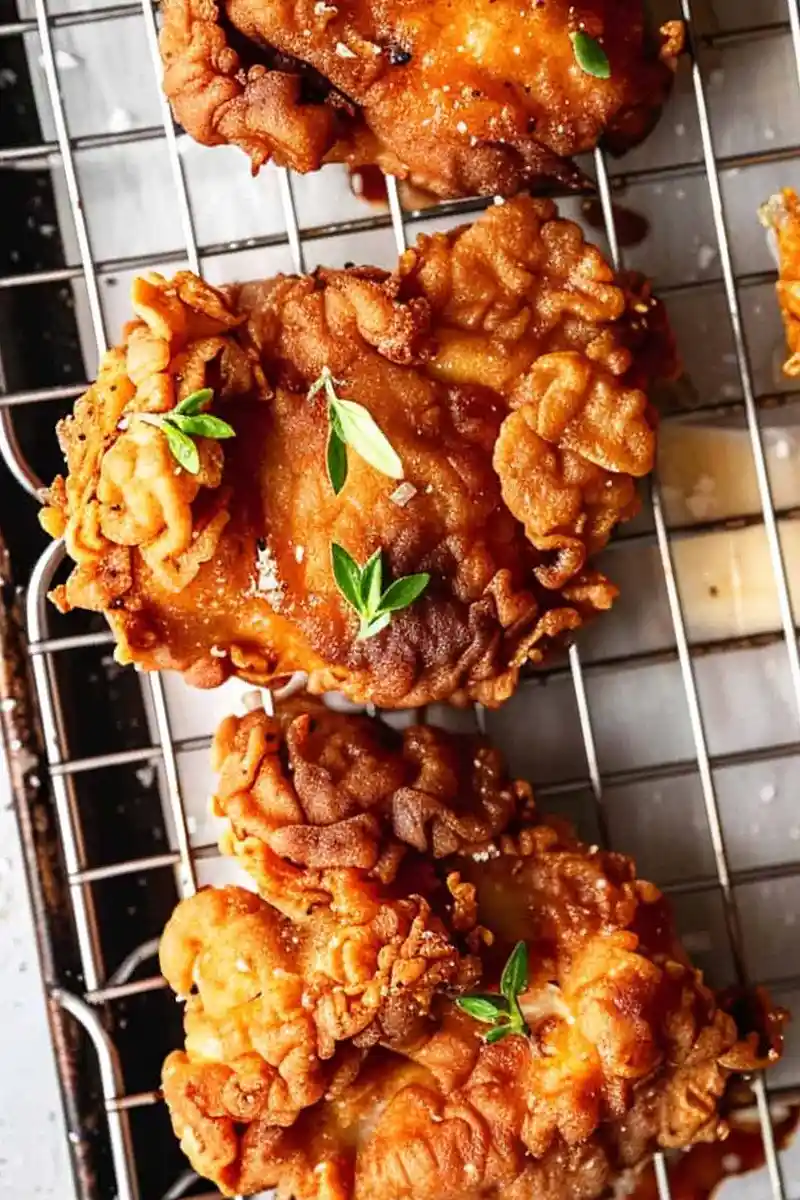
This crispy buttermilk chicken recipe delivers a perfectly tender interior protected by a savory, golden-brown crust. It is a reliable method for achieving restaurant-quality results at home using simple, everyday pantry staples. By marinating the meat in a rich buttermilk bath, the fibers soften and become exceptionally juicy during the frying process.
List of ingredients
- 500 ml buttermilk
- 600 g boneless chicken thighs
- 150 g plain flour
- 10 g garlic powder
- 10 g onion powder
- 10 g smoked paprika
- 5 g cayenne pepper
- 10 g salt
- 5 g black pepper
- 500 ml vegetable oil
step-by-step instructions
- Step: In a large bowl, pour the buttermilk and add the boneless chicken thighs, ensuring they are fully submerged. Cover and refrigerate for at least 4 hours or overnight.
- Step: In a shallow dish, combine the flour, garlic powder, onion powder, smoked paprika, cayenne pepper, salt, and black pepper. Mix well.
- Step: Remove the chicken from the buttermilk, allowing excess liquid to drip off. Dredge each piece of chicken in the seasoned flour mixture, pressing lightly to ensure the coating adheres well.
- Step: Pour the vegetable oil into a large frying pan or deep skillet, heating it over medium-high heat until it reaches about 180°C.
- Step: Carefully place the coated chicken pieces into the hot oil, making sure not to overcrowd the pan. Fry for 8-10 minutes on each side until golden brown and crispy, reaching an internal temperature of 75°C.
- Step: Remove the chicken from the oil and place it on a wire rack or paper towels to drain any excess oil before serving.
Keys to Professional Frying Results
Maintaining Consistent Oil Temperature
The success of this dish relies heavily on the heat of the oil. If the temperature drops below 180°C, the coating will absorb grease rather than frying, resulting in a heavy, soggy texture. Monitor the heat carefully and adjust your burner setting as needed throughout the cooking process.
Selecting the Right Cut of Meat
Boneless chicken thighs are superior for this recipe because they contain enough connective tissue to remain juicy even at higher frying temperatures. Using breast meat is possible but requires shorter cooking times to prevent it from drying out internally. Always trim excess visible fat from the edges of the thighs before marinating for a cleaner final bite.
Refining the Breading Technique
Double Dredging for Extra Crunch
If you prefer a much thicker and more substantial crust, you can perform a double dredge. After the first flour coating, quickly dip the chicken back into the buttermilk and then back into the seasoned flour. Note that this extra layer will require slightly longer cooking to ensure the thick crust is cooked through to the meat.
Resting the Coated Chicken
After dredging each piece in the flour, let the chicken sit on a wire rack for about ten minutes before frying. This allows the flour to hydrate slightly from the moisture on the surface of the chicken, which helps the coating stay bonded during the intense heat of the oil. It effectively creates a stronger barrier that prevents the crust from detaching.
Adjustments and Alternatives
Modifying the Spice Blend
The spice profile is highly customizable based on your personal preference. You can easily introduce dry herbs like oregano or thyme into the flour mixture to add an earthy note. For those who prefer more intensity, increasing the cayenne pepper or adding a pinch of chili flakes will raise the heat levels significantly without altering the texture.
Gluten-Free Flour Substitutions
You can substitute the plain flour with a high-quality gluten-free all-purpose flour blend without compromising the texture. These blends often contain rice flour or potato starch, which are excellent at creating a crisp surface. Ensure the blend you choose is intended for general cooking or frying to get the best results.
Handling and Storage Procedures
Managing Leftover Pieces
If you have leftover chicken, let it cool completely on a rack before moving it to an airtight container. Placing hot fried food directly into a container traps steam, which will soften the crust almost immediately. Store in the refrigerator for up to three days for the best quality.
Reviving the Original Texture
To bring the crunch back to refrigerated leftovers, avoid the microwave at all costs. Instead, arrange the pieces on a baking rack over a sheet pan and bake at 180°C for approximately twelve to fifteen minutes. The circulating heat will crisp the exterior while warming the interior without making the meat rubbery or tough.
Common Kitchen Queries
How can I make buttermilk if I am out of stock?
You can easily create a buttermilk substitute by adding one tablespoon of white vinegar or fresh lemon juice to a cup of standard milk. Allow this mixture to sit undisturbed at room temperature for ten minutes until it begins to thicken slightly and curdle. This provides the same acidity required to tenderize the chicken fibers effectively.
Is it safe to skip the thermometer check?
While visual cues like clear juices are helpful, a meat thermometer is the only way to ensure the chicken is cooked to a food-safe 75°C. Relying on time alone can be inaccurate depending on the thickness of the thigh pieces or the fluctuations in your stovetop heat. Using a probe thermometer guarantees safety while preventing the meat from overcooking and becoming stringy.
Can this recipe be prepared in an air fryer?
Yes, this recipe adapts well to air frying, which yields a slightly lighter version of the dish. After coating, spray the chicken pieces lightly with a thin mist of oil and arrange them in the basket without overlapping. Air fry at 180°C for twenty to twenty-five minutes, flipping halfway to ensure an even brown color on both sides.
Why does the coating slide off during frying?
If the coating is peeling away, it is usually because the chicken was too damp when it went into the flour or it was not pressed on firmly enough. Ensure you shake off excess buttermilk before breading, and use your hands to press the flour into every crevice of the meat. A brief rest after coating, as previously mentioned, also significantly improves adhesion.
Print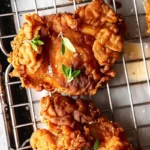
Crispy Buttermilk Chicken (Boneless)
- Total Time: 4 hours 35 minutes
- Yield: 4 servings 1x
- Diet: Non-Vegetarian
Description
This crispy buttermilk chicken is tender on the inside with a perfectly seasoned, crunchy exterior. It’s an easy and delicious dish that’s perfect for dinner any night of the week.
Ingredients
- 500 ml buttermilk
- 600 g boneless chicken thighs
- 150 g plain flour
- 10 g garlic powder
- 10 g onion powder
- 10 g smoked paprika
- 5 g cayenne pepper
- 10 g salt
- 5 g black pepper
- 500 ml vegetable oil
Instructions
- Step: In a large bowl, pour the buttermilk and add the boneless chicken thighs, ensuring they are fully submerged. Cover and refrigerate for at least 4 hours or overnight.
- Step: In a shallow dish, combine the flour, garlic powder, onion powder, smoked paprika, cayenne pepper, salt, and black pepper. Mix well.
- Step: Remove the chicken from the buttermilk, allowing excess liquid to drip off. Dredge each piece of chicken in the seasoned flour mixture, pressing lightly to ensure the coating adheres well.
- Step: Pour the vegetable oil into a large frying pan or deep skillet, heating it over medium-high heat until it reaches about 180°C.
- Step: Carefully place the coated chicken pieces into the hot oil, making sure not to overcrowd the pan. Fry for 8-10 minutes on each side until golden brown and crispy, reaching an internal temperature of 75°C.
- Step: Remove the chicken from the oil and place it on a wire rack or paper towels to drain any excess oil before serving.
Notes
Marinate the chicken for at least 4 hours for best results. Maintaining the oil temperature at 180°C is crucial for a crispy crust. Use a meat thermometer to ensure the chicken is cooked through.
- Prep Time: 15 minutes
- Cook Time: 20 minutes
- Category: Easy Dinner
- Method: Frying
- Cuisine: American/ British
Nutrition
- Serving Size: 1 piece
- Calories: 575 kcal
- Sugar: 7 g
- Sodium: 1224 mg
- Fat: 30 g
- Saturated Fat: 9 g
- Unsaturated Fat: 18 g
- Trans Fat: 0.1 g
- Carbohydrates: 42 g
- Fiber: 3 g
- Protein: 34 g
- Cholesterol: 161 mg
Keywords: crispy chicken, buttermilk chicken, boneless chicken thighs, easy dinner, fried chicken