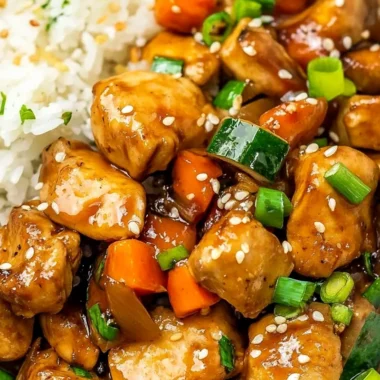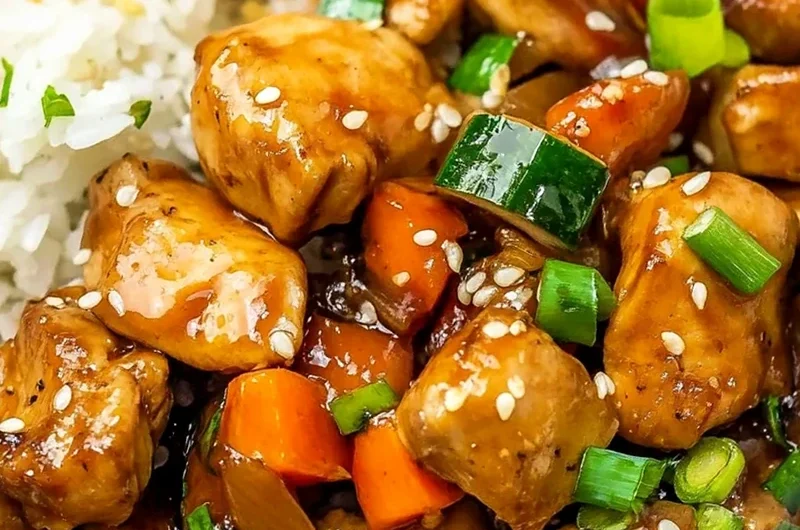
This recipe brings the bold and savory flavors of a Japanese grill right into your home using a pressure cooker. It is a fast, efficient way to prepare tender chicken for a healthy weeknight meal. Enjoy a professional taste with minimal cleanup.
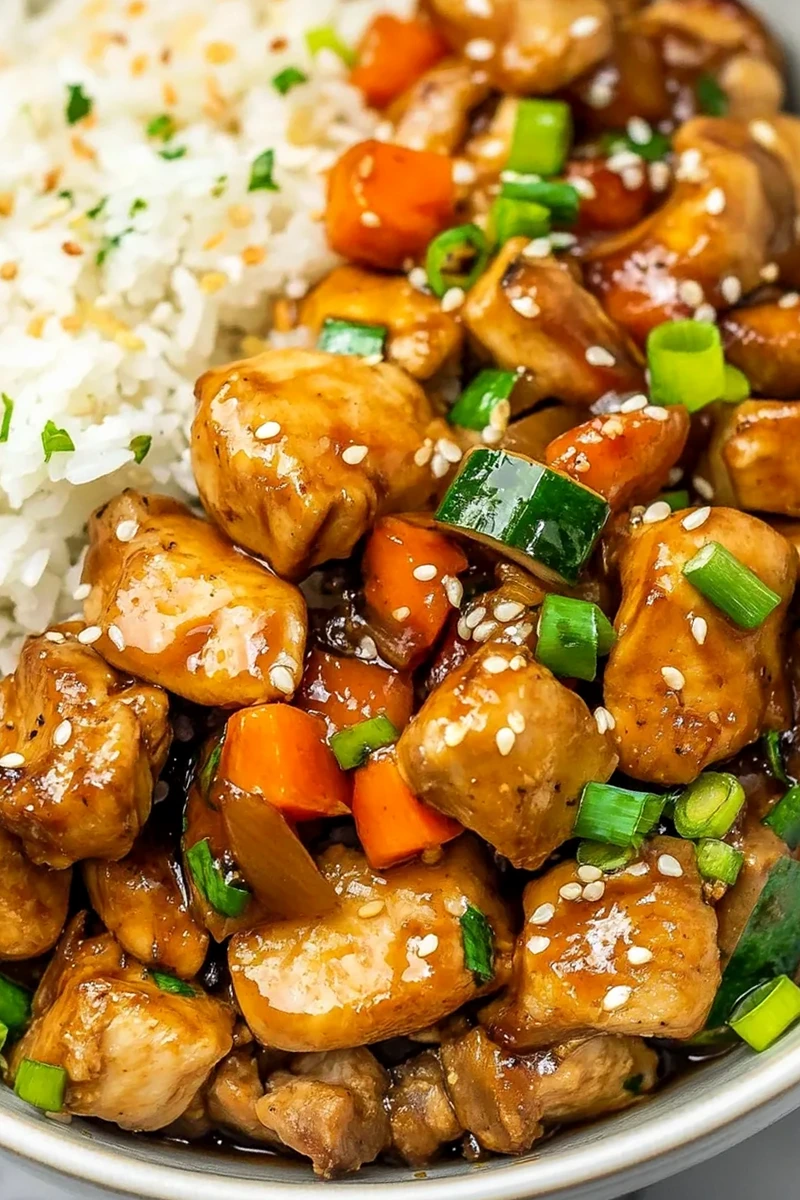
List of ingredients
- Boneless, skinless chicken breasts or thighs – cut into bite-sized pieces
- 1/4 cup low-sodium soy sauce – provides the primary savory base
- 1/4 cup water – balances the saltiness of the soy sauce
- 2 tablespoons apple cider vinegar – adds a necessary tangy brightness
- 1 tablespoon fresh ginger, grated – adds aromatic warmth
- 2 cloves garlic, minced – provides a deep pungent flavor
- 1 tablespoon granulated sugar, honey, or maple syrup – balances the acidity
- 1/4 teaspoon ground white pepper or black pepper – adds a subtle heat
step-by-step instructions
- Prepare the Chicken: Cut your boneless, skinless chicken breasts or thighs into small, uniform bite-sized pieces to ensure they cook evenly.
- Mix the Sauce: In a medium mixing bowl, whisk together the low-sodium soy sauce, water, apple cider vinegar, grated ginger, minced garlic, sugar (or honey/maple syrup), and pepper until well combined.
- Sauté the Chicken: Set the Instant Pot to the ‘Sauté’ function. Once the pot is hot, add a splash of oil and sauté the chicken pieces for 3-4 minutes until lightly browned.
- Add the Sauce: Pour the prepared sauce mixture directly over the browned chicken in the pot and stir to coat every piece thoroughly.
- Pressure Cook: Lock the lid and set the Instant Pot to high pressure for 8 minutes. Allow the pressure to release naturally for 5 minutes, then perform a quick release for the remaining steam.
- Serve: Open the lid carefully and stir the chicken gently. Serve immediately over steamed rice, with sautéed vegetables, or inside fresh lettuce wraps.
Professional Cooking Tips
Avoiding the Burn Notice
To prevent the Instant Pot from triggering a burn warning, ensure you sauté the chicken properly and stir in the sauce well. If your pot is prone to burning, you can add a small amount of extra water or thin the sauce slightly. Always make sure there are no burnt bits stuck to the bottom from the sauté step before pressure cooking.
Achieving a Golden Brown Sear
Do not overcrowd the pot during the sauté phase, as this causes the chicken to steam rather than brown. Cook the meat in batches if necessary to maintain a high temperature in the pot. This searing process creates a deeper flavor profile known as the Maillard reaction, which is essential for that hibachi taste.
Selecting the Best Chicken Cut
While chicken breasts are lean and healthy, chicken thighs are more forgiving in a pressure cooker. Thighs contain more fat, which keeps the meat juicy even if you slightly overcook it. Use breasts for a lighter meal or thighs for a richer, more tender texture.
Ingredient Substitutions
Using Tamari for Gluten-Free Needs
If you require a gluten-free version of this dish, replace the low-sodium soy sauce with tamari or coconut aminos. Tamari offers a similar salty, fermented taste without the wheat found in traditional soy sauce. Coconut aminos provide a slightly sweeter alternative that works well with the ginger and garlic.
Experimenting with Natural Sweeteners
While granulated sugar is standard, honey or maple syrup adds a different depth of flavor. Honey provides a floral sweetness and helps the sauce glaze the chicken more effectively. Maple syrup offers a rich, earthy sweetness that complements the tangy apple cider vinegar.
Choosing the Right Vinegar
Apple cider vinegar is a great all-purpose choice for this recipe due to its balanced acidity. You can also use rice vinegar for a more authentic East Asian flavor profile, which is generally milder. Avoid using distilled white vinegar as it may be too harsh for the delicate ginger notes.
Adding Flavor Variations
Integrating Fresh Vegetables
You can turn this into a one-pot meal by adding vegetables during the sauté process. Zucchini, sliced carrots, and mushrooms are classic hibachi pairings that hold up well. For softer vegetables like broccoli, consider steaming them separately or adding them during the final sauté to avoid mushiness.
Increasing the Spice Level
For those who prefer a kick, add a teaspoon of red pepper flakes to the sauce mixture. Alternatively, you can stir in a tablespoon of sriracha or gochujang for a more complex, spicy heat. A dash of cayenne pepper also works well to provide a clean, sharp spice.
Adding Nutty Notes with Sesame Oil
Stirring in a teaspoon of toasted sesame oil at the very end of the cooking process adds a professional finish. Sesame oil has a strong flavor that can become bitter if cooked under high pressure for too long. Adding it as a finishing touch preserves its aromatic quality and nutty taste.
Ideal Serving Suggestions
Preparing Steamed Jasmine Rice
Jasmine rice is the perfect accompaniment because its floral aroma complements the savory hibachi sauce. Cook the rice in a separate pot or a rice cooker to ensure a fluffy texture. Serve the chicken and sauce directly over a bed of hot rice to allow the grains to absorb the flavors.
Making Hibachi-Style Sautéed Veggies
Sauté sliced onions, zucchini, and mushrooms in a pan with butter and a pinch of salt. This mimics the traditional Japanese steakhouse experience perfectly. The buttery vegetables provide a rich contrast to the tangy and salty chicken sauce.
Using Low-Carb Lettuce Wraps
For a lighter, low-carb option, serve the hibachi chicken in large butter lettuce or romaine leaves. The crispness and coolness of the lettuce balance the warm, savory chicken. Top with shredded carrots or sliced scallions for added crunch and color.
Storage and Preservation
Safe Refrigeration Practices
Store any leftover chicken in an airtight glass or plastic container in the refrigerator. This dish stays fresh and flavorful for up to 3 days when properly sealed. Ensure the chicken has cooled slightly before closing the lid to prevent excess condensation from making the meat soggy.
Optimal Reheating Methods
The best way to reheat the chicken is in a skillet over medium heat with a splash of water or broth. This restores the sauce’s consistency and prevents the chicken from drying out. If using a microwave, heat in short intervals and stir in between to ensure even warming.
Freezing Instructions for Meal Prep
This chicken freezes well for up to two months if stored in freezer-safe bags. Squeeze out as much air as possible to prevent freezer burn. Thaw the chicken in the refrigerator overnight before reheating it on the stovetop for the best quality.
Planning and Meal Prep
Marinating for Enhanced Flavor
If you have extra time, marinate the chicken pieces in the sauce for one to two hours before cooking. This allows the ginger, garlic, and soy sauce to penetrate deeper into the meat. Keep the chicken refrigerated during this process for food safety.
Efficient Batch Cooking
This recipe is excellent for weekly meal prep because the flavors often improve after a day in the fridge. Divide the chicken and rice into individual portion containers for easy grab-and-go lunches. Pair each container with a side of steamed broccoli or snap peas.
Preparing the Sauce in Advance
You can whisk the sauce ingredients together several days before you plan to cook. Store the sauce in a sealed jar in the refrigerator to keep the ginger and garlic fresh. This reduces the active prep time on the day of cooking to just cutting the meat.
Troubleshooting Common Issues
Fixing a Thin Sauce
If the sauce is too liquid after pressure cooking, you can thicken it using a cornstarch slurry. Mix one tablespoon of cornstarch with one tablespoon of cold water and stir it into the pot. Turn on the sauté function for 2-3 minutes until the sauce becomes glossy and thick.
Correcting Overcooked Chicken
If the chicken seems dry, it may have been cooked too long or the pieces were too small. To fix this, stir in a tablespoon of extra sauce or a small knob of butter. In the future, ensure you use the natural release time to avoid shocking the meat.
Balancing Excessive Saltiness
If the sauce tastes too salty, you can balance it by adding a teaspoon of honey or a squeeze of fresh lime juice. Adding a few more tablespoons of water can also dilute the salt concentration. Always taste the sauce after the pressure cooking cycle as flavors concentrate.
Frequently Asked Questions
Can I use frozen chicken for this recipe?
Yes, you can use frozen chicken, but it is recommended to thaw it first for the best sear. If cooking from frozen, increase the pressure cooking time by 2-3 minutes and ensure the pieces are not clumped together. Check the internal temperature with a meat thermometer to ensure it is fully cooked.
Is this recipe gluten-free?
The original recipe is not gluten-free because of the soy sauce. To make it gluten-free, simply substitute the low-sodium soy sauce with tamari or coconut aminos. All other ingredients are naturally gluten-free.
How can I make this dish spicier?
To add heat, stir red pepper flakes or a dash of hot sauce into the sauce mixture before cooking. For a more intense flavor, you can add minced fresh jalapeños during the sauté step. Sriracha added at the end also provides a nice spicy glaze.
Can I make this dish in advance for meal prep?
Absolutely, this recipe is ideal for meal prep as the chicken remains tender. Store it in airtight containers with rice and vegetables for a complete meal. It reheats well and maintains its flavor profile over several days.
Print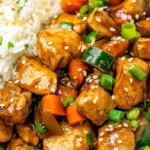
Easy Instant Pot Hibachi Chicken
- Total Time: 30 minutes
- Yield: 4 servings 1x
- Diet: General
Description
This Instant Pot Hibachi Chicken recipe is a quick and easy way to enjoy tender, flavorful chicken with that signature hibachi taste, all in a fraction of the time.
Ingredients
- 1.5 lbs boneless, skinless chicken breasts or thighs, cut into bite-sized pieces
- 1 tablespoon vegetable oil
- ¼ cup low-sodium soy sauce
- ¼ cup water
- 2 tablespoons apple cider vinegar
- 1 tablespoon fresh ginger, grated
- 2 cloves garlic, minced
- 1 tablespoon granulated sugar
- ¼ teaspoon ground white pepper
Instructions
- Step 1: Prepare the Chicken – Start by cutting boneless, skinless chicken breasts or thighs into bite-sized pieces.
- Step 2: Mix the Sauce – In a medium bowl, whisk together the low-sodium soy sauce, water, vinegar, grated ginger, minced garlic, sugar (or honey/maple syrup), and pepper.
- Step 3: Sauté the Chicken – Turn on your Instant Pot and select the ‘Sauté’ function. Once hot, add a splash of oil and the chicken pieces. Sauté for about 3-4 minutes, until the chicken is lightly browned.
- Step 4: Add the Sauce – Once the chicken is browned, pour the sauce mixture over the chicken in the pot. Stir to combine.
- Step 5: Pressure Cook – Secure the lid on your Instant Pot and set it to pressure cook on high for 8 minutes. After cooking, allow the pressure to release naturally for 5 minutes, then perform a quick release.
- Step 6: Serve – Carefully open the lid and give the chicken a gentle stir. Serve it over steamed rice, sautéed vegetables, or in lettuce wraps.
Notes
For extra flavor, marinate the chicken in the sauce for an hour before cooking. If you prefer a thicker sauce, mix a tablespoon of cornstarch with water and add it to the pot after cooking.
- Prep Time: 15 minutes
- Cook Time: 15 minutes
- Category: Main
- Method: Pressure Cooking
- Cuisine: Japanese
Nutrition
- Serving Size: 1 serving
- Calories: 350 kcal
- Sugar: 6 g
- Sodium: 920 mg
- Fat: 10 g
- Saturated Fat: 3 g
- Unsaturated Fat: 7 g
- Trans Fat: 0 g
- Carbohydrates: 12 g
- Fiber: 1 g
- Protein: 31 g
- Cholesterol: 85 mg
Keywords: Easy, Instant Pot, Hibachi Chicken