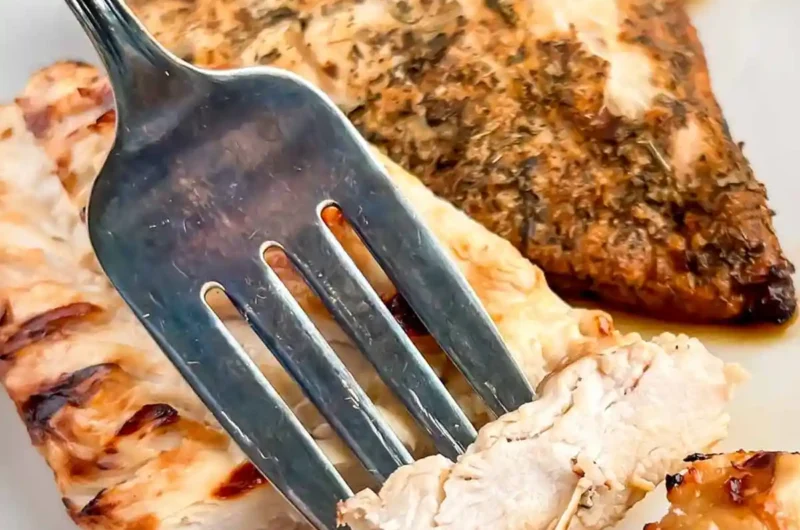
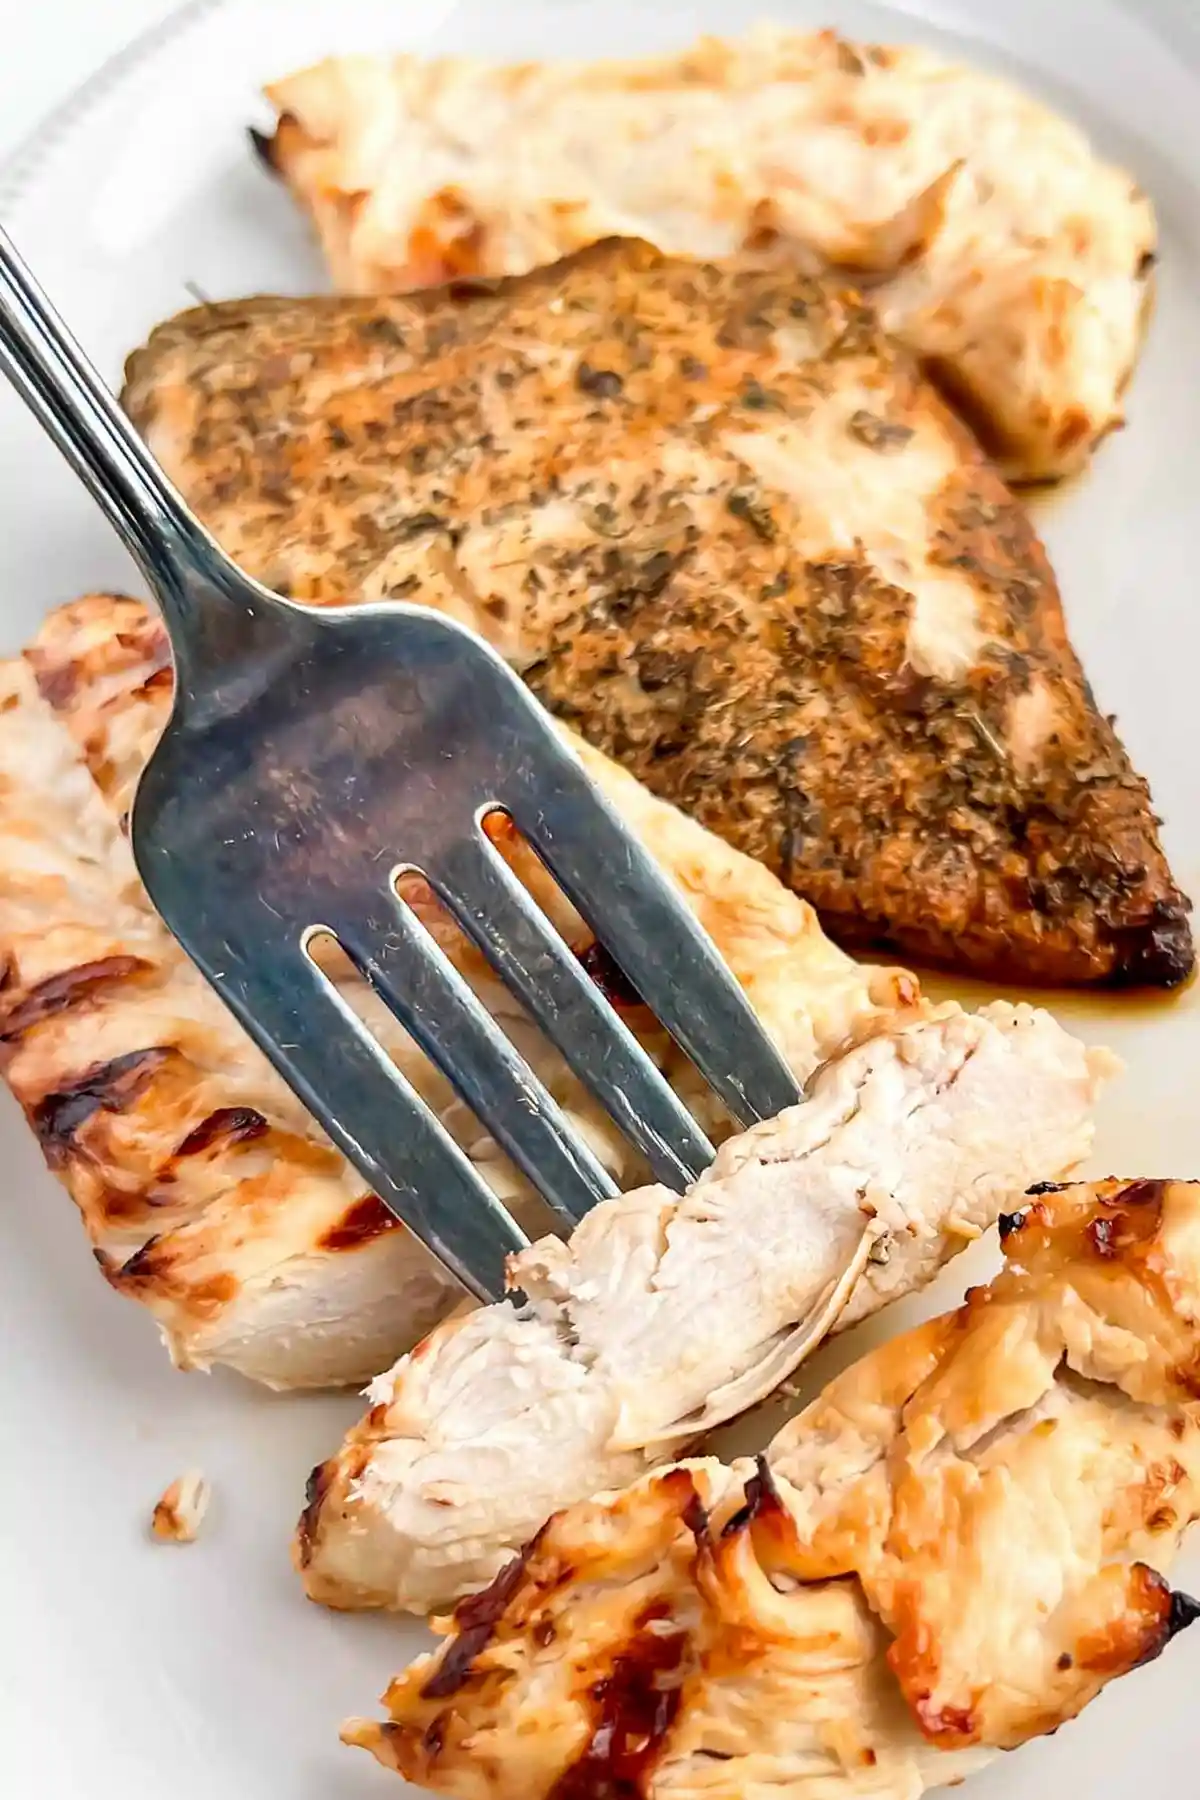
Achieve perfectly tender and juicy grilled chicken breasts using the Ninja Foodi Indoor Grill. This method combines a strategic tenderizing process with a zesty marinade to ensure consistent results every time.
List of ingredients
- 4 medium sized chicken breasts – trimmed of excess fat for lean cooking.
- 3 tablespoons lime juice – acts as a natural tenderizer and adds brightness.
- 1 tablespoon paprika – provides a rich color and mild smokiness.
- 1 tablespoon basil – adds an aromatic, herbal depth.
- 1/2 tablespoon garlic salt – ensures the meat is seasoned deeply.
- 1 teaspoon red pepper flakes – adds a subtle kick of heat.
- 1 cup Italian Dressing – used as an alternative quick marinade option.
step-by-step instructions
- Prepare the meat: Remove thawed chicken from the packaging and rinse under lukewarm water. Use kitchen scissors to trim away any excess fat or sinew from the breasts.
- Tenderize for evenness: Layer two large sheets of plastic wrap on your workspace, overlapping slightly. Place the chicken on the wrap, cover with two more sheets, and pound with a meat mallet until each breast is between 1/2 and 3/4 inch thick.
- Apply the marinade: For the seasoning method, place chicken in a plastic bag with lime juice, paprika, basil, garlic salt, and red pepper flakes. For the dressing method, use one cup of Italian dressing in a bag; toss to coat and marinate for 30 minutes up to overnight.
- Preheat the grill: Insert the grill pan into the Ninja Foodi, select the ‘grill’ setting, and press preheat. Set the temperature to 500°F to ensure a proper sear.
- Grill the chicken: Remove chicken from the marinade, shaking off excess liquid to avoid flare-ups. Place on the hot grill for 5 minutes, flip with tongs, and cook for another 3-5 minutes until the internal temperature reaches 160-165°F.
Essential Kitchen Tools for Precision
Digital Meat Thermometer for Internal Accuracy
Using a digital thermometer is the only way to guarantee chicken is safe without overcooking it. Aim for an internal temperature of 160-165°F in the thickest part of the breast. This prevents the meat from becoming dry or rubbery.
Meat Mallet for Uniform Thickness
A meat mallet ensures that the thinner end and the thicker end of the breast cook at the same rate. By pounding the meat to a consistent thickness, you avoid the common problem of the edges drying out while the center remains raw. Use the flat side of the mallet to avoid tearing the meat fibers.
Heavy Duty Kitchen Scissors for Trimming
Kitchen shears are more efficient than knives for removing excess fat and connective tissue. They allow for precise cuts along the edges of the chicken breast without damaging the meat. This ensures a cleaner look and a more consistent cook.
Optimizing the Tenderizing Process
Using Plastic Wrap to Maintain Cleanliness
Wrapping the chicken in plastic during the pounding process prevents raw meat juices from splattering across your countertop. It also creates a protective barrier that stops the meat from sticking to the mallet. This makes the cleanup process significantly faster and more hygienic.
Achieving a Consistent Half-Inch Thickness
Consistency is the key to professional-grade grilled chicken. When the breasts are pounded to a uniform 1/2 to 3/4 inch, the heat penetrates the center quickly. This reduces the overall cooking time and preserves the internal moisture.
Avoiding Meat Fiber Tearing
Always use the flat side of the tenderizer rather than the spiked side. Spiking the meat can create holes that allow juices to escape during the grilling process. Flat pounding compresses the fibers slightly, which helps the marinade penetrate more effectively.
Flavor Enhancement and Marinade Options
The Role of Lime Juice in Moisture Retention
Lime juice contains citric acid which helps break down tough protein fibers in the chicken breast. This chemical reaction makes the meat more tender and allows the other spices to soak in deeper. It also provides a bright, acidic contrast to the savory garlic salt.
Customizing the Spice Blend for Different Palates
While paprika and basil provide a classic profile, you can swap basil for oregano or thyme for a more Mediterranean feel. Increasing the red pepper flakes will add more heat for those who prefer a spicy kick. Always balance salt and acid to keep the flavor profile rounded.
Utilizing Italian Dressing for Quick Preparation
Italian dressing is a convenient shortcut because it already contains oil, vinegar, and herbs. The oil helps conduct heat on the grill, which leads to better browning and a juicier interior. This is an ideal option for busy weeknights when you lack time for a custom spice rub.
Advanced Grilling and Temperature Control
Managing High Heat for Better Searing
Setting the Ninja Foodi to 500°F creates a high-temperature environment that triggers the Maillard reaction. This process browns the surface of the meat, creating a savory crust and locking in juices. Ensure the grill is fully preheated before adding the meat to achieve these marks.
Determining Doneness via Internal Temperature
Depending on the size of the breast, cooking times can vary slightly. Instead of relying solely on a timer, always check the thickest part of the meat. Once it hits 160°F, it is safe to remove, as the temperature will rise slightly while resting.
Allowing Meat to Rest After Grilling
Letting the chicken rest for 5 minutes after removal from the grill allows the juices to redistribute. If you cut into the meat immediately, the juices will run out onto the plate, leaving the meat dry. Resting ensures every bite is moist and tender.
Storage and Long Term Preservation
Proper Refrigeration for Weekly Meal Prep
Store cooked chicken in an airtight container to prevent it from absorbing other odors in the fridge. It will remain fresh and safe to eat for 3 to 5 days. This makes it an excellent protein source for planned lunches throughout the week.
Vacuum Sealing and Freezing Techniques
For long term storage, freeze diced or whole breasts in freezer-safe bags with the air squeezed out. This prevents freezer burn and preserves the flavor for up to 3 months. Label each bag with the date of preparation for easy tracking.
Safe Thawing Methods for Frozen Chicken
Always thaw frozen chicken in the refrigerator overnight rather than on the counter. This keeps the meat out of the temperature danger zone where bacteria grow rapidly. For a faster thaw, place the sealed bag in a bowl of cold water, changing the water every 30 minutes.
Alternative Cooking Methods
Converting the Recipe for Oven Baking
If you do not have an indoor grill, you can bake the marinated breasts at 400°F on a sheet pan. Bake for 15 to 20 minutes, depending on the thickness of the meat. Use parchment paper on the pan to prevent sticking and make cleanup easier.
Using an Outdoor Gas or Charcoal Grill
This recipe translates well to an outdoor grill; simply preheat your grill to medium-high heat. Grill for approximately 5-7 minutes per side. Be mindful that charcoal grills can produce more flare-ups due to the oil in the marinade.
Air Frying the Marinated Breasts
The Ninja Foodi air fry function can also be used by setting the temperature to 375°F. Cook for 12-15 minutes, flipping halfway through. This method provides a similar sear to grilling but may require a slightly lower temperature to avoid burning the spices.
Serving and Pairing Suggestions
Low Carb Vegetable Pairings
Serve the grilled chicken with steamed asparagus, sautéed spinach, or a roasted cauliflower mash. These options keep the meal light while providing essential nutrients. A side of sautéed zucchini with lemon and garlic complements the lime marinade perfectly.
Incorporating Grilled Chicken into Wraps
Slice the breasts into thin strips and place them in a whole grain wrap with avocado, shredded carrots, and sprouts. Add a dollop of Greek yogurt or hummus for extra creaminess. This is a portable and filling option for lunch.
Using Sliced Chicken for Salads
Lay sliced chicken over a bed of mixed greens, cherry tomatoes, cucumbers, and feta cheese. A light vinaigrette or a lemon-tahini dressing works well here. The warmth of the freshly grilled chicken slightly wilts the greens, enhancing the flavor.
Common Cooking Challenges
Fixing Dry or Overcooked Chicken
If the chicken turns out dry, try reducing the cooking time by one minute next time. You can also serve overcooked chicken shredded in a sauce, such as a light cream or BBQ sauce, to add moisture back in. Always double check the thickness after pounding.
Preventing Marinade Burning on the Grill
Excess marinade can burn and create a bitter taste or excessive smoke. Gently shake off the excess liquid before placing the meat on the grill surface. This ensures the meat sears properly rather than steaming in the liquid.
Solving Uneven Cooking Issues
Uneven cooking usually happens when the chicken breasts are different sizes or thicknesses. Ensure you are using the mallet to flatten the thicker end of the breast. If using an outdoor grill, rotate the chicken to avoid hot spots on the grill grate.
Frequently Asked Questions
How can I tell if the chicken is fully cooked?
The most reliable method is using a meat thermometer to reach 160-165°F. Visually, the juices should run clear or opaque white when the meat is pierced. Any pinkness in the juices indicates that more cooking time is required.
Can I marinate the chicken for more than 24 hours?
It is not recommended to marinate chicken in an acidic base like lime juice for more than 24 hours. Over-marinating can cause the acid to break down the meat too much, resulting in a mushy texture. For longer durations, use a marinade with less acid and more oil.
Which cut of chicken works best for this method?
Boneless, skinless chicken breasts are the best choice for this specific grilling method. They provide a lean profile and respond well to pounding and marinating. If using thighs, adjust the cooking time as they typically require a slightly longer cook to reach safety.
Print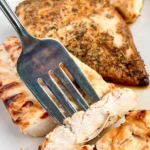
Juicy Ninja Foodi Grilled Chicken Breast
- Total Time: 13 minutes
- Yield: 4 servings 1x
- Diet: General
Description
The best Ninja Foodi Grilled Chicken Breast recipe for super juicy and extremely flavorful chicken. A simple marinade adds flavor and moisture while this prep/cook process keeps it tender!
Ingredients
- 4 medium sized chicken breasts
- 3 tablespoons lime juice
- 1 tablespoon paprika
- 1 tablespoon basil
- ½ tablespoon garlic salt
- 1 teaspoon red pepper flakes
Instructions
- Prep: Trim excess fat from thawed chicken breasts and pound them to a uniform thickness of 1/2 to 3/4 inch.
- Marinate: Place chicken in a plastic bag with lime juice and spices; marinate for at least 30 minutes or overnight.
- Preheat: Set the Ninja Foodi to the grill setting and preheat to 500°F.
- Grill: Place chicken on the grill, cook for 5 minutes, flip, and cook for another 3-5 minutes until the internal temperature reaches 160-165°F.
Notes
Store cooked chicken in an airtight container in the refrigerator for up to 3-5 days or freeze for up to 3 months.
- Prep Time: 5 minutes
- Cook Time: 8 minutes
- Category: Main Course
- Method: Grilling
- Cuisine: American
Nutrition
- Serving Size: 1 chicken breast
- Calories: 138 kcal
- Sugar: 1 g
- Sodium: 492 mg
- Fat: 3 g
- Saturated Fat: 1 g
- Unsaturated Fat: 2 g
- Trans Fat: 0 g
- Carbohydrates: 1 g
- Fiber: 1 g
- Protein: 25 g
- Cholesterol: 75 mg
Keywords: Ninja Foodi, grilled chicken breast, juicy chicken, meal prep