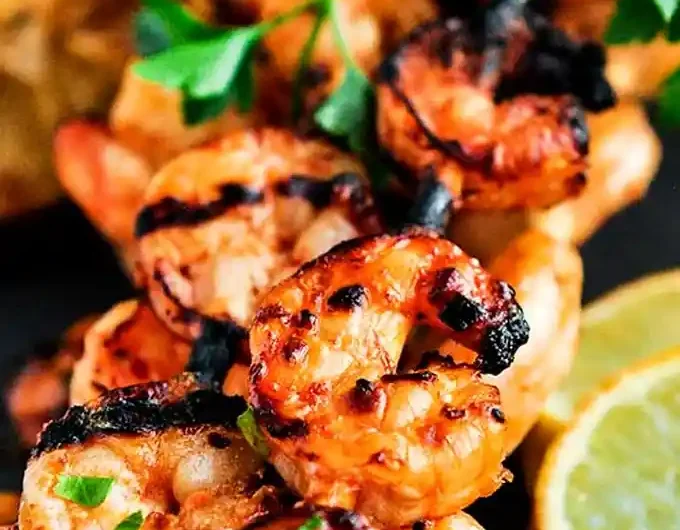
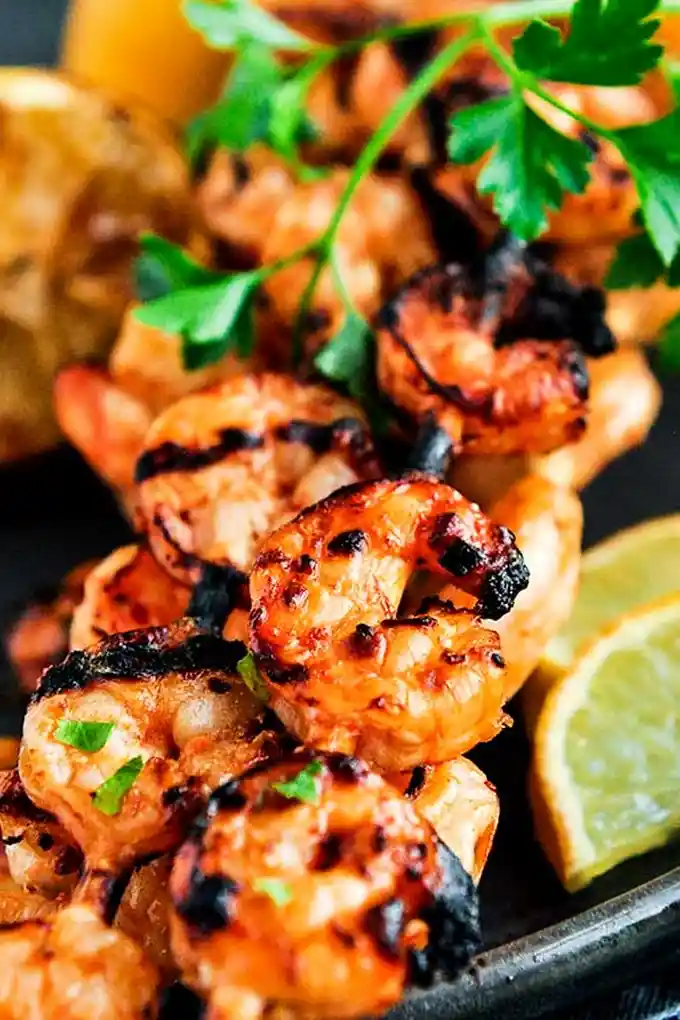
This vibrant grilled shrimp recipe features a bold marinade of chili, fresh lemon, and pungent garlic that elevates simple shellfish into a restaurant-quality meal. It is an ideal choice for quick outdoor dinners or festive summer gatherings where you want high-impact flavor without long hours in the kitchen. By balancing heat with acidity, this method ensures succulent results every time the grill is fired up.
List of ingredients
- 1 pound shrimp (peeled and deveined)
- 2 tablespoons olive oil
- 1/4 cup chili sauce
- 2 tablespoons lemon juice
- 2 tablespoons worcestershire sauce
- 4 garlic cloves (minced)
- 1/4 teaspoon ground red pepper
step-by-step instructions
- Step: Put 8-10 wooden skewers in water for 30 minutes. This will prevent the skewers from catching on fire. You can also use metal skewers.
- Step: Add the shrimp to a gallon size zip bag.
- Step: Combine together the olive oil, chili sauce, lemon juice, Worcestershire sauce, garlic, and ground red pepper. Set aside 1/4 cup of the marinade to baste the shrimp.
- Step: Pour the mixture into the zip lock bag over the shrimp. Put it in the refrigerator for 20 minutes.
- Step: Preheat the grill to medium-hight heat (350° to 400° F).
- Step: Using all of the wooden skewers, skewer the shrimp, discarding the marinade.
- Step: Grill the shrimp for 2 to 3 minutes on one side, baste, then flip over. Baste the other side, cook for 2 to 3 minutes.
Refining the Grilling Technique
Maintaining Proper Grill Heat
Consistent medium-high heat is essential for achieving a light char on the outside of the shrimp while keeping the interior juicy. If the fire is too cool, the shrimp will cook slowly and become rubbery before developing any color. Always preheat for at least 10 minutes to ensure your grill grates are hot enough to sear the surface immediately upon contact.
Preventing Shrimp from Sticking
Even with oil in the marinade, lean protein like shrimp can occasionally adhere to the grill grates. To mitigate this, lightly brush the preheated grill grates with a high-smoke-point oil using a paper towel held by long tongs. This simple preparation creates a non-stick surface that ensures your skewers lift off cleanly without tearing the delicate meat.
Customizing the Flavor Profile
Adjusting the Heat Intensity
The ground red pepper adds a direct heat that characterizes this dish, but it can be easily modified based on your preference. If you prefer a milder version, start by reducing the ground red pepper to 1/8 teaspoon or omitting it entirely. Conversely, for those who crave more intensity, you can add a pinch of smoked paprika or a teaspoon of hot sauce to the base mixture.
Enhancing the Garlic Notes
If you enjoy a very punchy garlic flavor, you can increase the count from four cloves to six. When using a chili garlic sauce, remember that the sauce itself already contains aromatics, so adjust your fresh garlic accordingly to avoid overwhelming the other subtle notes of the marinade. Crushing the garlic with the flat side of a knife before mincing releases more of the essential oils, which intensifies the flavor significantly.
Storage and Reheating Methods
Managing Leftover Grilled Shrimp
Shrimp is best consumed fresh, but leftovers can be kept for up to 48 hours when stored properly. Place the cooled skewers in an airtight glass container or a high-quality, resealable plastic bag to prevent them from drying out in the refrigerator. Keep them in the coldest part of your fridge to ensure the temperature stays consistent and the quality is maintained.
Gentle Reheating for Best Texture
Avoid the microwave when reheating shrimp, as it frequently leads to rubbery, tough meat due to uneven heat distribution. Instead, warm a skillet over medium-low heat with a tiny splash of water or a small pat of butter. Gently toss the shrimp for about 60 to 90 seconds just until they are heated through, which restores moisture without overcooking the protein.
Frequently Asked Questions
Should the tail remain on the shrimp?
The decision to keep the tail on is entirely based on your serving preference. Keeping the tails on often makes for a more attractive presentation and provides a convenient handle for eating, but removing them simplifies the process for those who prefer to eat with a fork and knife.
Is it possible to cook this indoors?
Yes, this recipe works exceptionally well on a stovetop grill pan or a heavy-duty cast-iron skillet. Simply follow the same cooking times and heat levels as you would for an outdoor barbecue, ensuring you have proper ventilation in your kitchen.
How do I know when the shrimp is perfectly cooked?
The shrimp are fully cooked when they turn from a translucent gray to an opaque pink color and the flesh feels firm to the touch. Visually, they will form a loose ‘C’ shape when perfectly done; if they curl into a tight ‘O’ shape, they have likely been on the heat a bit too long.
Can I swap the chili sauce for other condiments?
The chili sauce provides both a base thickness and specific flavor notes that define this dish, but you can experiment with alternatives. A high-quality sriracha combined with a touch of honey can mimic the texture, though you may need to reduce the amount of lemon juice to balance the acidity levels.
Is the marinating time flexible?
It is important to stick close to the 20-minute window for marinating because the acidity in the lemon juice acts as a curing agent. If left for hours, the acid will begin to break down the protein structure, which can result in a mushy texture that is less than ideal for grilling.
Essential Equipment and Prep
Using Cooling Racks as a Grilling Tool
If you find yourself without skewers, a heat-safe metal cooling rack with a tight grid pattern serves as an excellent surrogate. By placing the rack directly on the grill grates, you create a surface that supports individual shrimp and prevents them from falling into the fire, allowing for easy flipping and uniform cooking across the entire batch.
Cleaning Shrimp Efficiently
To prepare your own shrimp, start by removing the shell and carefully sliding a small paring knife along the back to expose the vein. Remove the dark vein by rinsing it under cold running water, which also cleans away any remaining grit. Purchasing already peeled and deveined shrimp significantly reduces the prep time, making this a perfect recipe for hectic weekday evenings when you want a nutritious meal with minimal effort.
Serving Ideas and Pairings
Complementing the Spicy Profile
This dish pairs beautifully with cooling sides that act as a counterbalance to the heat. Consider serving the skewers alongside a crisp cucumber salad dressed with yogurt or a simple grain bowl featuring fluffy quinoa and fresh cilantro. The contrast in temperatures and textures highlights the zesty marinade while ensuring every bite is balanced and satisfying.
Incorporating Fresh Herbs
Just before serving, garnish your grilled shrimp with a generous sprinkling of freshly chopped parsley or cilantro. The addition of fresh green herbs adds a burst of vibrant color to the plate and provides a clean, herbaceous flavor that cuts through the garlic and chili base of the marinade, elevating the final presentation of your meal.
Print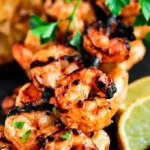
Zesty Grilled Spicy Shrimp
- Total Time: 41 minutes
- Yield: 4 servings 1x
- Diet: Pescatarian
Description
Spicy Grilled Shrimp is made with an amazing chili, lemon, and garlic marinade. This spicy grilled shrimp recipe is full of delicious flavors that will send your tastebuds soaring! This hot and spicy shrimp will be your new grilling fave.
Ingredients
- 1 pound shrimp (peeled and deveined)
- 2 tablespoons olive oil
- 1/4 cup chili sauce
- 2 tablespoons lemon juice
- 2 tablespoons worcestershire sauce
- 4 garlic cloves (minced)
- 1/4 teaspoon ground red pepper
Instructions
- Step: Put 8-10 wooden skewers in water for 30 minutes. This will prevent the skewers from catching on fire. You can also use metal skewers.
- Step: Add the shrimp to a gallon size zip bag.
- Step: Combine together the olive oil, chili sauce, lemon juice, Worcestershire sauce, garlic, and ground red pepper. Set aside 1/4 cup of the marinade to baste the shrimp.
- Step: Pour the mixture into the zip lock bag over the shrimp. Put it in the refrigerator for 20 minutes.
- Step: Preheat the grill to medium-hight heat (350° to 400° F).
- Step: Using all of the wooden skewers, skewer the shrimp, discarding the marinade.
- Step: Grill the shrimp for 2 to 3 minutes on one side, baste, then flip over. Baste the other side, cook for 2 to 3 minutes.
Notes
The ground red pepper really adds an extra kick of spice. If you like it less spicy, cut the amount in half or omit it completely. If you can’t find the chili sauce with garlic, add an extra clove or two of garlic. Barbecued shrimp will last in the refrigerator for 2 days in an airtight container.
- Prep Time: 15 minutes
- Cook Time: 6 minutes
- Category: Main Course
- Method: Grilling
- Cuisine: American
Nutrition
- Serving Size: 1 serving
- Calories: 206 kcal
- Sugar: 3 g
- Sodium: 1193 mg
- Fat: 9 g
- Saturated Fat: 1 g
- Unsaturated Fat: 6 g
- Trans Fat: 0 g
- Carbohydrates: 7 g
- Fiber: 1 g
- Protein: 24 g
- Cholesterol: 286 mg
Keywords: spicy grilled shrimp, shrimp, grilled shrimp, seafood, main course