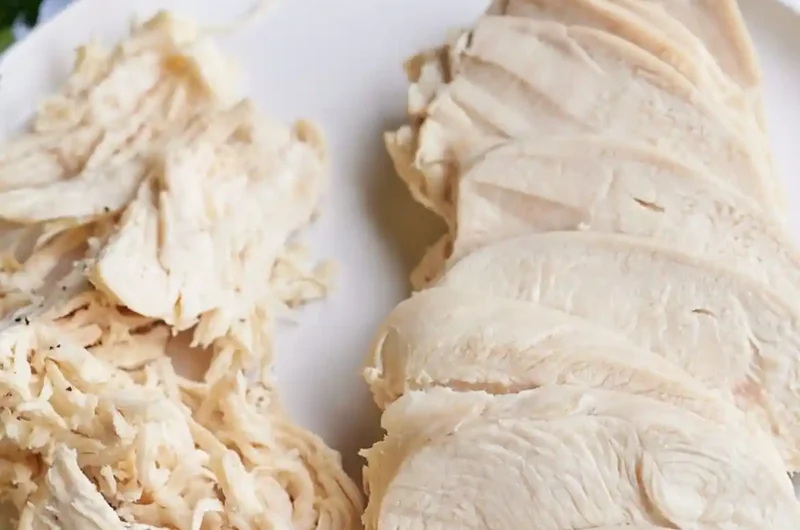
Learn how to prepare perfectly boiled chicken breasts for your meal prep needs. This simple method ensures the meat stays tender and versatile for a variety of dishes.
List of ingredients
- 4 chicken breasts (12 oz each) – use boneless or bone-in depending on preference.
- 4 cups chicken broth or water – ensure there is enough liquid to cover the chicken by 1 to 2 inches.
- Additional seasonings (optional) – such as fresh herbs, lemon slices, or a splash of vinegar for added flavor.
step-by-step instructions
- Combine and Heat: Place the chicken breasts, chicken broth or water, and any optional seasonings in a large heavy-bottomed pot over medium-high heat and bring the liquid to a boil.
- Simmer: As soon as the liquid reaches a boil, reduce the heat to medium-low and cover the pot with a tight-fitting lid. Simmer boneless breasts for 10-12 minutes, or bone-in breasts for 15-18 minutes, until fully cooked.
- Verify Temperature: Remove a chicken breast from the pot using tongs and insert a quick-read thermometer into the thickest part; the chicken is done when it reaches an internal temperature of 165 degrees Fahrenheit.
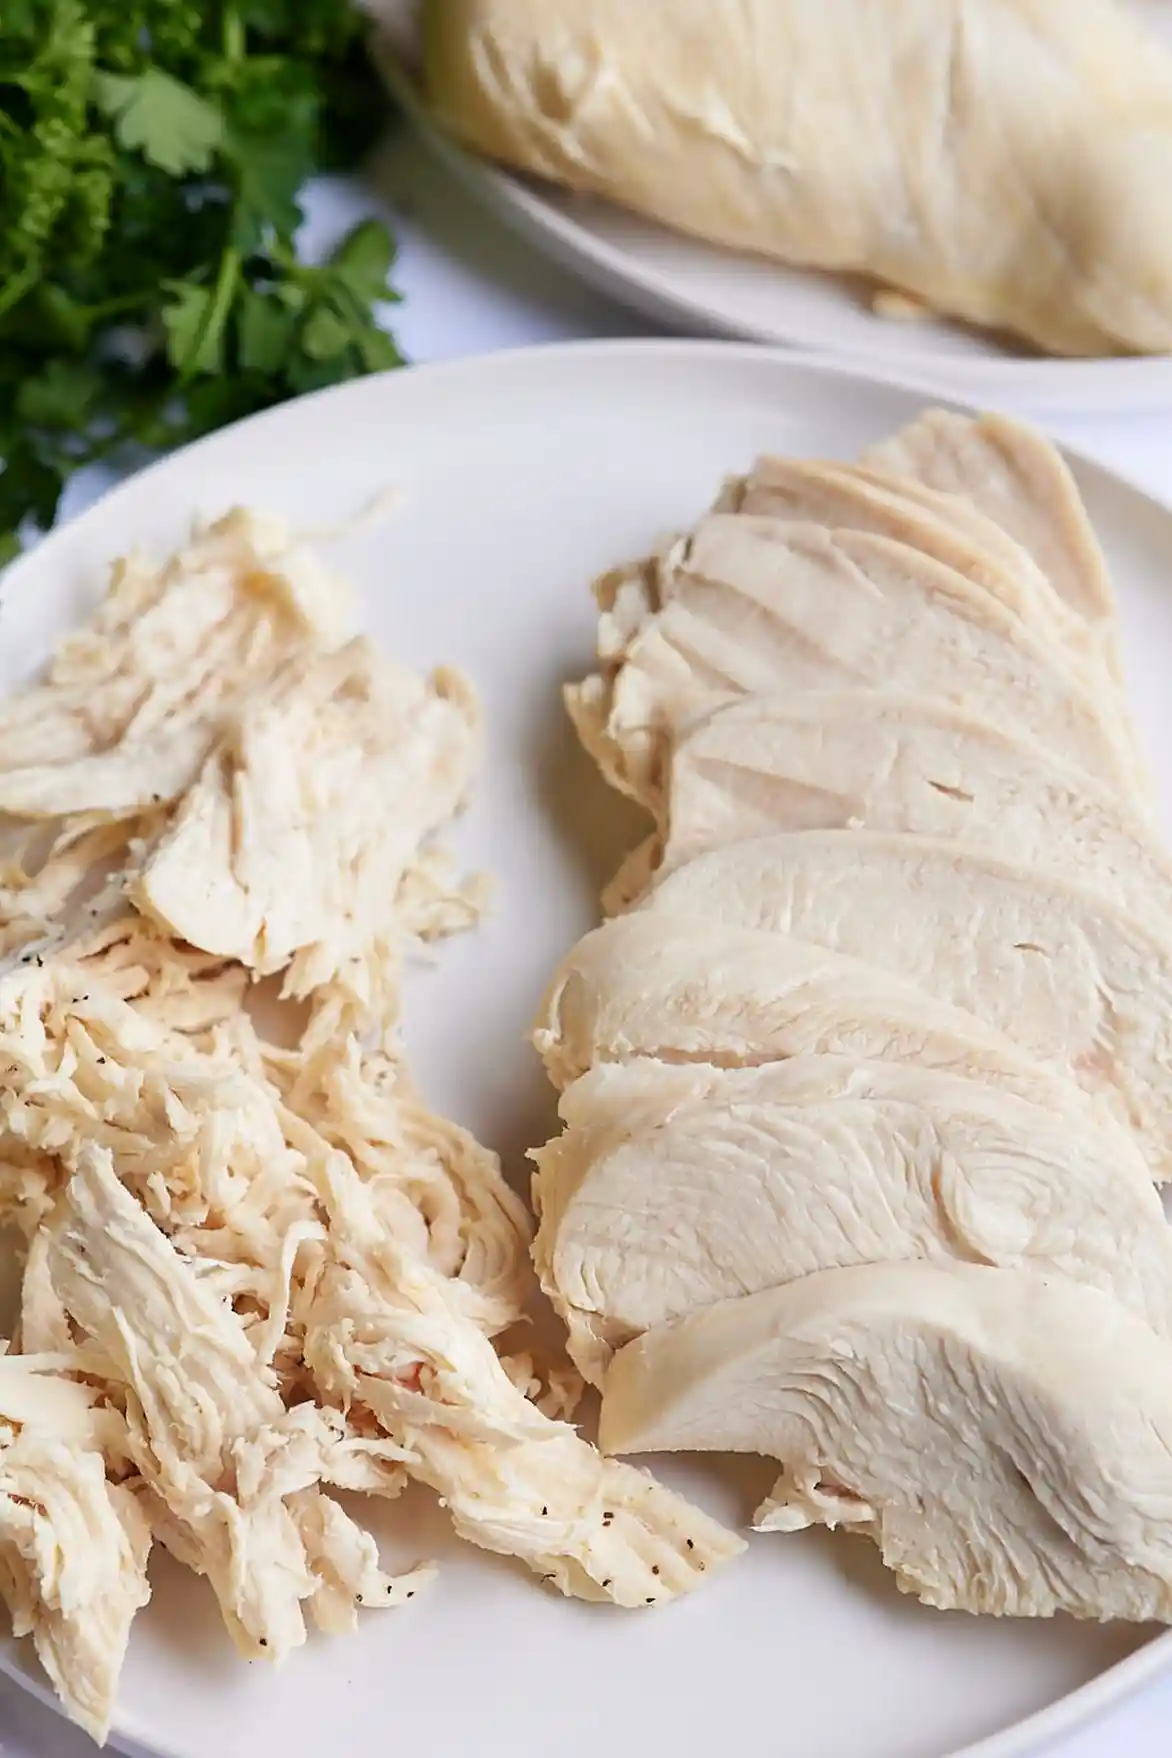
- Rest and Prepare: Remove the chicken from the stove and let it cool on a cutting board for about 10 minutes before slicing, dicing, or shredding.
Optimal Cooking Equipment
Using a Heavy-Bottomed Pot for Heat Distribution
A heavy-bottomed pot, such as a Dutch oven or a high-quality stainless steel stockpot, prevents hot spots on the bottom of the pan. This ensures that the chicken cooks evenly and does not scorch or overcook on the bottom before the center reaches the safe temperature.
Digital Thermometers for Precise Internal Temp
Using a digital quick-read thermometer is the only way to guarantee the chicken is safe to eat without overcooking it. Relying on timers alone can be risky because chicken breast sizes vary significantly, and a few extra minutes can lead to dry meat.
Meat Claws for Rapid Shredding
Meat claws are highly effective for breaking down cooked chicken breasts quickly and evenly. They allow you to shred the meat while it is still warm, which is the best time to achieve a consistent texture for salads or tacos.
Choosing the Right Liquid Base
Broth for Flavoring Boneless Breast
Boneless, skinless chicken breasts have very little inherent fat and flavor. Using a high-quality chicken broth instead of water infuses the meat with savory notes during the simmering process, resulting in a more flavorful final product.
Water for Bone-In Flavor Extraction
When using bone-in chicken breasts with the skin on, water is often the better choice. The marrow in the bones and the fat from the skin release their own natural flavors into the water, creating a rich, homemade broth as the chicken cooks.
Vegetable Broth as a Clean Alternative
If you prefer a lighter flavor or do not have chicken broth on hand, vegetable broth is an excellent substitute. It provides a savory base without changing the core profile of the chicken, making it a versatile option for various dietary needs.
Flavor Enhancement Strategies
Lemon Juice for Acidity and Brightness
Adding fresh lemon slices or a tablespoon of lemon juice to the boiling liquid helps brighten the taste of the chicken. The acidity cuts through the richness of the meat and adds a fresh, zesty quality that works well in summer salads.
Fresh Herbs for Aromatic Depth
Adding sprigs of fresh parsley, thyme, or rosemary to the pot enhances the aromatic profile of the meat. These herbs release their oils into the simmering liquid, which then permeates the chicken breasts for a more gourmet result.
Apple Cider Vinegar for Tangy Notes
A small amount of apple cider vinegar added to the water can help tenderize the meat. It introduces a subtle tang that complements the chicken and provides a professional depth of flavor often found in restaurant-style poached meats.
Efficient Shredding Techniques
The Two-Fork Shredding Method
Holding the chicken breast steady with one fork while pulling the meat apart with a second fork is a classic technique. This method gives you complete control over the size of the shreds, making it ideal for smaller recipe batches.
Stand Mixer Shredding for Large Batches
For those prepping large quantities of chicken, a stand mixer with a paddle attachment can shred meat in seconds. Place the warm chicken in the bowl and mix on low speed, but stop immediately once the desired consistency is reached to avoid turning the meat into mush.
Hand Shredding for Custom Texture
Using your hands to pull the chicken apart allows you to feel the grain of the meat. This ensures you are shredding with the grain, which results in long, tender strips that are perfect for sandwiches or wraps.
Managing Cooking Temperatures
Targeting 165 Degrees Fahrenheit
The USDA recommends an internal temperature of 165 degrees Fahrenheit for poultry safety. Reaching this exact temperature ensures all harmful bacteria are destroyed while keeping the meat as juicy as possible.
Identifying Overcooked Stringy Meat
When chicken breasts exceed 170 degrees Fahrenheit, the muscle fibers contract tightly and push out moisture. This results in a stringy, dry texture that can be unpleasant unless the meat is finely chopped and mixed with a sauce.
Adding Time for Bone-In Chicken
Bone-in chicken requires more time to cook because the bone acts as an insulator, slowing the heat transfer to the center of the breast. Always allow an additional 5 to 8 minutes of simmering time to ensure the area around the bone is fully cooked.
Smart Storage and Preservation
Airtight Containers for Fridge Storage
Store your boiled chicken in a shallow, airtight container to keep it fresh for 3 to 4 days. Keeping the chicken in a small amount of the cooking liquid can help prevent the surface of the meat from drying out in the refrigerator.
Vacuum Sealing for Freezer Longevity
For long-term storage, vacuum sealing is the best method to prevent freezer burn. Vacuum-sealed boiled chicken can remain high-quality for 4 to 6 months, making it an excellent option for bulk meal prepping.
Preventing Ice Crystal Formation
If you do not have a vacuum sealer, wrap the chicken tightly in plastic wrap before placing it in a freezer bag. Squeeze out as much air as possible to minimize the formation of ice crystals, which can degrade the texture of the meat.
Reheating Methods for Tenderness
Simmering in Liquid for Reheating
The best way to reheat boiled chicken is to place it in a pan with a small amount of chicken broth. Gently simmer on low heat until warmed through, which re-hydrates the muscle fibers and restores tenderness.
Low-Temperature Oven Warming
Place the chicken in a baking dish, cover it tightly with aluminum foil to trap steam, and warm it in the oven at 300 degrees Fahrenheit. This slow warming process prevents the exterior from toughening while the interior heats up.
Steam-Heating for Maximum Moisture
Using a steamer basket over boiling water is a fast way to reheat sliced chicken without adding extra fats. The moist heat penetrates the meat quickly, keeping it succulent and preventing the rubbery texture associated with microwaves.
Meal Planning and Applications
Mixing into Creamy Chicken Salads
Diced boiled chicken is the perfect base for a creamy salad mixed with mayonnaise, celery, and onions. Because the chicken is already cooked and cooled, you can assemble this dish quickly for a healthy lunch.
Building a Base for Chicken Soup
Shredded boiled chicken can be added to a simmering pot of vegetables and broth at the final stage of cooking. This prevents the chicken from overcooking in the soup, keeping the pieces tender and juicy.
Filling Tacos and Tortilla Wraps
Toss shredded boiled chicken in your favorite taco seasoning or lime juice for a fast filling. The neutral flavor of the boiled meat allows it to absorb the bold spices of a taco or the freshness of a wrap.
Combining with Pasta and Pesto
Sliced boiled chicken breasts pair perfectly with penne or fusilli pasta tossed in pesto. The lean nature of the chicken balances the richness of the pine nuts and parmesan cheese in the sauce.
Boiling Versus Poaching
The High-Heat Boiling Method
Boiling involves bringing the liquid to a full boil (212 degrees Fahrenheit) before reducing the heat to a simmer. This method is faster and is highly effective for creating a base for shredded meats.
The Low-Temperature Poaching Method
Poaching keeps the liquid at a constant lower temperature, typically between 158 and 185 degrees Fahrenheit. While poaching takes longer, it is a gentler process that can produce an even more delicate texture in the meat.
Troubleshooting Common Issues
Recovering Overcooked Chicken
If the chicken turns out dry or stringy, do not discard it. Instead, finely chop the meat and mix it with a sauce, such as BBQ or buffalo sauce, to add necessary moisture back into the dish.
Straining Impurities from Cooking Liquid
You may notice a grey foam rising to the top of the pot during the boiling process. Use a spoon to skim this foam off the surface for a clearer liquid, or strain it through a fine-mesh sieve before using it for other recipes.
Managing Variable Breast Sizes
If you are cooking breasts of different sizes, the smaller ones will finish first. Check the temperature of each piece individually and remove them as they reach 165 degrees Fahrenheit to avoid overcooking the smaller cuts.
Frequently Asked Questions
Can I boil frozen chicken breasts?
Yes, you can boil frozen chicken, but it will take significantly longer to reach the safe internal temperature. It is highly recommended to thaw them in the refrigerator overnight for the best texture and most consistent cooking time.
How do I use the remaining broth?
The leftover liquid is packed with flavor and can be strained and used to cook rice, quinoa, or farro. Simply replace the water in your grain recipe with this chicken broth for an enhanced taste.
Should I remove the skin before boiling?
You can leave the skin on for more flavor, but if you are watching your fat intake, remove it before cooking. Removing the skin also allows the seasonings in the broth to penetrate the meat more directly.
How do I prevent the chicken from sticking?
Ensure you have enough liquid to cover the chicken by at least one inch and avoid overcrowding the pot. Stirring gently once or twice during the simmer can also prevent the breasts from sticking to the bottom of the pot.
Print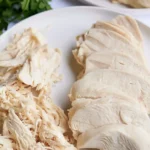
Tender Boiled Chicken Breast Guide
- Total Time: 30 minutes
- Yield: 12 servings 1x
- Diet: General
Description
Boiled chicken breasts are great to have on hand for adding to all kinds of recipes. Learn how to boil chicken breast easily and make flavorful chicken that you can shred, slice, or dice to add to any recipe or meal.
Ingredients
- 4 12 oz chicken breast
- 4 cups chicken broth or water
- additional seasonings (optional)
Instructions
- Step: Add chicken breast, broth, and any additional seasonings in a large pot over medium-high heat and bring to a boil.
- Step: As soon as the liquid begins to boil, reduce the heat to medium-low and cover the pot. Allow it to simmer for about 10-12 minutes, until the chicken is cooked through. Bone-in chicken breast will take about 15-18 minutes.
- Step: Check the temperature of the chicken by removing the breast from the liquid with tongs and checking with a quick read thermometer. The chicken is done once it reaches a temperature of 165 degrees Fahrenheit.
Notes
You could discard the broth after cooking the breast or consider straining it to remove any foam or herb leaves and using it to cook your favorite grain. If using bone-in skin-on breast, you’ll need to cook it a few minutes longer, about 15-18 minutes. How long your chicken takes to cook will depend on the size of the chicken breast.
- Prep Time: 10 minutes
- Cook Time: 10 minutes
- Category: Main Course
- Method: Boiling
- Cuisine: American
Nutrition
- Serving Size: 1 serving
- Calories: 86 kcal
- Sugar: 0 g
- Sodium: 87 mg
- Fat: 2 g
- Saturated Fat: 1 g
- Unsaturated Fat: 1 g
- Trans Fat: 0 g
- Carbohydrates: 0 g
- Fiber: 0 g
- Protein: 16 g
- Cholesterol: 48 mg
Keywords: boiled chicken breast, easy chicken, meal prep, shredded chicken